118 Assembly\Disassembly
Croma24 Service Manual
6. Disconnect the Trailing Cable from J6 on the MPCB and
remove the Trailing Cable Cover Assembly.
7. Disconnect the Servo Motor cable from J4 on the MPCB and
remove the Servo Motor.
8. Remove the C-Bracket Assembly.
9. Using a #2 Phillips screwdriver, remove the grounding strap
on the left side of the Slide Shaft.
10. Remove the Slide Shaft using a 3mm hex head driver.
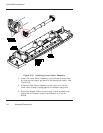
11. Disconnect the Lower Drive Shaft Assembly from the Platen
by removing the 4 attaching screws.
12. Remove the Platen by releasing the 4 securing tabs (2 on each
side) and six screws. Gently lift the Platen off of the Base.
13. Disconnect the Power Supply cable from J5 on the MPCB.
Remove the cable from the cable supports on the Base.
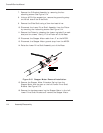
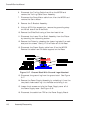
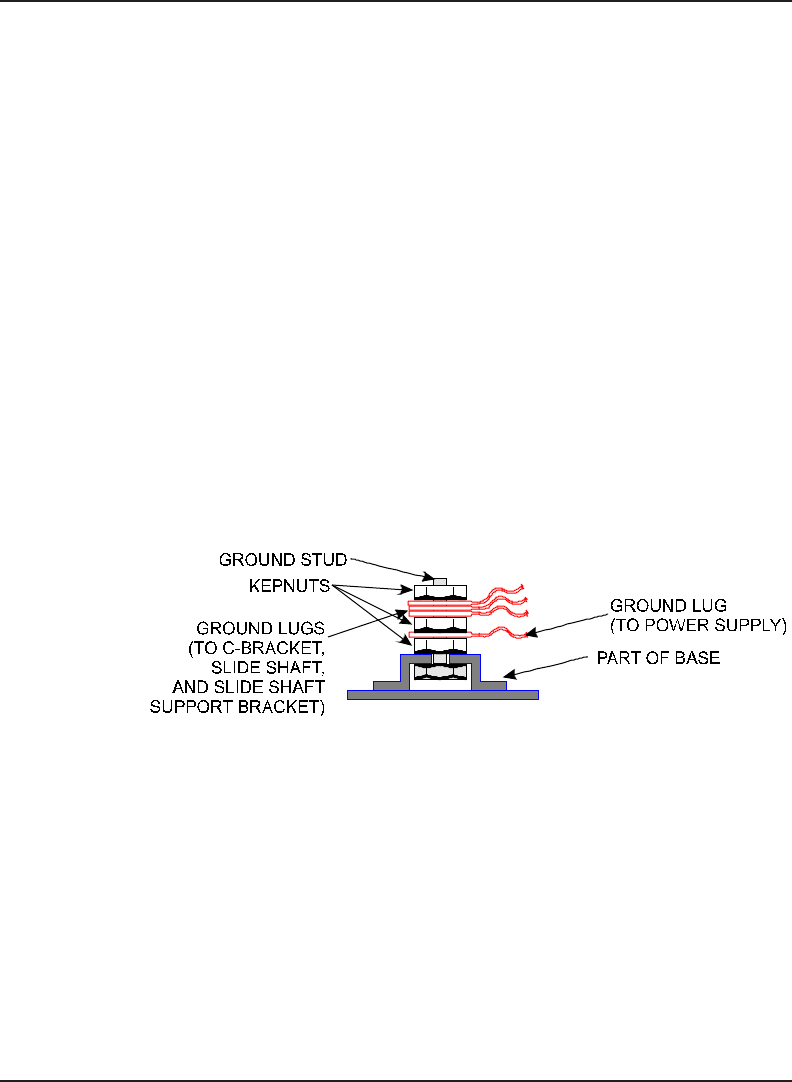
Figure 5-17. Ground Stud With Ground Lugs Attached.
13. Disconnect the ground lug from the ground stud. See Figure
5-17.
14. Remove the Power Supply Assembly by unhooking it from the
two plastic hooks securing it to the Base and sliding it out.
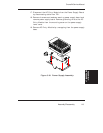
15. Loosen the 4 screws and slip the Power Supply cover off of
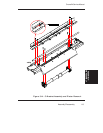
the Power Supply base. See Figure 5-18.
16. Disconnect the cable from TB2 on the Power Supply Board.


