Chapter 4 — Enabling and Configuring Symbologies
66 SR60 Scanner Programmer’s Reference Manual
All Symbologies Supported by All Interfaces
You can enable any bar code symbology described in this chapter
because all the symbologies in this chapter are supported by all
the SR60 scanner interface types.
Identify the symbologies you want to enable. Use the bar codes in
this chapter to enable those symbologies and set the data format
options (such as check digit or start/stop characters) required by
your host system for each symbology type. You must enable the
symbology format options settings that are compatible with your
host system.
The factory default settings for each interface were chosen to
meet the standard industry requirements. In most cases you do
not need to change the symbology format settings.
If you are unsure of your system requirements, test the scanner
using the factory settings before making any changes. For a list of
factory default settings, see Appendix A,
“Factory Default
Configuration” on page 145.
Enabling Symbologies
You can enable specific symbologies or disable all symbologies
using these programming bar codes:
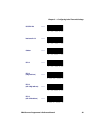
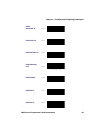
• The Disable All Symbologies bar code on page 68 lets you
disable all the symbologies currently enabled on the scanner.
To optimize scanner performance, you should scan this bar
code before you enable only the symbologies you require.
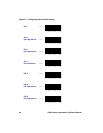
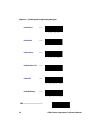
• The Enable Code 39 bar code on page 68 selects Code 39 as
an active symbology and allows selection of check digit, start/
stop and single digit options.
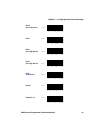
• The Enable PharmaCode 39 bar code on page 69 is a
symbology subset of Code 39. Enabling PharmaCode 39
allows the scanner to read both PharmaCode 39 and Standard
Code 39 labels.
Note: Standard Code 39 must be enabled before you can
enable PharmaCode.


