


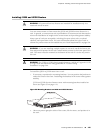
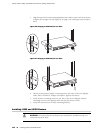
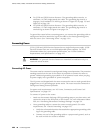

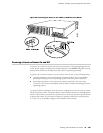

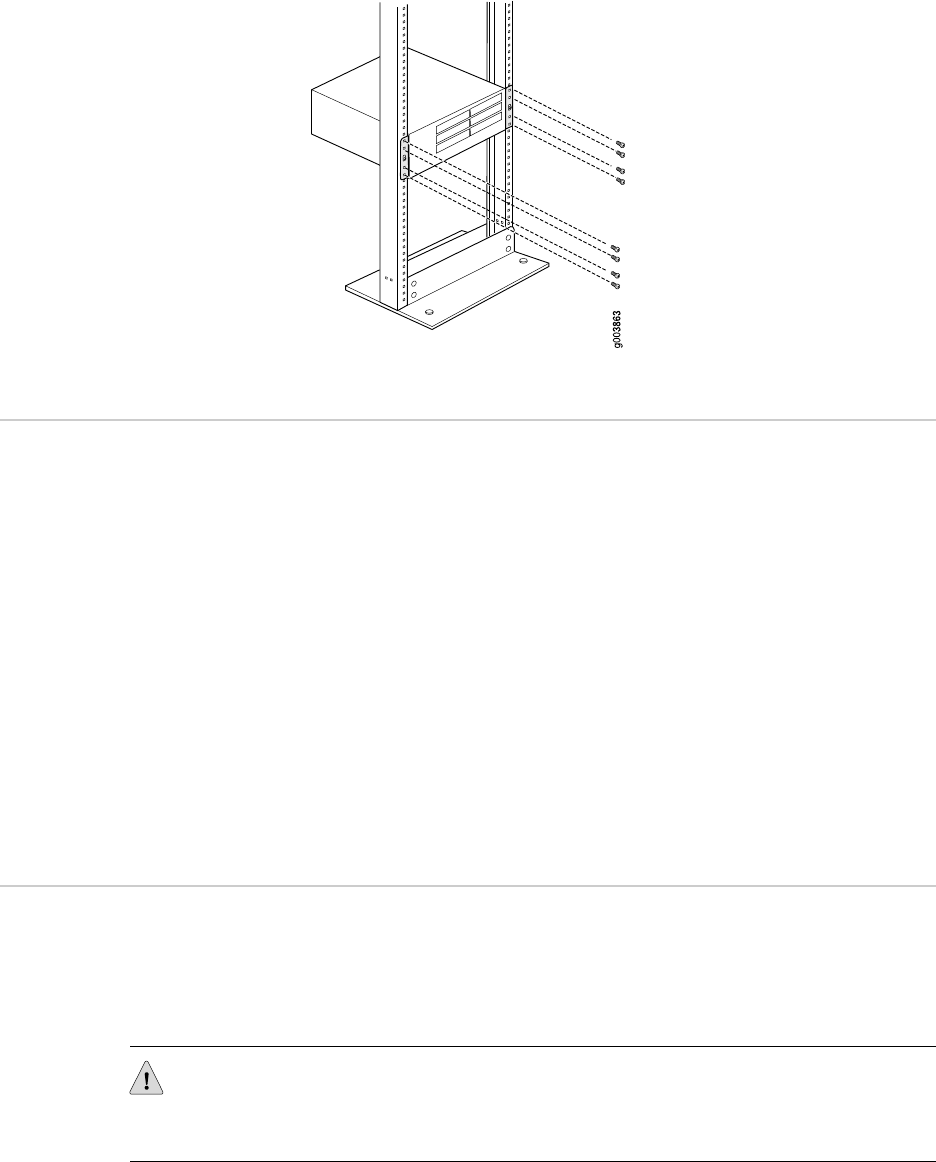
Figure 61: Completing the Installation
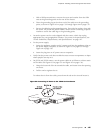
Connecting Interface Cables to Services Routers
You connect the interfaces installed in the Services Router to various network media.
For more information about the network interfaces supported on the router, see the
J-series Services Router Basic LAN and WAN Access Configuration Guide.
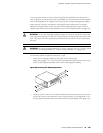
1. Have ready a length of the type of cable used by the interface, as specified in
“Network Cable Specifications and Connector Pinouts” on page 223.
2. Insert the cable connector into the cable connector port on the interface faceplate.
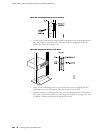
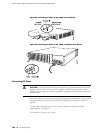
3. Arrange the cable as follows to prevent it from dislodging or developing stress
points:
a. Secure the cable so that it is not supporting its own weight as it hangs to the
floor.
b. Place excess cable out of the way in a neatly coiled loop.
c. Place fasteners on the loop to help maintain its shape.
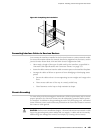
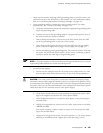
Chassis Grounding
To meet safety and electromagnetic interference (EMI) requirements and to ensure
proper operation, the Services Router must be adequately grounded before power
is connected. In addition to the grounding pin on the AC power plug cord, a threaded
insert (PEM nut), screw, and washer are provided on the rear of the chassis to connect
the router to earth ground.
CAUTION: Before router installation begins, a licensed electrician must attach a cable
lug to the grounding and power cables that you supply. A cable with an incorrectly
attached lug can damage the router (for example, by causing a short circuit).
Connecting Interface Cables to Services Routers ■ 123
Chapter 6: Installing and Connecting a Services Router