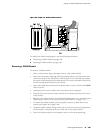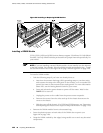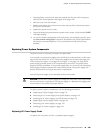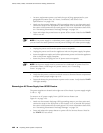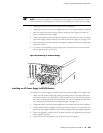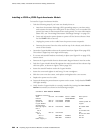
1. Ensure that the voltage across the DC power source cable leads is 0 V and that
the cable leads cannot become active during installation.
CAUTION: You must ensure that power connections maintain the proper polarity.
The power source cables might be labeled (+) and (–) to indicate their polarity. There
is no standard color coding for DC power cables. The color coding used by the external
DC power source at your site determines the color coding for the leads on the power
cables that attach to the terminal studs on each power supply.
2. Attach an electrostatic discharge (ESD) grounding strap to your bare wrist and
connect the strap to the ESD point on the chassis, or to an outside ESD point if
the router is disconnected from earth ground. For more information about ESD,
see “Preventing Electrostatic Discharge Damage” on page 251.
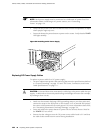
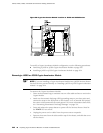
3. Using both hands, slide the power supply into the chassis until you feel resistance.
4. Firmly push the power supply into the chassis until it comes to a stop. Make sure
that the power supply faceplate is flush with any adjacent power supply faceplate.
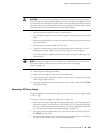
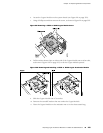
5. Use a Phillips screwdriver to remove the clear plastic cover protecting the terminal
block.
6. Within the terminal block, remove the two center screws next to the labels
–48 VDC and RTN.
Each screw contains a captive washer to secure a power cable lug to the terminal
block.
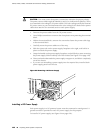
7. Using one of the removed screws, secure the positive (+) DC source power cable
lug to the RTN terminal. Tighten the screw until snug. Do not overtighten. Apply
between 8 lb-in. (0.9 Nm) and 9 lb-in. (1.02 Nm) of torque to the screw.
8. Using the other removed screw, secure the negative (–) DC source power cable
lug to the –48 VDC terminal. Tighten the screw until snug. Do not overtighten.
Apply between 8 lb-in. (0.9 Nm) and 9 lb-in. (1.02 Nm) of torque to the screw.
NOTE: Each power supply must be connected to a dedicated DC power feed. For
information about connecting to DC power sources, see “Connecting
Power” on page 124.
9. Dress the power cables appropriately.
10. Replace the clear plastic cover over the terminal block.
11. Verify that the power cord does not block access to router components or drape
where people might trip on it.
12.
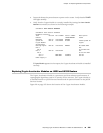
Press and release the power button to power on the router. Verify that the POWER
LED lights steadily.
Replacing Power System Components ■ 197
Chapter 10: Replacing Hardware Components


