Using the Operation Panel 7-73
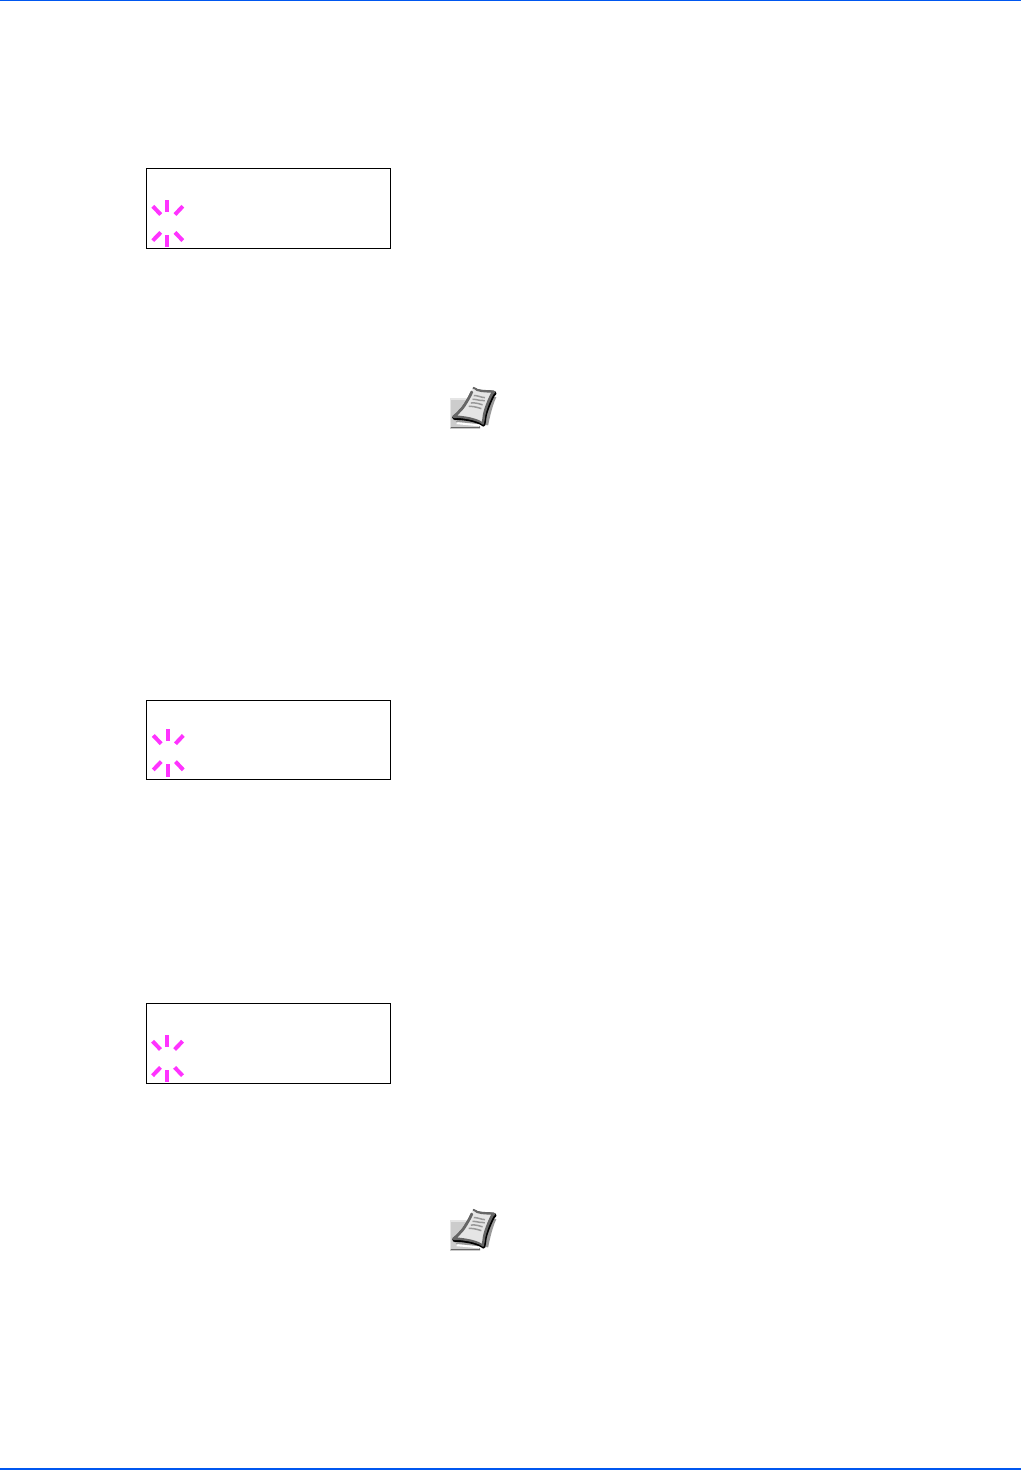
Password (Administrator Password input)
To set up Job Accounting, you must enter an administrator ID and
administrator password. For information on how to set the administrator
password, refer to Admin (Administrator settings) on page -78.
1 After entering the ID in the previous step (ID (Administrator ID
input)), the message display shows Password (Administrator
password input) and a blinking cursor (_).
2 Press U or V to increase or decrease, respectively, the value at the
blinking cursor. Enter the specified password. Use Y and Z to move
the cursor right and left. Enter a password consisting of between 0
and 16 numbers.
3 Press [OK]. The Job Accounting selection/setting screen reappears.
Job Accounting (Job Accounting selection/setting)
This allows you to turn the Job Accounting function On and Off. The
default setting is Off.
1 After entering the administrator ID and password, press U or V
repeatedly until >Job Accounting appears.
2 Press [OK]. A blinking question mark (?) appears.
3 Select On or Off using U or V.
4 Press [OK].
5 Press [MENU]. The display returns to Ready.
Job Accounting enabled
If department administration is enabled, an account ID entry screen
appears each time you retrieve a status page or list.
1 A blinking cursor (_) appears in the account ID entry screen.
2 Press U or V to increase or decrease, respectively, the value at the
blinking cursor. Enter the specified account ID. Use Y and Z to
move the cursor right and left. Enter an account ID consisting of
between 1 and 8 numbers.
3 Press [OK]. The account is confirmed and printing begins.
Note If you enter an incorrect administrator ID or password,
the message Wrong ID or Wrong Password appears and
the input screen then reappears. Re-enter the ID or password
correctly.
Password
_
>Job Accounting
? Off
Note If you enter an incorrect account ID, the input screen
reappears. Re-enter the account ID correctly.
Enter Account
_


