


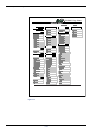


3.4 e-MPS
3-23
7
77
7
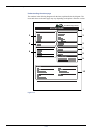
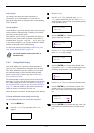
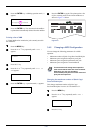
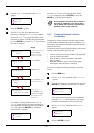
Press the
ENTER
key. The user name and the job name
(
Agenda
, in this example) entered in the printer driver
appear with a blinking question mark (
?
).
8
88
8
Press the U or V key to display the desired job title.
9
99
9
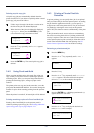
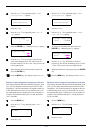
Press the ENTER key. The ID input line appears.
Enter the four-digit access code entered in the printer
driver and press the ENTER key.
To enter the ID, press the Y or Z key to move the
cursor to the number to be changed and then enter the
correct number by pressing the U or V key.
10
1010
10
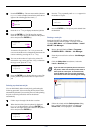
You can set the number of copies to be printed. To
increase the copy count, press the U key; to decrease
the copy count, press the V key.
11
1111
11
Press the ENTER key to finalize the copy count. The
printer prints the specified number of copies for the
job.
Deleting a private/stored job
You can individually delete stored jobs by performing the
following procedure. Jobs saved using Private Print will be
automatically deleted if you turn the power off after printing,
but jobs saved using Stored Job will not be deleted
automatically.
1
11
1
Follow steps 1 through 8 in the above section.
2
22
2
When the title of the job to be printed is displayed
(Agenda, in this example), press the ENTER key.
Enter the four-digit access code entered in the printer
driver and press the ENTER key.
3
33
3
Press the V key repeatedly until Delete appears for
the number of copies.
4
44
4
Press the ENTER key. The private job is deleted from
the hard disk.
Printing a code job
Install the KM-NET Job Manager software from the
CD-ROM supplied with the printer. To do this, from the
CD-ROM Main Menu, select Printer Utilities > Install
KM-NET Job Manager.
1
11
1
Browse through Windows Start > Programs >
KYOCERA MITA > KM-Net > Job Manager.
2
22
2
Enter the password for the software. Job Manager
will start.
3
33
3
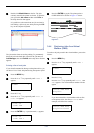
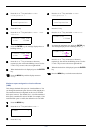
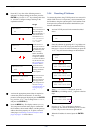
Click the Add printer icon (below). Select the
Local or Network port.
Note
If you use the local parallel port to connect to
the printer, make sure that the printer driver is
set to print to a local port. To check this out,
click the Details tab of the printer Properties,
and note the Print to the following port setting.
Figure 3-5
4
44
4
Follow the wizard until the Select printer dialog
box is reached. When the printer is found in the
Printer List, click (highlight) it, then Finish.
>Arlen
?Agenda
>Agenda
ID 0000
>Agenda
Copies 001
>Agenda
Copies 001
>Agenda
Delete
Add printer
icon