


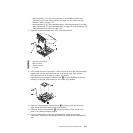
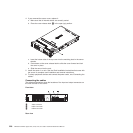
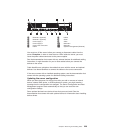

2. Install the four screws that secure the module to the system board.
Attention: Make sure that you install each heat sink with its paired
microprocessor (see steps 3 and 4 on page 224).
3. Install the microprocessor, heat sink, and applicable air baffle (see “Installing a
microprocessor and heat sink” on page 218).
4. Install the cover.
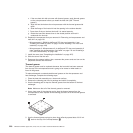
5. Slide the server into the rack.
6. Reconnect the external cables; then, reconnect the power cords and turn on the
peripheral devices and the server.
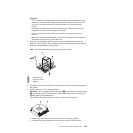
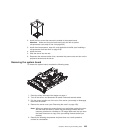
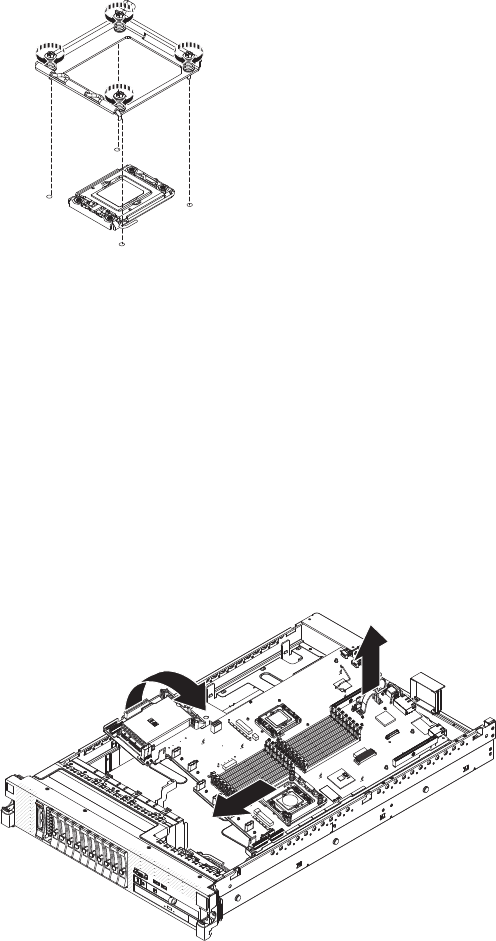
Removing the system board
To remove the system board, complete the following steps.
1. Read the safety information that begins on page 3.
2. Turn off the server, and disconnect all power cords and external cables.
3. Pull the power supplies out of the rear of the server; just enough to disengage
them from the server.
4. Remove the server cover (see “Removing the cover” on page 159).
Note: When you replace the system board, you must either update the server
with the latest firmware or restore the pre-existing firmware that the
customer provides on a diskette or CD image. Make sure that you have
the latest firmware or a copy of the pre-existing firmware before you
proceed.
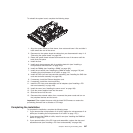
5. Remove the following components and place them on a static-protective
surface for reinstallation:
Chapter 6. Removing and installing FRUs 225