


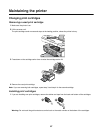

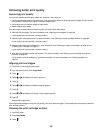
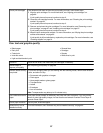
7 Reinsert the print cartridges.
8 Print the document again.
9 If the print quality does not improve, clean the print nozzles. For more information, see “Cleaning the print cartridge
nozzles” on page 89.
10 Repeat step 9 up to two more times.
11 If print quality is still not satisfactory, replace the print cartridges.
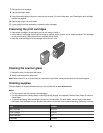
Preserving the print cartridges
• Keep a new cartridge in its packaging until you are ready to install it.
• Do not remove a cartridge from the printer except to replace, clean, or store it in an airtight container. The cartridges
do not print correctly if left exposed for an extended period of time.
• Keep the photo cartridge in its own storage unit when not in use.
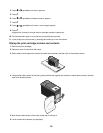
Cleaning the scanner glass
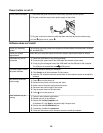
1 Dampen a clean, lint-free cloth with water.
2 Gently wipe the scanner glass clean.
Note: Make sure all ink or corrective fluid on a document is dry before placing the document on the scanner glass.
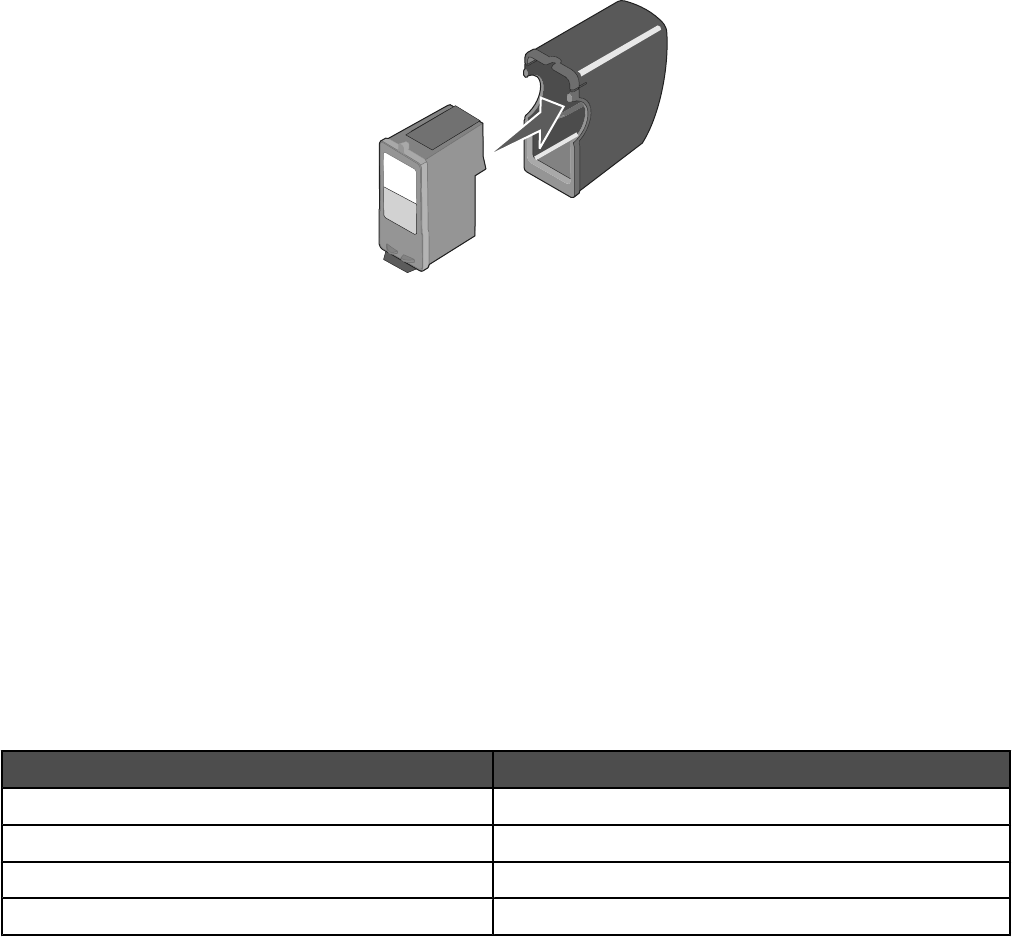
Ordering supplies
To order supplies or to locate a dealer near you, visit our Web site at www.lexmark.com.
Notes:
• For best results, use only Lexmark print cartridges.
• For best results when printing photos or other high-quality images, use Lexmark Premium Photo Paper or Lexmark
Photo Paper.
• To prevent smudging, avoid touching the surface of a printed photo. For best results, remove each printed sheet
individually from the paper exit tray, and allow the prints to dry at least 24 hours before stacking, displaying, or storing.
Item Number
Black cartridge 32 or 34
Color cartridge 33 or 35
Photo cartridge 31
USB cable 1021294
91