


24
Advanced Wireless-N Router
Linksys E2100L Chapter 3: Advanced Configuration
Storage > Disk
The storage options are available when a USB storage
device is connected to the USB port of the Router. If the
storage device does not fit (for example, it may block
port 1), then use the included USB extension cable.
The Disk screen describes the disk currently attached to
the Router. Use this screen to create shared folders, safely
remove a disk, or format a disk (any data on the disk will
be deleted during formatting).
Each shared folder created on the Disk screen has a unique
name (Display Name), is mapped to a folder on the disk,
and specifies access rights to that folder.
Access rights are managed by group and user accounts
that you create on the Storage > Administration screen
(refer to Storage > Administration, page 29). Each user
has his or her own login and belongs to a group. Each
group has either read-and-write or read-only access rights.
By default the Router creates two user groups, admin
(read-and-write access) and guest (read-only access).
By default the Router creates a shared folder called Public,
which can be accessed by the admin and guest groups.
Any sub-folders you create in the Public folder will have
the same access rights.
The Router does not automatically share any pre-existing
folders on the USB storage device, so you will have to
create shared folders if you want network access to these
pre-existing folders. You have two choices:
• Create a shared folder that shares the entire partition
• Create multiple shared folders, which share specific
folders with specific user groups
Proceed to Create a Shared Folder, page 25.
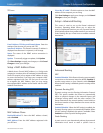
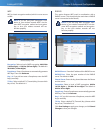
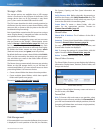
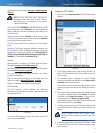
Storage > Disk
Disk Management
If a formatted disk is connected to the Router, then its name
is displayed. For each partition of the disk, the Partition,
File System, Capacity, and Free Space information are
displayed.
Safely Remove Disk Before physically disconnecting a
disk from the Router, click Safely Remove Disk first. This
prevents the possible loss of data, which may occur if you
remove the disk while it is transferring data.
Create Share To create a shared folder, click this
option for the appropriate partition. Proceed to
Create a Shared Folder, page 25.
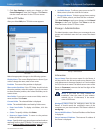
Shared Folder
Shared Disk IP Address The IP address of the disk is
displayed.
Summary To view a list of shared folders, click this option.
Proceed to Shared Folders Summary, page 24.
For each shared folder, the Display Name, Partition, and
Shared Folder location are displayed.
Edit To change the settings of a shared folder, click this
option. Proceed to Edit a Shared Folder, page 26.
Delete To delete a shared folder, click this option.
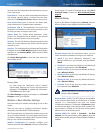
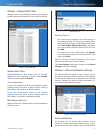
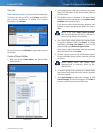
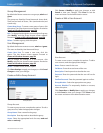
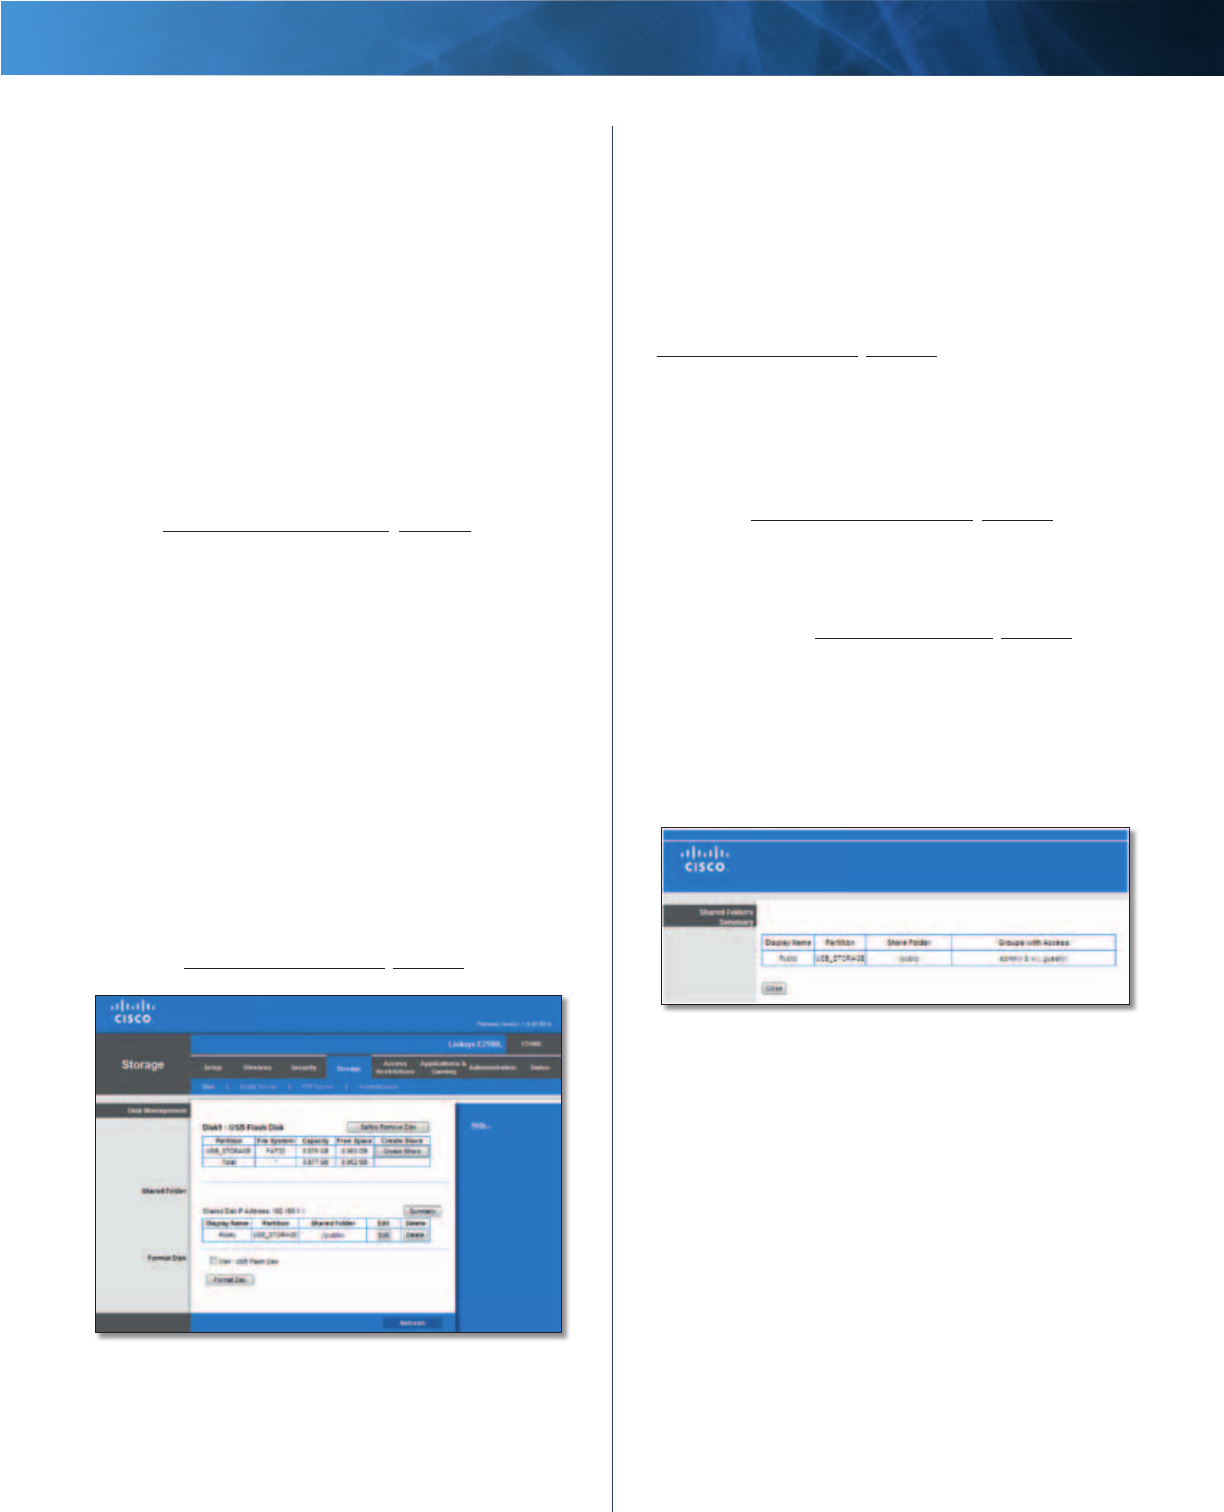
Shared Folders Summary
The Shared Folders Summary screen displays the following
information: Display Name, Partition, Shared Folder, and
Groups with Access.
Shared Folders Summary
To exit the Shared Folders Summary screen and return to
the Disk screen, click Close.
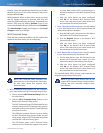
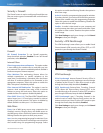
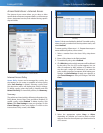
Format Disk
Disk To format a disk and create a new partition, select
the disk you want to format, and then click Format Disk. (If
your disk was formatted with multiple partitions, then the
formatting will delete them and create a single partition.)
The Claim Disk screen appears.