


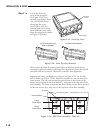
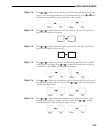
Step 16
➤
Press or to adjust for best electrical focus at the center of the picture.
Step 17
➤
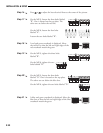
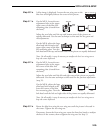
On the MP-9, loosen the three bolts labeled
“B”. One is located on the top plate. The
other two are below the red lens.
On the MP-8, loosen the four bolts
labeled “A”.
Loosen the two bolts labeled “B”.
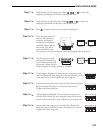
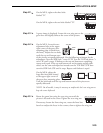
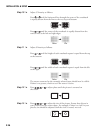
Step 18 ➤ A red and green crosshatch is displayed. Move
the red lens so that the left and right edges of the
red crosshatch match the green.
Step 19 ➤ On the MP-9, tighten the three bolts
labeled “B”.
On the MP-8, tighten the two
bolts labeled “B”.
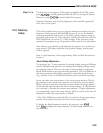
Step 20
➤
On the MP-9, loosen the three bolts
labeled “D”. One is located on the top plate.
The other two are below the blue lens.
On the MP-8, tighten the two bolts labeled “D”.
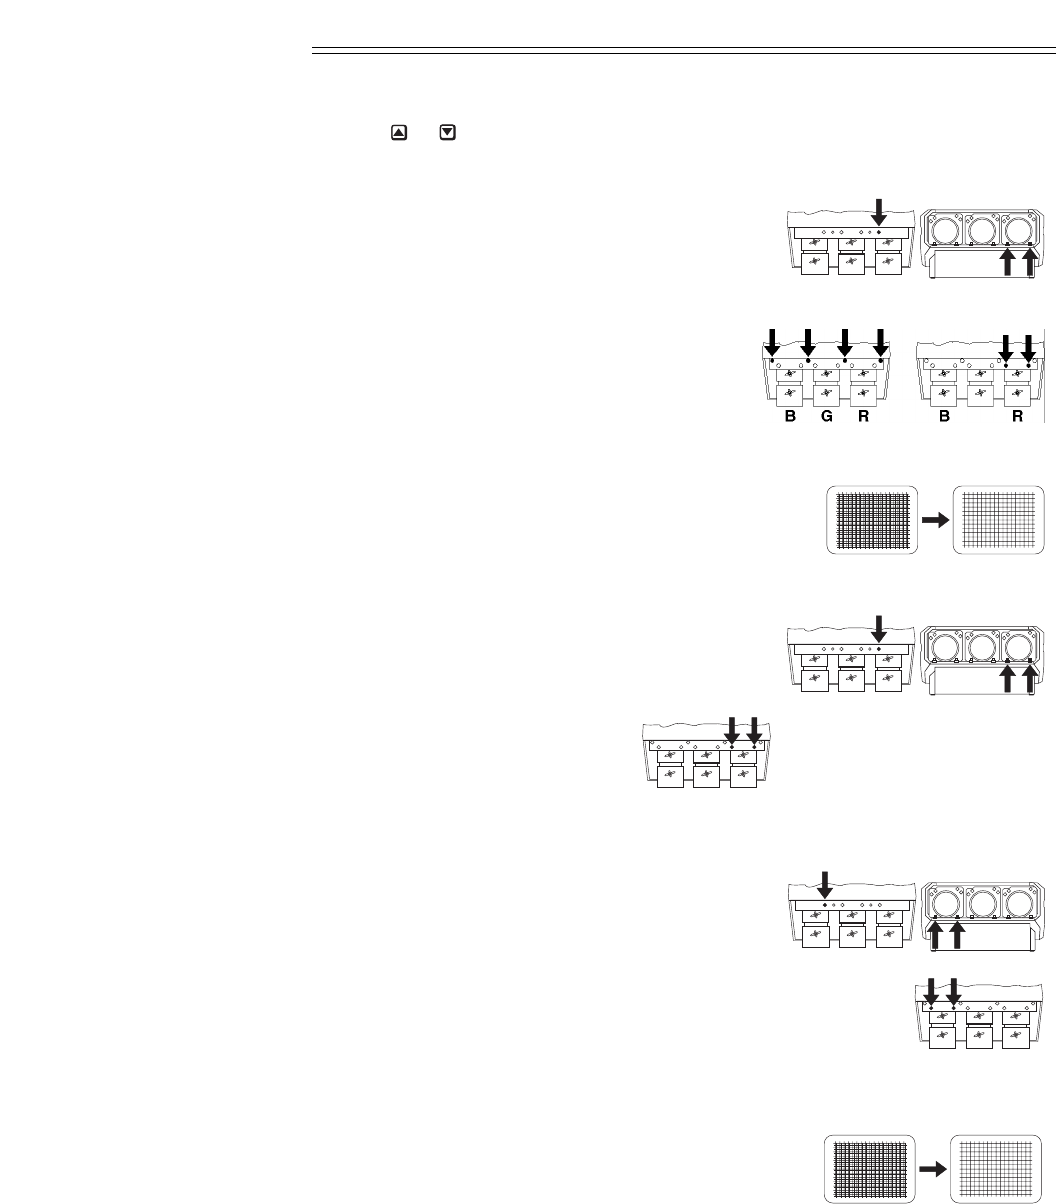
Step 21
➤
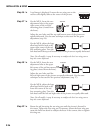
A blue and green crosshatch is displayed. Move the
blue lens so that the left and right edges of the blue
crosshatch match the green.
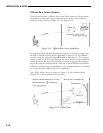
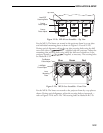
Before
After
R
G
B
B RG
R
G
B
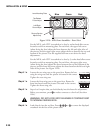
R
G
B
B RG
R
G
B
Before
After
B RG
R
G
B
INSTALLATION & SETUP
2.22