Recall Memory ➤
Setup
Follow these steps to prepare a Recall memory.
Step 1
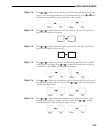
Select the input connected to the source. For example, if the source is
connected to switcher 1, slot 5, press . The source should be
displayed on the projection screen.
Note: To assure proper setup of a Recall memory, ASR must be off (default) for
the current input.
Step 2
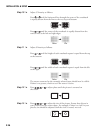
Select a Recall memory as the current setup memory. For example, to make
Recall memory 03 the current setup memory, press . If the Recall
memory did not previously exist, it will be created automatically.
Step 3
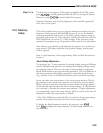
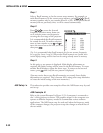
If much adjustment is required, press to perform an “ASI with
Save”. (If the Recall memory is new, ASI with Save will have already been
performed when the memory was selected.)
Step 4
Make display adjustments as required. Adjustment changes will automatically
be saved in the Recall memory.
ASI Improvement ➤ If the projector will be used with many sources, or new sources will be
frequently added to the system, it is recommended that five or six setup
memories be created expressly for the purpose of improving ASI accuracy.
ASI accuracy improves as more setup memories are created and stored, and
the variations amongst horizontal and vertical scan frequencies increases.
For example, if you always use the same input and you never use Recall
memories (thus only one setup memory has ever been created), ASI will not
be effective. However, if many Input and Recall memories have been used
and adjusted for a variety of sources, the projector has more “knowledge”
in its database for performing an ASI. As this “knowledge” increases, ASI
accuracy improves.
An easy way to add setup memories at various scan frequencies is to use the
projector’s internal frequency generator. The internal frequency generator
can display a test pattern using the scan frequencies you select. When dis-
play adjustments are made, the display settings are stored in the current
setup memory. Prepare a Recall memory using the generator as follows:
2
0
UTIL
3
0
RECALL
5
1
SOURCE
INSTALLATION & SETUP
2.31


