


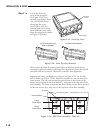
Step 34 ➤ For the MP-9, optical alignment is now complete. If you had removed the
foam insert, reinstall it now. Install the front top cover. Proceed to set up each
source by following the source setup procedure in section 2.9, Source Setup.
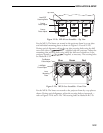
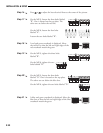
On the MP-8, tighten the bolts labeled “A”. Optical
alignment is now complete. If you had removed the foam
insert, reinstall it now. Install the front top cover. Proceed to
set up each source by following the source setup procedure
in section 2.9, Source Setup.
2.9 Source Setup
This section gives step-by-step instructions for quick setup of the projector
for a selected external source. For a complete setup, repeat these steps as
required for each source connected to the projector.
Before starting, ensure that the projector is optically and mechanically
aligned. If optical alignment is required, follow the setup instructions in
section 2.8, Optical Alignment. Select the source to be set up using the
Source command and make sure it is visible on the projection screen.
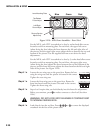
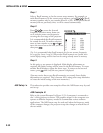
To make setup easier, it is
recommended that you use
the projector’s Guided Source
Setup tutorial. It provides source
setup instructions on screen to
guide you through the adjustments.
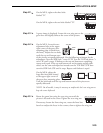
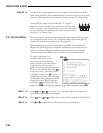
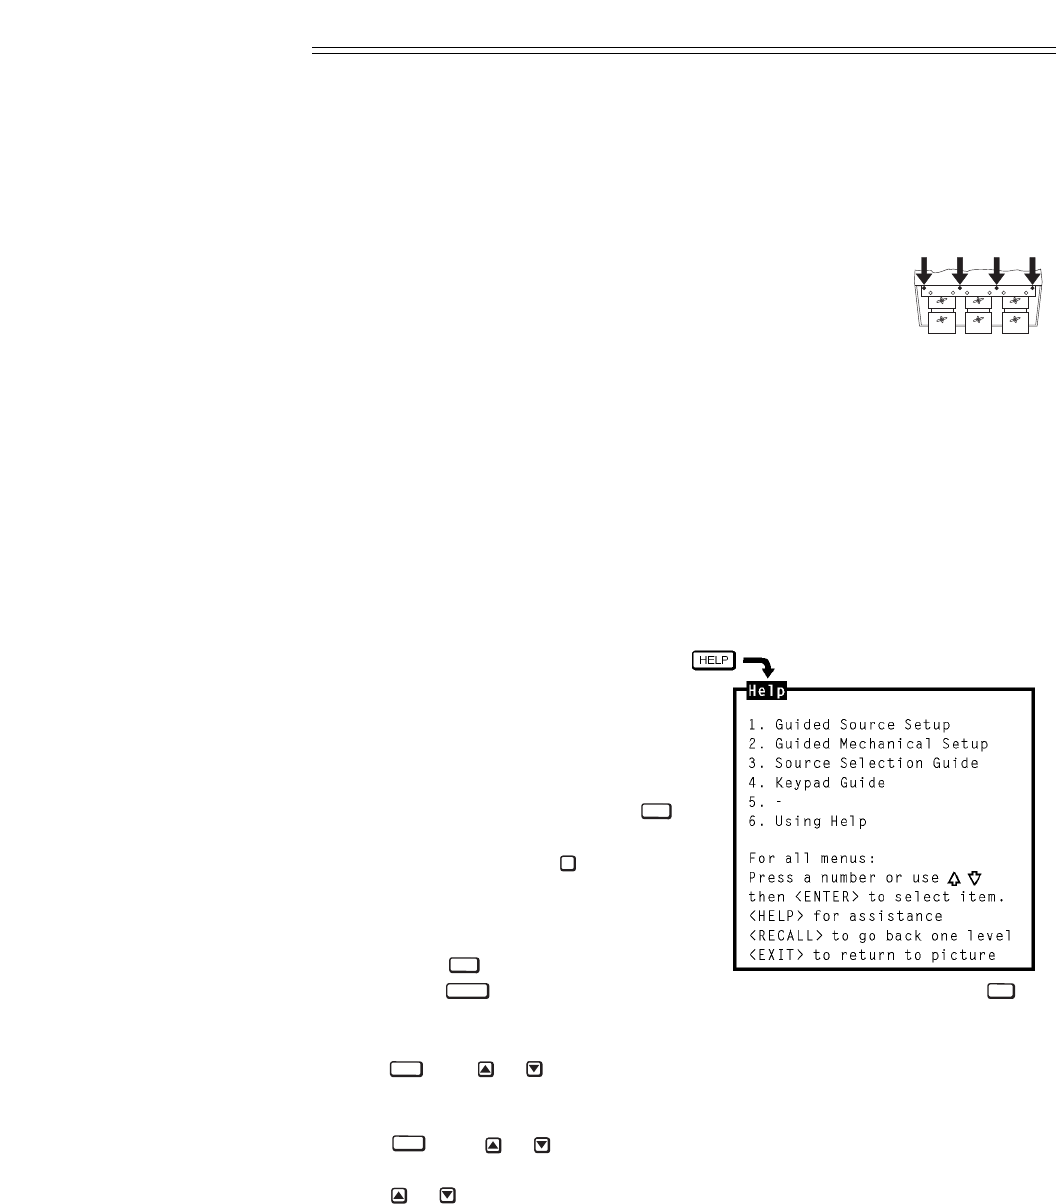
To access the tutorial, first press
at operation level. The Help menu
is displayed. Next press to select
Guided Source Setup. The first page
of the guide will be displayed on the
projection screen. When using the
guide,press to display the next
page, press to display the previous page. When complete, press .
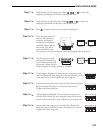
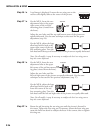
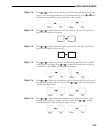
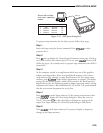
Step 1 ➤ Press then or to increase or decrease the brightness setting until
black areas in the image just disappear.
Step 2 ➤ Press then or to adjust the contrast of the image to a suitable level.
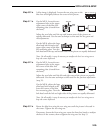
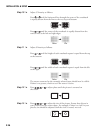
Step 3 ➤ Press or to adjust electrical focus for best overall sharpness.
CONT
BRITE
EXIT
RECALL
HELP
1
HELP
R
G
B
INSTALLATION & SETUP
2.26