MaxNAS Owner’s Manual
29
The column, “Status,” will display the most recent SMART reported health status for each disk
mechanism. To view the SMART results, click on the smart status indication next to the
specified disk mechanism, and the detailed information will appear. To manually trigger a
SMART health test, click
Test
in the SMART Info window. Blank
rows indicate that a drive is not
installed in the corresponding
drive bay. The status indicator on
this page will display a warning
should one your hard disks begin
to show signs of failure.
The MaxNAS R8 can power down the disks when they are not accessed to save power.
To enable disk power management, specify the idle time in minutes in the “Disk Power
Management” Field and click
Apply
.
4.2 RAID Menu
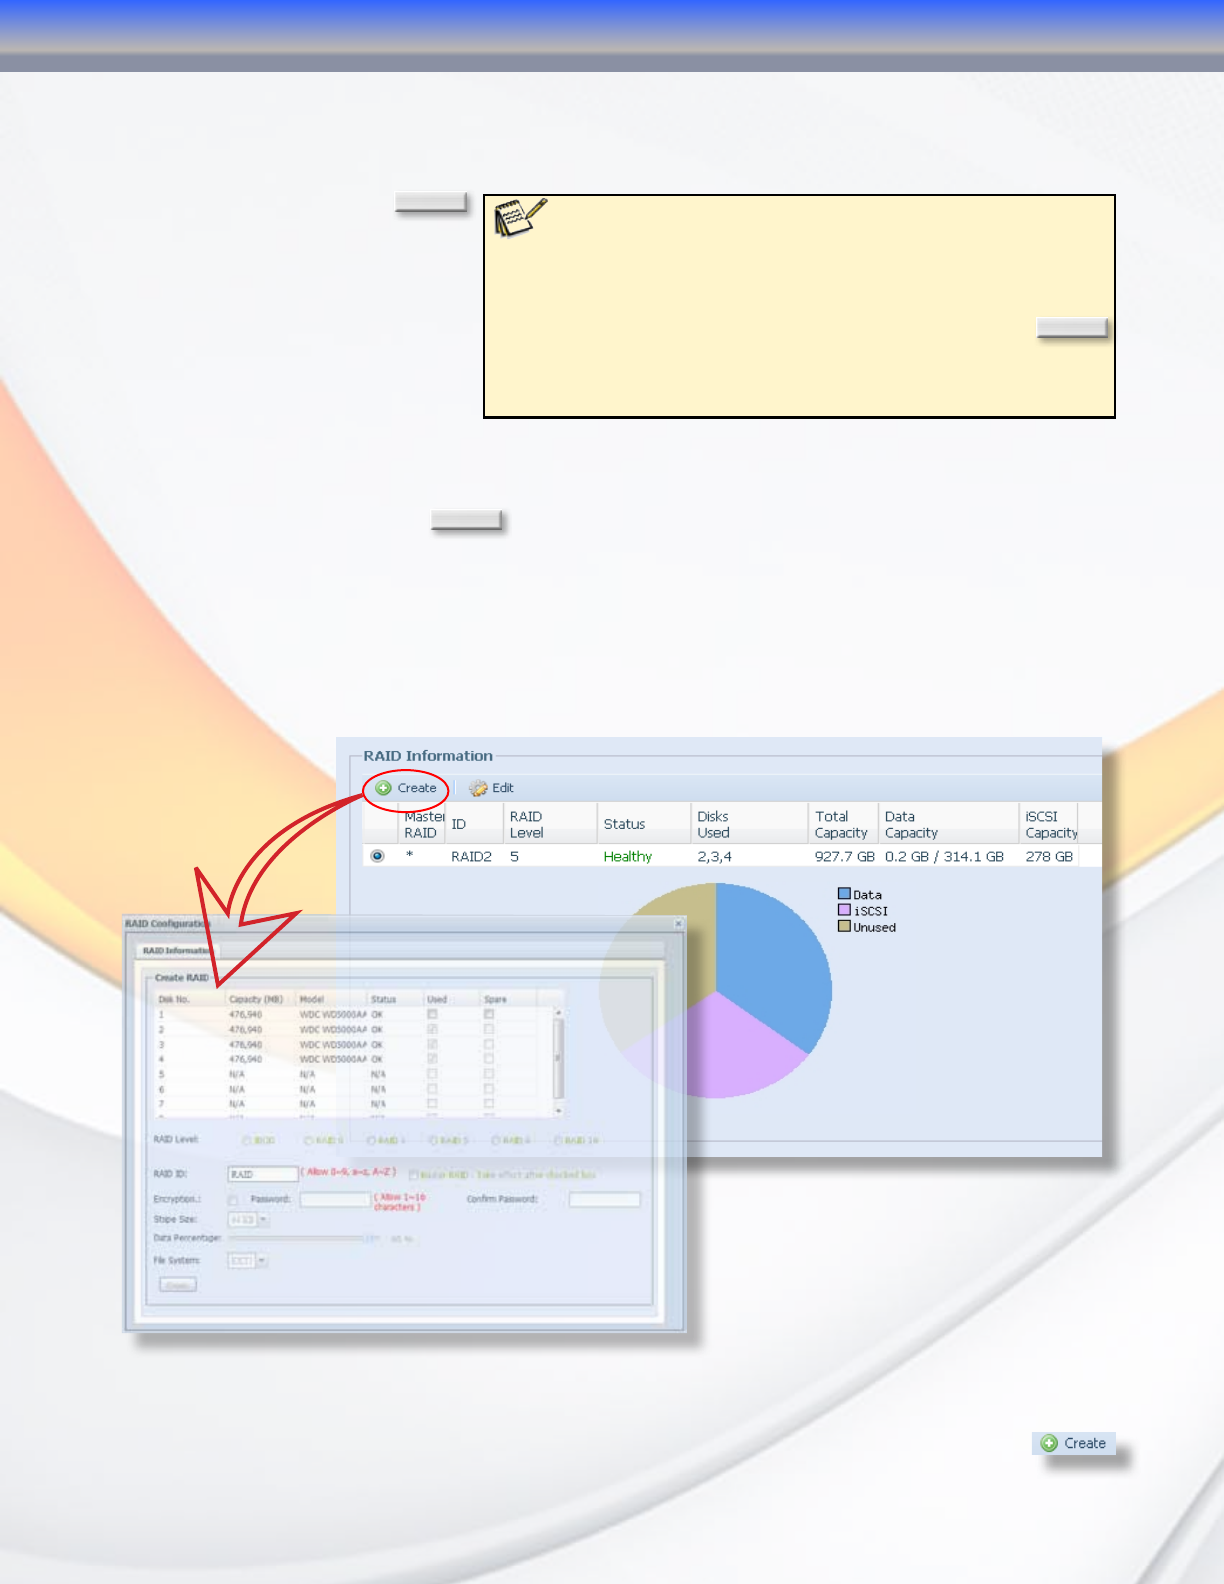
The RAID configuration page is used to create, manage and maintain RAID sets on the
MaxNAS R8. This page is divided into two sections. The first is the list of RAID sets available
on the MaxNAS R8 and the second is a graphical representation of the storage space on the
RAID system and how it has been allocated.
4.2.1 Creating a RAID Set
In this section we cover how to create a new RAID set on the MaxNAS R8. The MaxNAS R8
comes with a RAID 6 volume already configured. To create a new RAID set click the
button on the top left of the RAID Configuration menu page.
Note: Under normal circumstances manually running a SMART
scan on your drive is not necessary as the MaxNAS R8 will
perform this test periodically on its own. If you suspect a disk of
becoming faulty or if directed by Micronet support to scan a disk,
click on the “Warning” or “OK” Status indicator for the hard disk you
would like to test. Choose a long or short test and click the
Test
button at the bottom of the window. A test can be stopped at any
time while it is running by clicking the same button again. Test status
and results will be displayed on the “Test Results” line of this window.
3-Administering the MaxNAS R8
