MaxNAS Owner’s Manual
38
4.6.1 Adding a new ISO image share
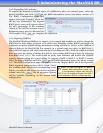
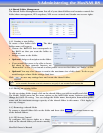
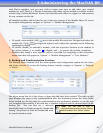
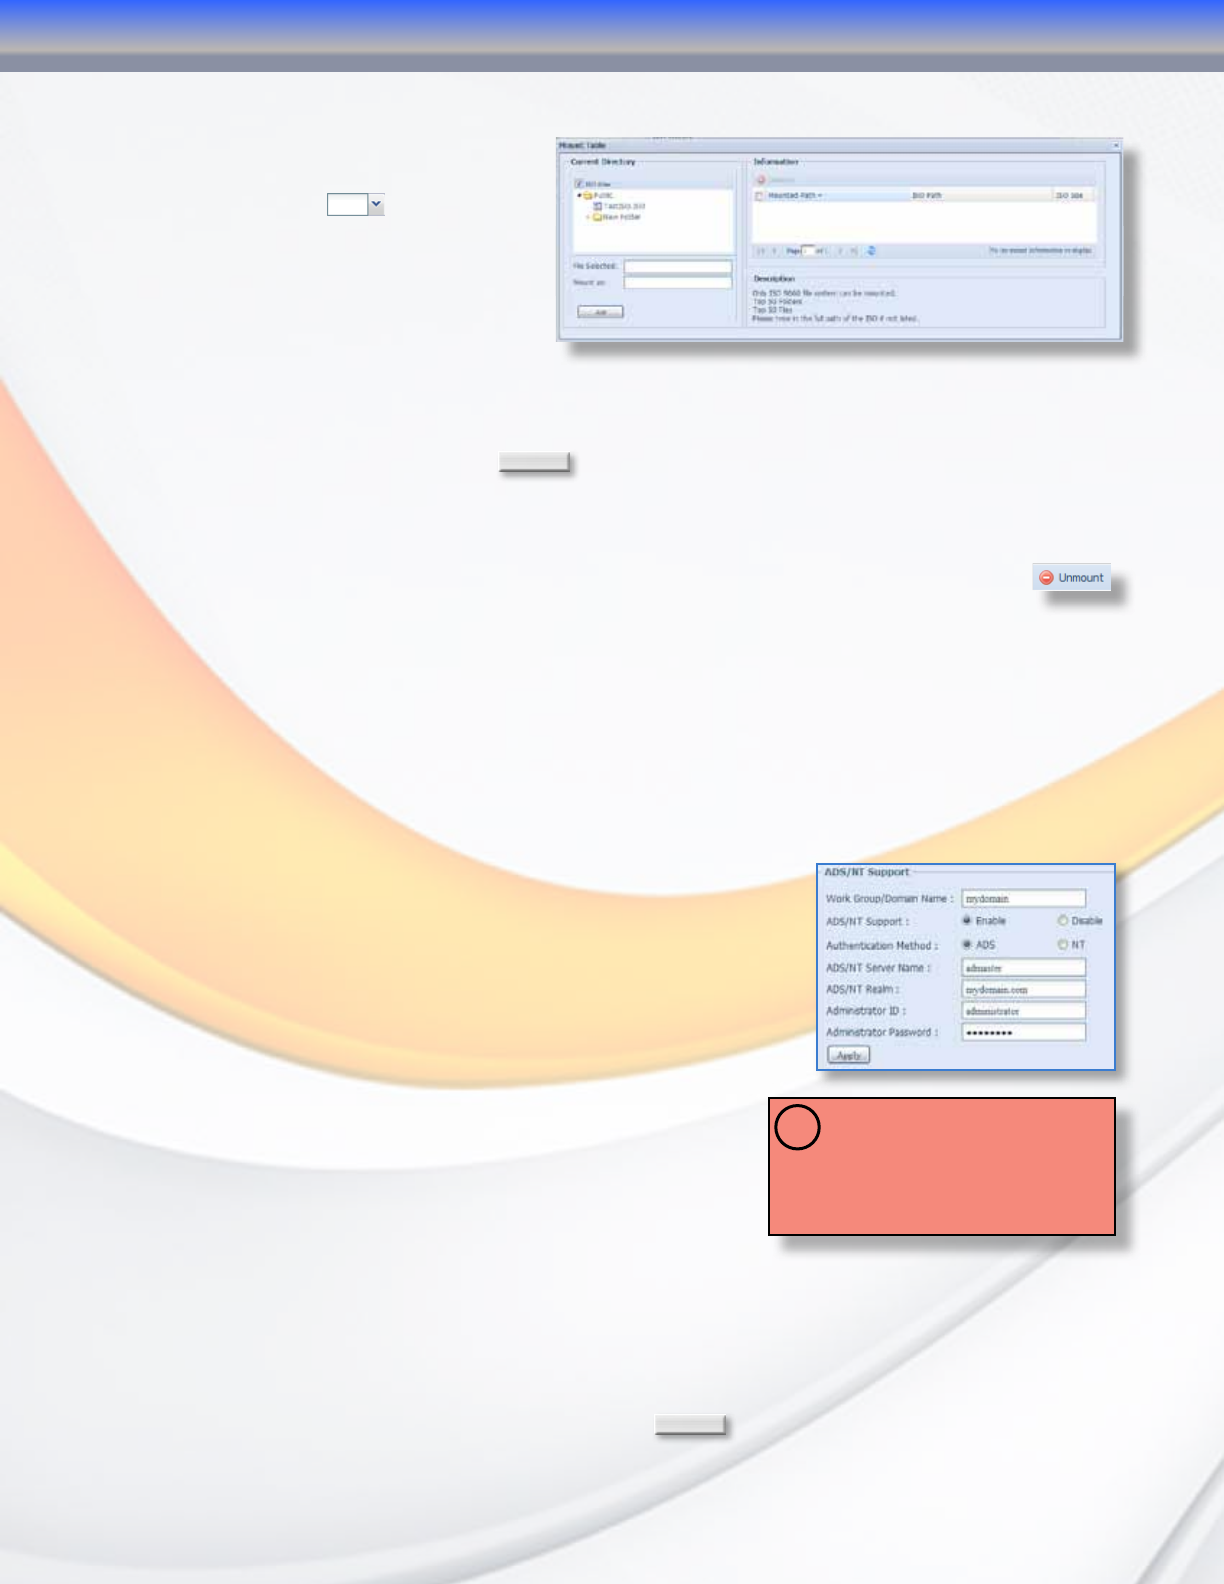
To add a new ISO image share, select the
sharepoint where the ISO image resides
from the pulldown
to launch the
Mount Table window. In the Mount Table
menu that appears you will see any valid
*.iso files listed and the folder(s) within
which they reside. Select the ISO you
want to mount in the “Current Directory”
list. Mounted ISOs will appear as a new folder in the shared folder that originally held the
ISO file. The default name of the ISO will be the name of the ISO file, i.e., TestISO.iso would
become a folder named “TestISO”). You may assign a user chosen folder name to this ISO
mount in the “Mount as” field. Click
Add
to complete the process. Mounted ISO folders will
be subject to the parent share ACLs.
4.6.2 Removing ISO image shares
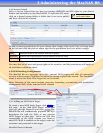
To remove ISO image shares, check the checkbox(es) next to the mounts desired and click
.
No data will be lost by this operation.
5
. User and Group Configuration
Account Configuration allows for users and groups creation and integration into a Microsoft
Windows Active Directory or domain. Account Configuration is accessible from the “User and
Group” menu.
5.1 ADS Authentication Configuration
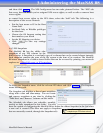
The MaxNAS R8 can authenticate with and use Microsoft server
resources such as WINS (Windows Internet Naming Service,)
Workgroup or Domain assignment, and ADS. The Microsoft Support
configuration screen is accessible from “Accounts” -> “Authentication.”
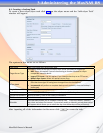
This screen displays the directory support parameters of the system
as follows:
• Workgroup/Domain Name: Specifies the SMB/CIFS Work Group,
NT Domain name, or Compatibility (Pre 2000) Name.
• ADS Support: Enabled to join a Microsoft domain/AD or
disabled for workgroup support.
• ADS Server Name: Specifies the AD fully qualified
domain controller name or NT PDC.
• ADS/NT Realm: Specifies the fully qualified (fqdn) ADS
realm or NT Domain name.
• Administrator ID/password: Domain administrator credentials- required for permission to
join an Active Directory.
Consult your network administrator for assistance with joining the MaxNAS R8 to an Active
Directory. When all fields have been entered, click
Apply
to begin the authentication process.
See “Appendix C- Active Directory” for more information.
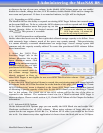
IMPORTANT: Active Directory
integration is supported on LAN 1
only. Make sure DNS is set to your
Active Directory Integrated DNS server.
Improper DNS settings will cause the
authentication to fail!
!
3-Administering the MaxNAS R8


