


www.netcomm.com.au Rev. 1- YML709
Page 6 NB1300Plus4 ADSL Modem
Overview
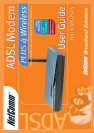
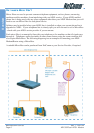
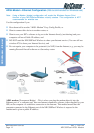
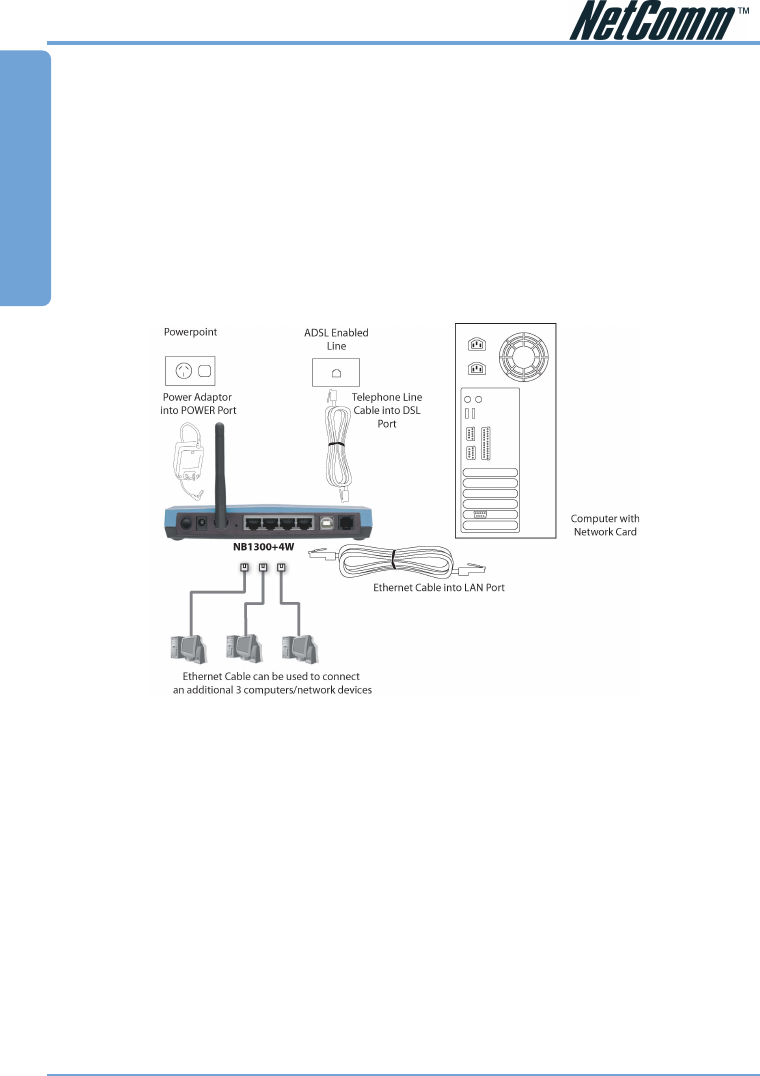
Connecting your NB1300Plus4Wireless
The NB1300Plus4Wireless can be connected via a USB cable or an Ethernet cable or both. The
reason for this is that the USB connection is simply an ethernet simulation, as far as your
computer is concerned the USB connection is an Ethernet connection, hence DHCP and other
protocols will work the same as for Ethernet.
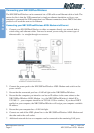
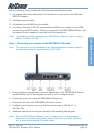
Connecting your NB1300Plus4Wireless ADSL Modem via Ethernet
1. Connect your NB1300Plus4Wireless to either a computer directly or a network hub or
switch using cat5 ethernet cables. You need to ensure you are using the correct type of
ethernet cable - i.e. straight through or crossover.
2. Connect the power pack to the NB1300Plus4Wireless ADSL Modem and switch on the
power switch.
3. Ensure that the connected port has a LAN led light on the NB1300Plus4Wireless.
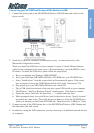
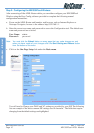
4. Ensure that the computer you intend to use has an IP address in the same subnet as the
NB1300Plus4Wireless ADSL Modem. (e.g. the NB1300Plus4Wireless’s default IP is
192.168.1.1 - your computer should be on 192.168.1.100 or similar.) If you have DHCP
enabled on your computer, the NB1300Plus4Wireless will assign your computer a suitable
IP address.
5. Ensure that your computer has a LAN link light.
6. Connect one end of the ADSL phone line to the NB1300Plus4Wireless ADSL Modem and
the other end to the wall socket.
7. Additional network devices or computers can be connected to the remaining LAN ports.