


Rev. 1 - YML709 www.netcomm.com.au
NB1300Plus4 Wireless ADSL Modem Page 7
Overview
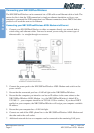
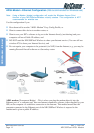
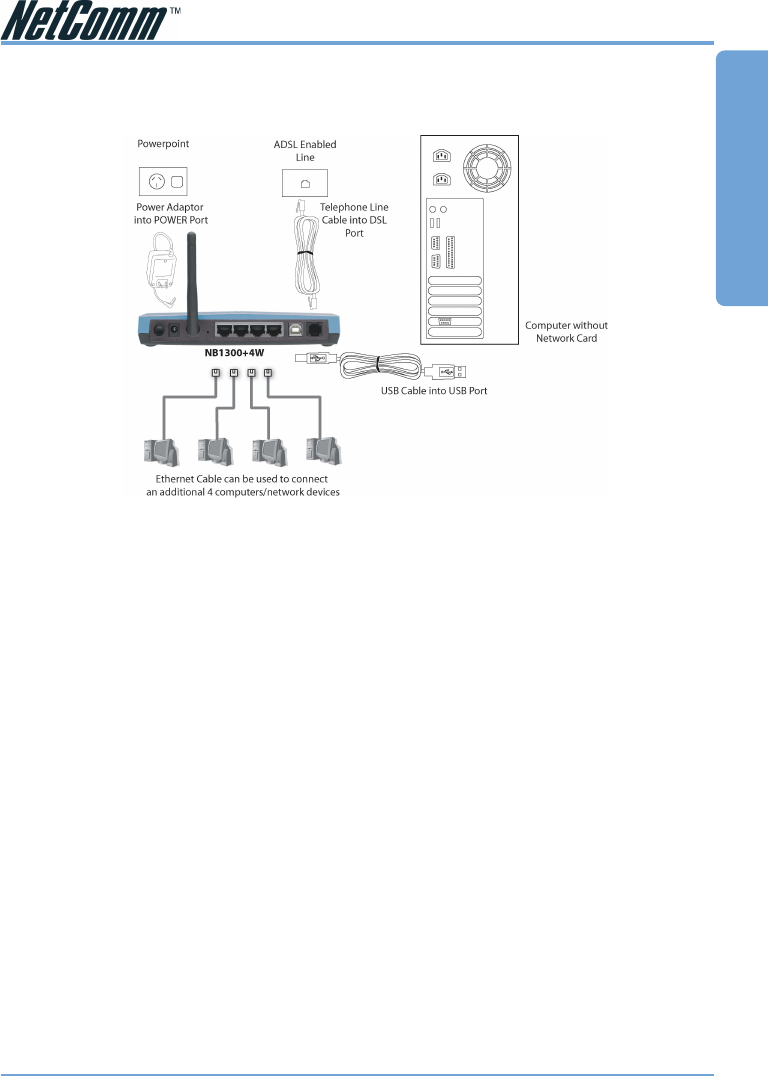
Connecting your NB1300Plus4Wireless ADSL Modem via USB
1. Connect the power pack to the NB1300Plus4Wireless ADSL Modem and switch on the
power switch.
2. Install the USB driver (Windows 98/Me/2000/XP only - for Macintosh refer to the
Macintosh Configuration section.)
When you install the USB driver on your computer it creates a Virtual Ethernet Adapter,
which can be configured in the same way as a Network Interface card with DHCP or static
IP address. To install the USB driver please follow the steps below;
a. Boot your machine into Windows 98/Me/2000/XP.
b. Insert your NetComm NB1300Plus4Wireless CD-ROM into your CD-ROM drive.
c. Select “Install drivers” from the screen which will automatically appear. If the screen
does not appear, browse the CD-ROM and double-click on the “autorun.exe” file.
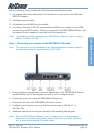
d. Plug power up to your NB1300Plus4Wireless and switch ON.
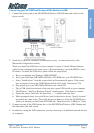
e. Plug a USB cable from the back of the unit into a spare USB socket on your computer.
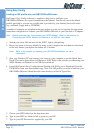
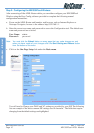
f. The Windows “Add New Hardware Wizard” should appear. Click Next to continue.
g. Ensure the option “Search for the best driver….” is chosen and click Next.
h. When prompted where you would like to look for the drivers choose “Specify location”
and untick any other boxes. Then click the browse button to select the CD-ROM drive
which you inserted you NetComm CD-ROM into. Then choose the ‘USBdriver’ folder.
3. Connect one end of the ADSL phone line to the NB1300Plus4Wireless ADSL Modem and
the other end to the wall socket.
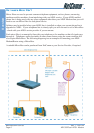
4. In addition to using the USB connection, you my connect up to 4 additional network devices
or computers.