


2000-A2-GB20-10 - 65 - February 2004
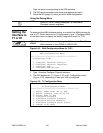
Type the option corresponding to the ATM standard.
6. The IAD sets the standard you select and displays the menu.
7. Reset the IAD (page 14) when you finish WAN configuration.
Using the Debug Menu
Setting the
Interface to
T1 or E1
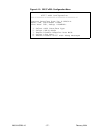
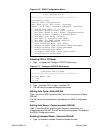
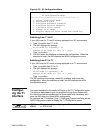
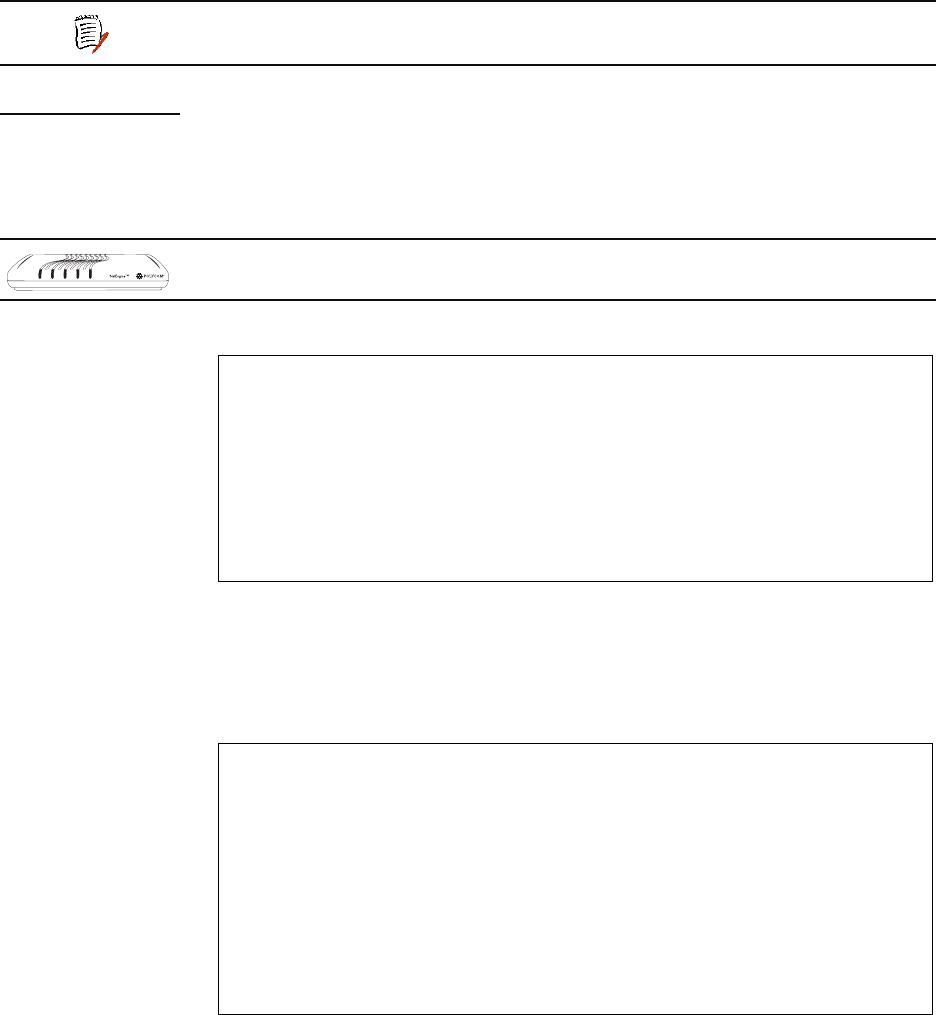
To determine the WAN interface setting, or to switch the WAN interface for
use in a T1 (North American) or E1 environment, type 5 (Configure WAN)
on the Main menu to display the WAN Configuration menu for T1/E.
Figure 4–21. WAN Configuration Menu for T1/E1
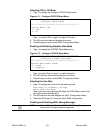
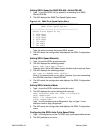
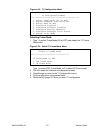
1. Type 2 to select Configure Physical Interface.
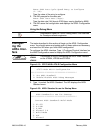
2. The IAD displays the T1 (Figure 4–22) or E1 Configuration menu
(Figure 4–23), depending on how your IAD is configured:
Figure 4–22. T1 Configuration Menu
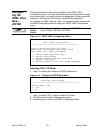
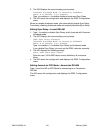
NOTE
Option D—ADSL Debug Messages—is reserved for
Paradyne network engineers.
LAN LINK LAN ACT WAN LINK VOICEPOWER
JF2208
JF2216
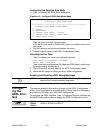
This section is for configuring the IAD to use the T1 or E1
WAN interface on the JF2208 or JF2216 IAD.
*****************************************
WAN Configuration Menu
*****************************************
Configuring T1/E1
1. Configure Datalink Protocol
2. Configure Physical Interface
3. Configure PVCs
4. Configure ATM Options
*******************************************
T1 Configuration Menu
*******************************************
1. Select Frame Mode (D4 or ESF)
2. Select Transmit Line Build Out
4. Select B8ZS or AMI
5. Configure Loopback
6. Configure Transmit Channels
7. Configure Receive Channels
8. Configure Transmit Clock Source
9. Change to E1 Mode