64
Chapter 7Using Hands-free Phoning NAVI
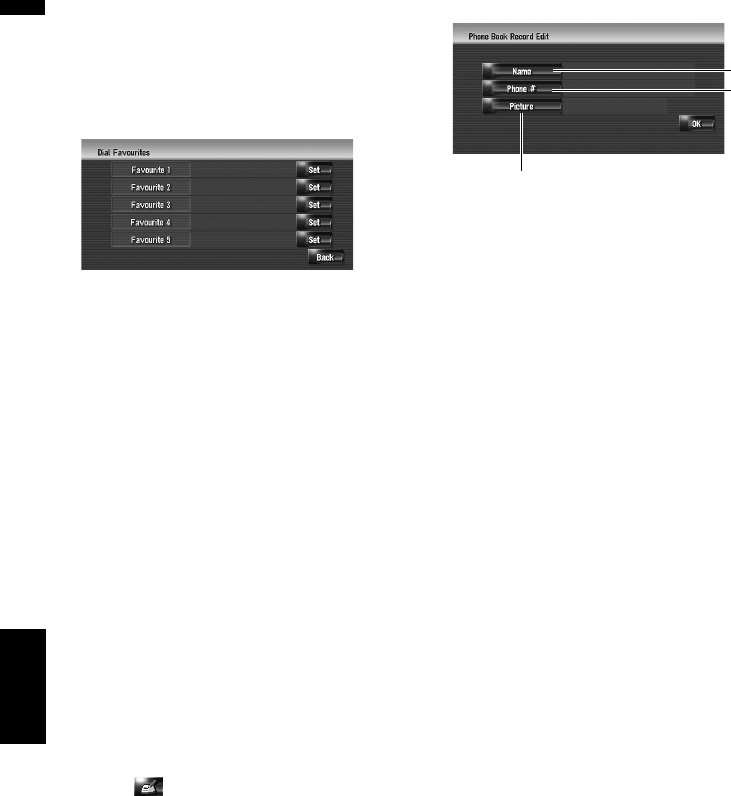
1 Touch [Info/Phone] in the Navigation
menu, and then touch [Phone Menu].
2 Touch [Dial Favourites].
3 Touch [Set] on any of [Favourite 1] —
[Favourite 5].
4 Touch the entry you want to register.
The Phone Book Record screen appears.
5 Touch [OK].
The selected entry is registered in the corre-
sponding “Dial Favourite”.
Editing the entry in “Phone
Book”
You can edit the imported phone book data or
add new data. You can edit [Name], [Phone #],
or [Picture]. You can also delete unnecessary
data.
❒ The data cannot be transferred back to the
mobile phone.
Editing data or adding new data
1 Touch [Info/Phone] in the Navigation
menu, and the touch [Phone Menu].
2 Touch [Phone Book].
3 Touch or [Add].
The edit screen appears.
❒ To add data by entering it as desired, touch
[Add].
4 Select the entry you want to edit.
(1) Name
Enter the name to be displayed in the phone
book.
For more details about operations, please
read the following page.
➲ “Changing a name” ➞ Page 52 (Step 1 and
2)
❒ Up to 40 characters can be input for the
name.
(2) Phone #
Enter the phone number to be displayed in the
phone book. Touch [OK] to complete the
input and return to the previous screen.
❒ Up to 32 characters can be input for the
phone number.
❒ The edited names and phone numbers are
reflected to the dialled number history and
the received call history. However, they are
not reflected to the data registered in “Dial
Favourites”.
(3) Picture
Sets the image to be displayed when a call is
received.
➲ “Customising the incoming call picture for
a phone book entry” ➞ Page 65
5 Touch [OK].
The selected data is added to the phone book.
(1)
(2)
(3)
