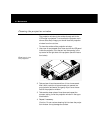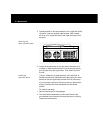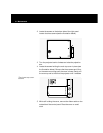
2 Locate the screws on the bottom side of the right panel.
Loosen the three screws (see the illustration below).
3 Turn the projector back to its base and raise the projection
arm.
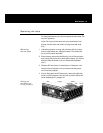
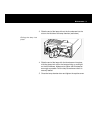
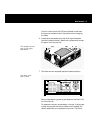
4 Locate the screws holding the main top cover in place (see
the illustration below). Remove the three screws and lift up
on the screw mountings until the cover is loose. Gently pull
the cover up and to the left of the projector until it releases.
The three top-cover
screws
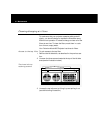
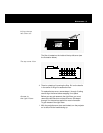
5 While still holding the cover, remove the ribbon cable on the
underside of the control panel. Place the cover on a soft
cloth.
94 Maintenance
OVERTEMP
VOLUME
SOURCE
FIT-TO-VIEW
POWER
CLEAR
SETUP
MENU
REPL LAMP


