Copying
78
2
E
EE
E
Enter the number of the first page
of the first chapter using the
number keys. Then, press the {
{{
{#}
}}
}
key.
F
FF
F
To specify another page, repeat
steps
D
DD
D
to
E
EE
E
.
Note
❒ To select chapters 11 to 20, press
the [T
TT
T11~20] key.
G
GG
G
When page designation is com-
plete, press [OK].
H
HH
H
Press [OK].
I
II
I
Set originals, and then press the
{
{{
{Start}
}}
} key.
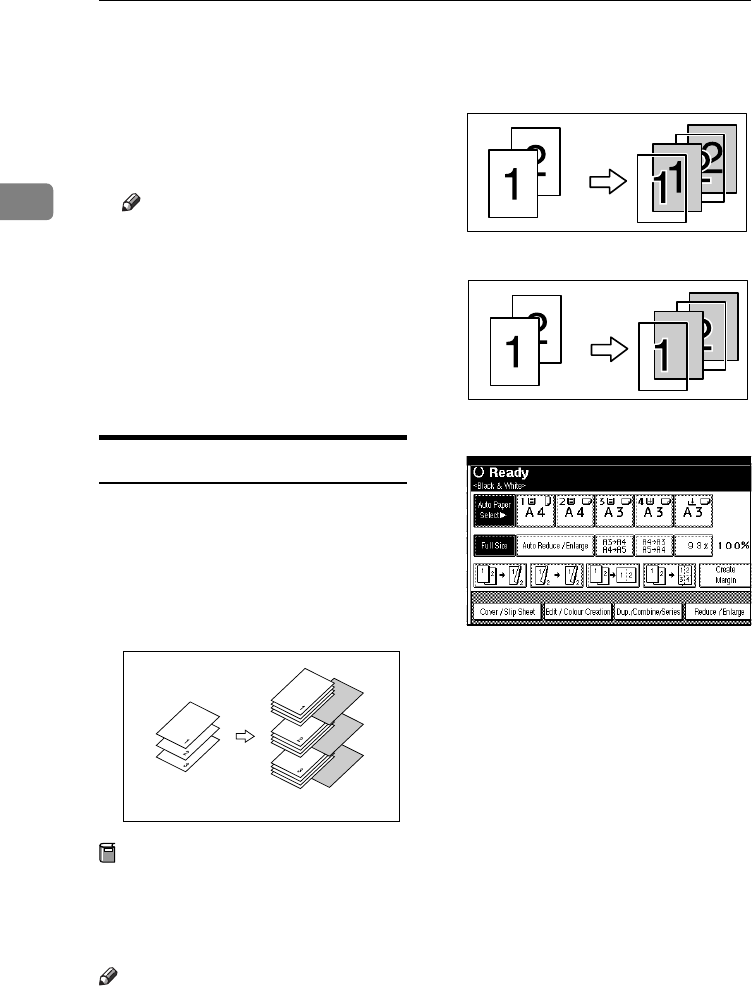
Slip Sheets
Every time the originals' page chang-
es, a slip sheet is inserted. This func-
tion can be used to automatically
insert a slip sheet between OHP
transparencies, or as a stacking func-
tion. You can also copy onto slip
sheets.
Preparation
Before selecting this function, set
the tray for slip sheets. See “Slip
Sheet Tray” in “Tray Paper Set-
tings”, General Settings Guide.
Note
❒ Load slip sheets in the same size
and orientation as copy paper or
OHP transparencies.
❖
❖❖
❖ When using OHP transparencies from
the bypass tray
• Copy
• Blank
A
AA
A
Press [Cover / Slip Sheet].
B
BB
B
Press [Slip Sheet].
C
CC
C
Select [Copy] or [Blank], and then
press [OK].
D
DD
D
Select the paper tray containing
the sheet paper to copy the origi-
nals.
E
EE
E
Place the originals, and then press
the {
{{
{Start}
}}
} key.
ThemisC1_AE_Copy_F_FM.book Page 78 Tuesday, June 21, 2005 9:09 PM


