


79
Chapter 5: Maintenance
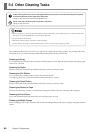
MAINTENANCE
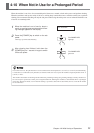
WIPER REPLACE
TIME FOR
WIPER REPLACE
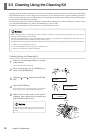
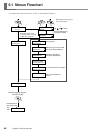
5-3 Replacing the Wiper
If the message shown in the figure appears, replace the wiper
with a new part.
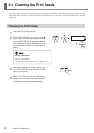
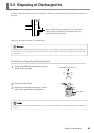
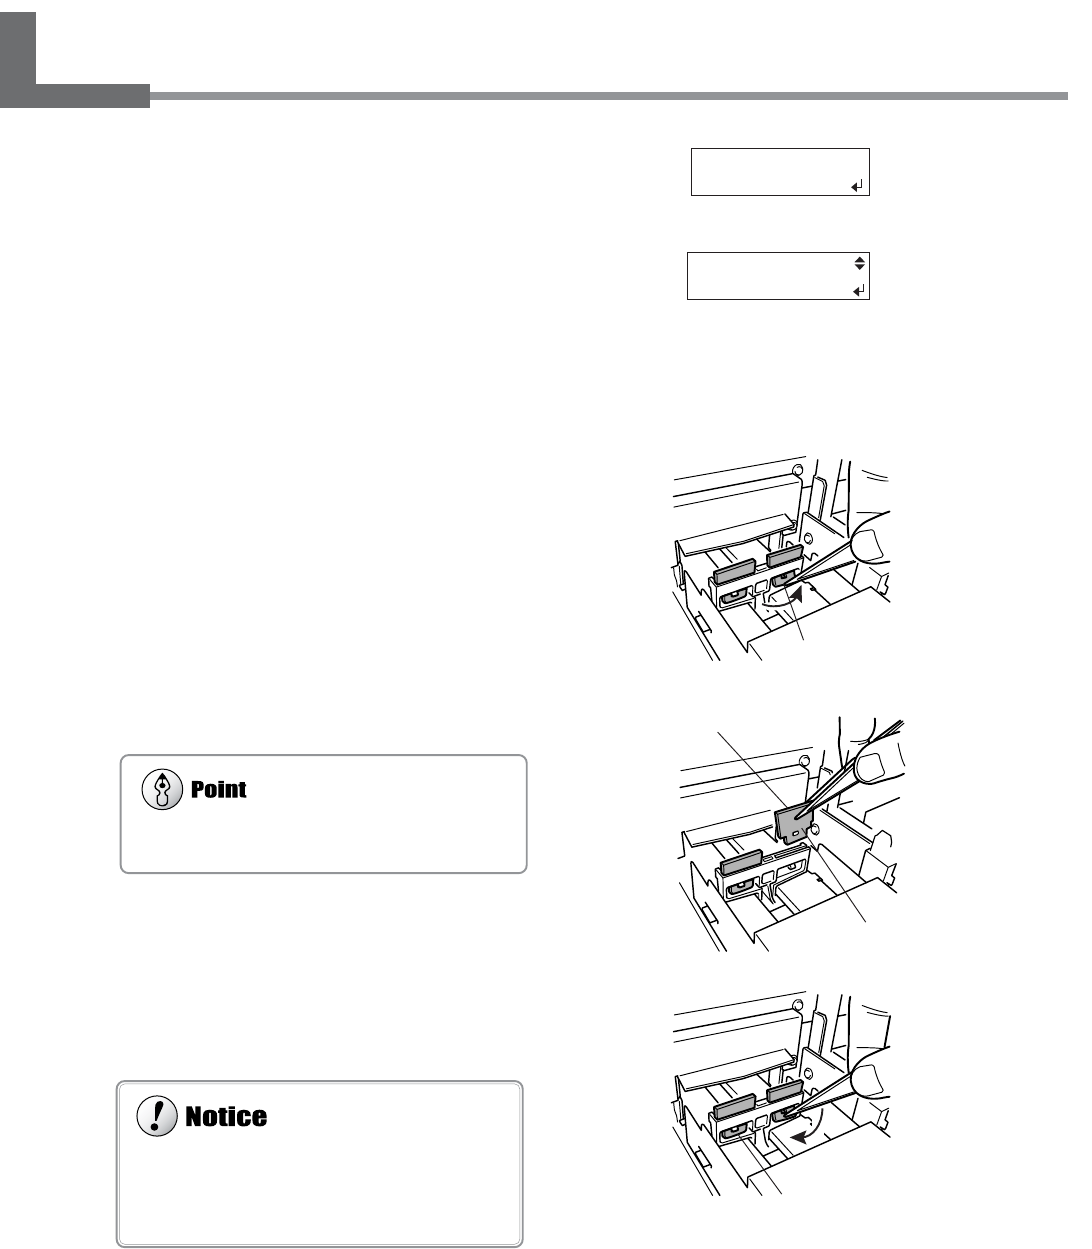
1
Follow steps 1 through 3 in "5-2 Cleaning Us-
ing the Cleaning Kit" to display the screen
shown in the figure, and press the [ENTER] key.
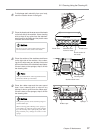
2
Follow steps 5 and 6 in "5-2 Cleaning Using
the Cleaning Kit" to detach the right cover, and
discharge static electricity from your body.
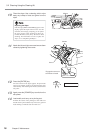
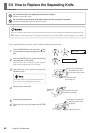
3
Using tweezers, grasp the bottom portion of the
wiper and take it off the hook.
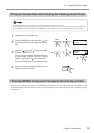
4
Remove the wiper.
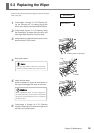
5
Install the new wiper.
Use the tweezers to press the area shown in
the figure and engage the wiper on the hook.
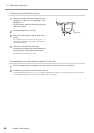
6
Follow steps 11 through 13 in "5-2 Cleaning
Using the Cleaning Kit" to attach the right cover
and carry out a printing test.
The wiper has a rubber surface and a felt surface.
Attach it so that the rubber surface faces the front.
When installing the wiper, be sure to engage it on
the hook. If the wiper is not hooked, it may fall off
during use. Use the included tweezers to install and
detach the wiper.
Hook
Bottom portion of the wiper
Rubber
Felt