


Disassembly / Reassembly Procedures
18
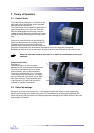
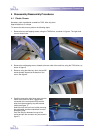
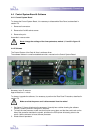
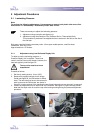
5. The emergency stop contactblock can be removed using a little screwdriver which can inserted
below the clamping spring and the contact block.
See the arrow on figure 8.
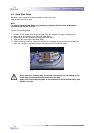
6. The procedure for the left-hand side cover is
similar, though it’s obvious that there’s no
patchcable on this side.
The assembly of the covers is in reverse order.
Make sure that all connectors are
fitted when mounting the covers.
4-2 Heating Element
Necessary tools: Allen key 3mm
Approximate time: 10 minutes
Note:
To disassemble / reassemble the heating element,
it is necessary to perform the ‘Plastic Side Covers’
procedure, described in Section 4-1
Make sure that the power cord is
disconnected from the mains!
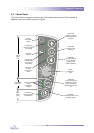
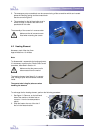
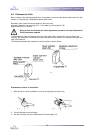
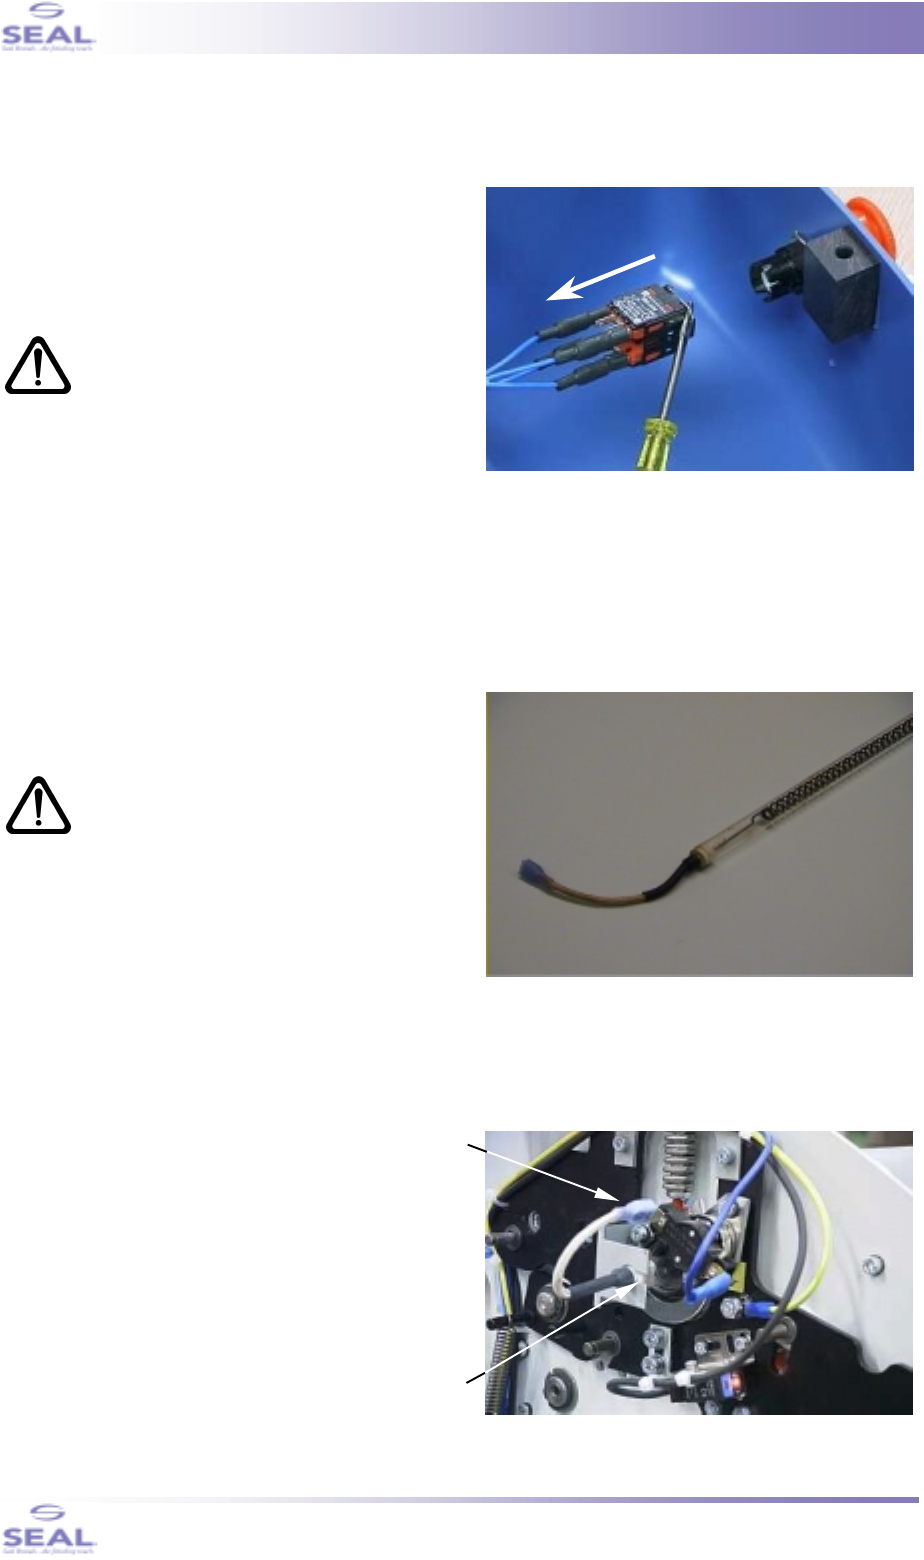
The heating element (see figure 9), is a quartz
tube, having a spiral wound filament mounted
inside.
The quartz tube is fragile; take care when
handling the element.
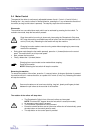
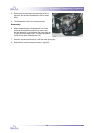
To exchange the the heating element, perform the following procedure:
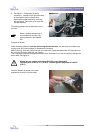
1. See figure 10. Remove, on the left-hand
side of the machine, the blue fast-on
conector 1 from the overtemperature
switch.
2. Slide the heater wire out of the slot 2
that’s in the heater bracket.
fig. 8
fig. 9
1
2
fig. 10