


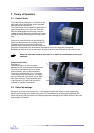

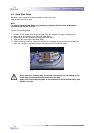
Disassembly / Reassembly Procedures
21
4-4 Control System Board & Software
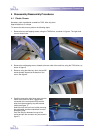
4-4-1 Control System Board
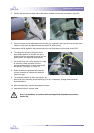
To change the Control System Board, it is necessary to disassemble Rear Panel, as described in
section 4-3.
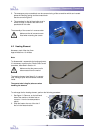
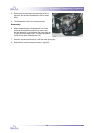
1. Remove all connectors.
2. Remove the five M3 socket screws.
3. Remove the print.
Assemble in reverse order.
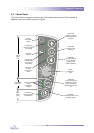
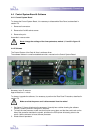
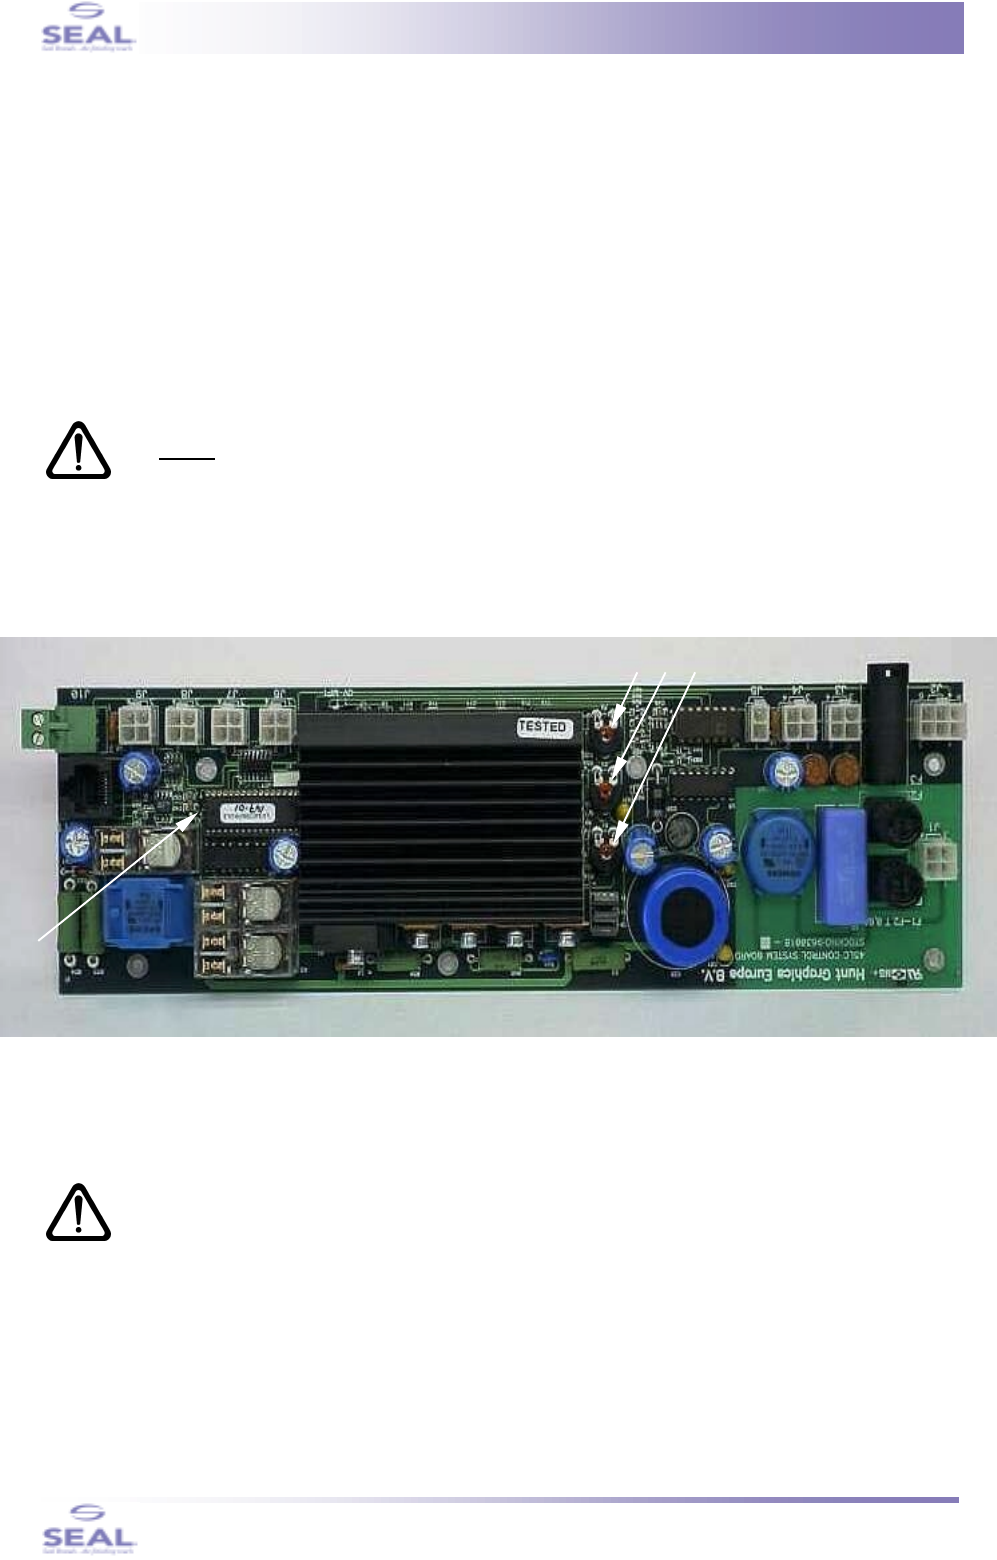
Never
change the settings of the three potmeters, marked 1, 2 and 3 in figure 15.
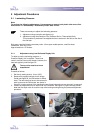
4-4-2 Software
The Control System of the Seal 44 Ultra is software driven.
The software resides in a small embedded controller, mounted on the Control System Board.
Necessay tools: IC extractor
Approximate time: 1 minute
To change / upgrade the software, it is necessary to perform the ‘Rear Panel’ Procedure, described in
section 4-3.
Make sure that the power cord is disconnected from the mains !
1. See figure 15. Arrow #4 points to the processor (it usually has a sticker showing the software
version). Carefully remove it using the IC extractor.
2. To insert the new processor, make sure that its pins are not bent, and that the small notch on the
side of the processor matches the symbol, printed on the PCB (arrow #4 actually points to the
notch). Use the extractor to insert the new processor.
3. Discard the old processor.
fig. 15
1 2
3
4