D 13954.01
JUNE 2006
21
TANDBERG 1700 MXP
USER GUIDE
Sound Matters
Getting Acquainted with the System
Headset Recommendations
Standard 3.5mm jack for microphone input
Standard 3.5mm stereo jack for earphone output.
Earphone Frequency Range: Min. 100–8000 Hz (100–16000 Hz recommended)
Mic. Frequency Range: Min. 100–8000 Hz (100–16000 Hz recommended)
Earphone impedance: 16–500 W
Microphone sensitivity: –39 dBV/Pa ± 5 dB
Phantom voltage for microphone: 5 Vdc
Microphone load impedance: 2.2 kW
Most standard PC-headsets will work. The headset may have integrated volume con-
trol and/or a noise cancelling microphone without the risk of degrading the sound.
Level settings can be made by means of the Control Panel, see Level Settings.
•
•
•
•
•
•
•
•
Loudspeakers or Headset?
Your system comes with built-in loudspeakers and microphones. In addition you may connect a headset, with or
without microphone, to the system. Once you connect a headset and/or a microphone to the system, this will be
detected automatically.
Internal
loudspeaker
Internal
microphone
Headset
loudspeaker
Internal
microphone
Headset
loudspeaker
Headset
microphone
the headset only
Headset
loudspeaker
Internal
microphone
Internal
loudspeaker
Internal
microphone
Internal
loudspeaker
Internal
microphone
the microphone
of the headset
If you use…
…and then connect…
…you will end up using
the microphone
of the headset only
Mic Off
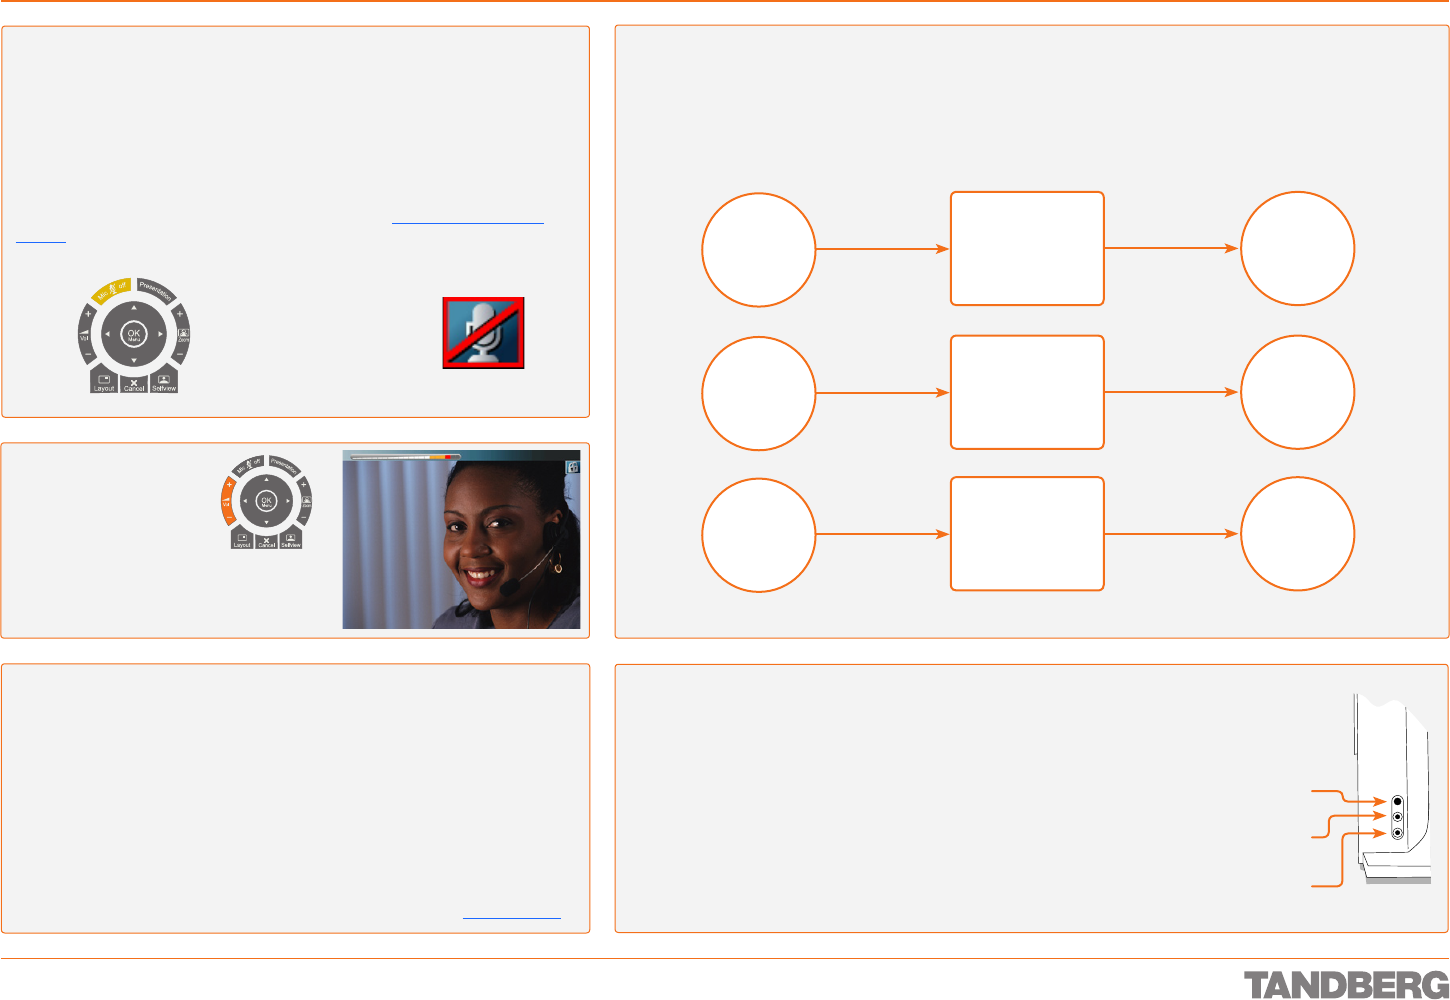
To mute the microphone during a call, press the Mic Off button. An on-screen
indicator appears in the upper right corner when the microphone is OFF. In a
call, if audio is detected, the on-screen symbol will start to flash. Pressing the
Mic Off button one more time will activate the microphone again.
Note! Mic Off will mute all microphone inputs, but it will not mute audio from
any AUX and VCR inputs.
When an incoming call is answered, the microphone may be in the off state
because the Auto Answer setting is On+Mic Off, see Control Panel > Auto
Answer. The icon will flash once you start speaking. Remember to turn on the
microphone before a meeting.
Touch tones Snapshot
Camera Presets
Using the Internal / Headset Switch
There are connectors for the headset and the headset-microphone
on the left side of the socket, when viewed from the front – see Fig.
The little switch is used to toggle between the system’s own
speakers/microphone and the headset’s.
If you connect headset only (no microphone) the toggling will be
between the systems’s loudspeakers and the headset’s.
If you connect headset and mic., the toggling will be between the system’s
speakers/microphone and the headset’s.
If you connect a microphone only (no headset), nothing will happen
when you press the switch.
•
•
•
Mic Off key
Adjusting the Volume
Press the Volume keys to
adjust the volume level.
An on-screen indicator will
show the current level.
When the volume bar changes
colour to yellow and red, the
sound is compressed to avoid distortion.
Touch tones Snapshot
Camera Presets
This icon indicates
that the microphone
has been turned off.
Headset
toggle button
Headset
out
Headset
microphone
