BioOptix™ 10
Section 2 Installation
2-9
12. Ensure the Power Switch is in the Off (“0”) position. Then,
connect the AC power cord to the back of the Pump Mod-
ule. Connect the other end of the power cord to an outlet
meeting the electrical requirements listed on the serial
number label.
13. Locate the Serial “Y” cable, P/N 60-1020-241 in the Acces-
sories Kit. Connect the 25-pin connector labeled First
Instrument Optix to the External Control port on the back of
the Pump Module.
The BioOptix 10 may now be positioned on the bench as
shown in Figure 2-1.
WARNING
The system is heavy. Use a two-person lift to prevent injury.
14. Insert the ten column clamps into the BioOptix 10. Secure
the clamps by tighten the thumbscrews against the stain-
less steel shafts (Figure 2-12).
2.2.4 Assembling the
Foxy 200
1. Refer to section 2 of the Foxy 200 X-Y Fraction Collector
instruction manual. Unpack the Foxy 200 and assemble
the arm.
Note
To prevent damage to the ground wire on the fraction collector
arm, attach the ten-channel drop former to the arm before pro-
ceeding with the arm assembly instructions.
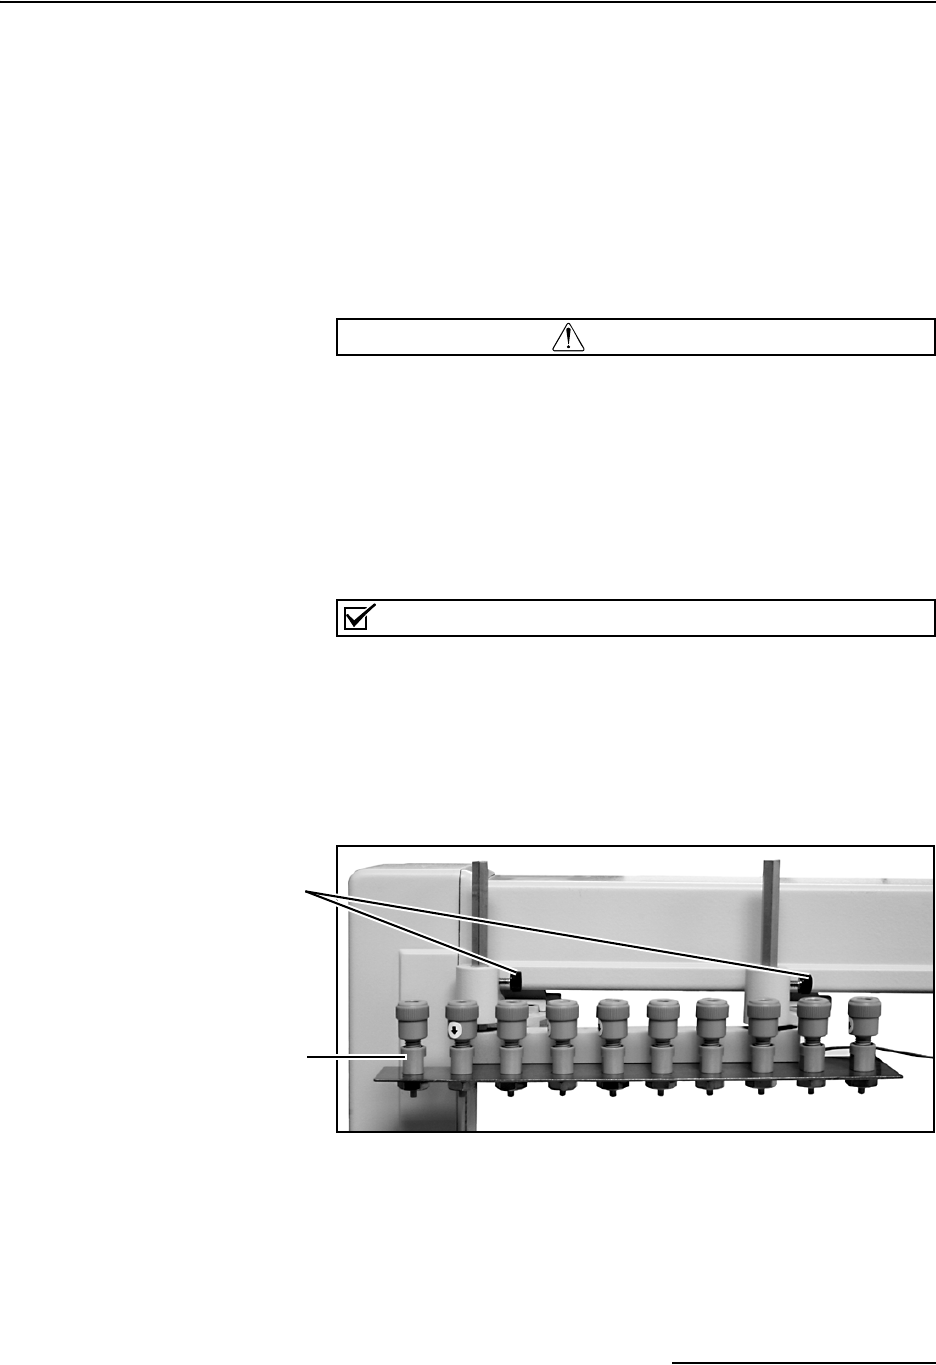
2. Loosen the two thumbscrews and raise the ten-channel
drop former assembly to its highest position (Figure 2-13).
Retighten the thumbscrews.
Figure 2-13 Foxy arm
3. Load collection tubes into the racks. Place the racks on the
Foxy 200.
4. Loosen the two thumbscrews and lower the ten-channel
drop former assembly so that it will clear the collection
tubes (Figure 2-13). Retighten the thumbscrews.
Drop former height
thumbscrews
10-channel drop
former assembly


