


7-13
7
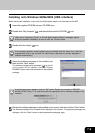
Copying files for MFP driver installation and parallel interface setup (This step will start if it
was selected in step 4).
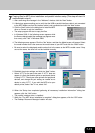
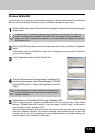
1. After confirming the message in the “Welcome” window, click the “Next” button.
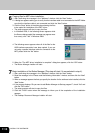
2. A dialog box appears asking you to verify that the USB or parallel interface cable is not connected
to the MFP. Make sure that the interface cable is not connected and click the “Next” button.
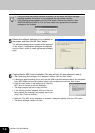
3. Click the “Next” button in the dialog box to install the MFP
driver or Cancel to quit the installation.
• The setup program will start to copy the files.
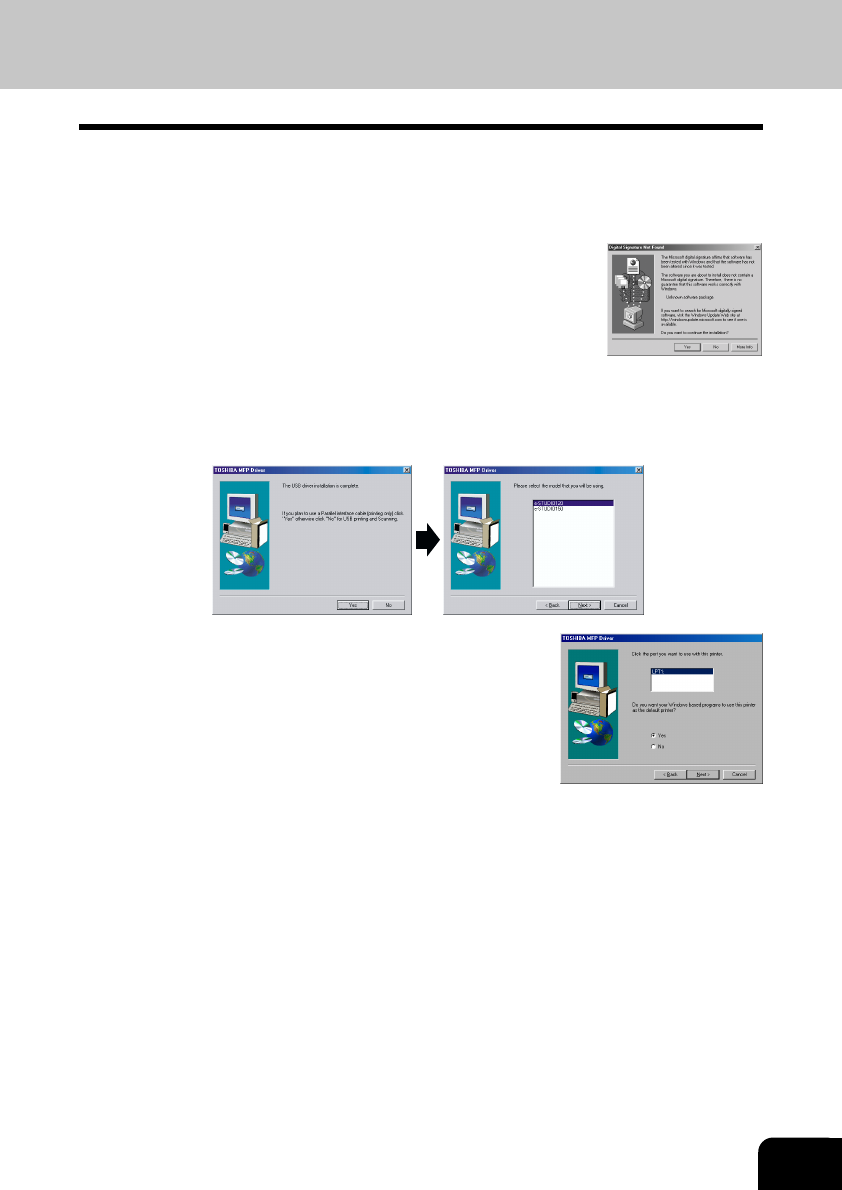
• In Windows 2000, if the following screen appears while
the files are being copied (the message may appear more
than once), click “Ye s ” in Windows 2000.
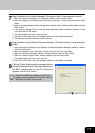
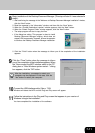
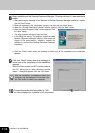
4. The following screen appears. Click the “Ye s ” button, and then the Model screen will appear. Select
the model number that is the same as the model name of your MFP and click the “Next” button.
• Be sure to select the displayed model number that is the same as the MFP’s model name. If they
are not the same, the driver will not be installed correctly.
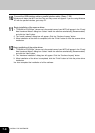
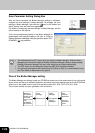
5. Establish the printer settings and click the “Next” button.
• Select “LPT1” for the port to be used. If “LPT1” does not
appear, it is likely that another printer or peripheral device
is using “LPT1”. Check your other printers and peripheral
devices, and change the port setting as needed so no
device is using “LPT1”. If you wish the MFP to be your
default printer, select “Ye s ”. If not, select “No”.
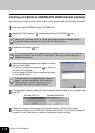
6. When the “Setup has completed gathering all necessary installation information” dialog box
appears, click the “Ye s ” button.
• The parallel interface driver is installed.
7. When the “The MFP driver installation is complete.” dialog box appears, click the “OK” button.
• The Desktop Document Manager installer will start.