


GL-1010 Scan Operator’s Guide 79
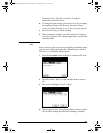
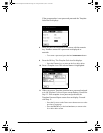
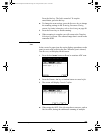
Press the YES key. The Job is canceled. To stop the
cancellation, press the
NO key.
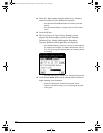
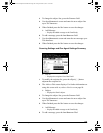
n To change the scan settings, press the SETTING key to change
the scanning settings in the Scanning Parameter Setting
screen.
For further information, refer to Scan Setting on page 80.
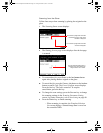
3 Press the FINISH key to finish scanning.
4 When scanning is complete you will return to the Template
Selection List screen. The scanned image data is saved on the
controller HDD.
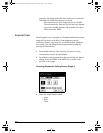
HANDLING PAPER
JAMS
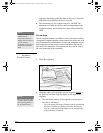
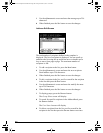
In the event of a paper jam, the copier displays procedures on the
panel to assist with resolving the jam. When the jam is cleared,
Jam Recovery will display on the screen.
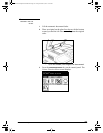
1 Press the hard START button or SCAN! to continue ADF scan.
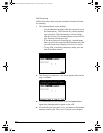
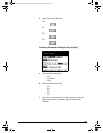
2 Press the CANCEL JOB key or hard FC button to cancel a job.
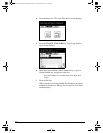
3 The screen will display Cancel Confirm.
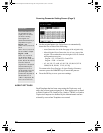
n When using the ADF, if the job stops due to an error, such as
Job Overflow, during the continuous scanning of multiple
GL-1010 Scan Operator's Guide.book Page 79 Friday, October 5, 2001 10:30 AM