Xerox
®
DocuMate
®
4830
User’s Guide
135
Scanning
Some features described herein may not be available for the current scanner. Please disregard any information
about features that you do not see in the interface for your scanner.
Note: Visioneer Acuity must be installed for the image processing options, described in this document, to be
available in the interface for your scanner. Only features that are appropriate for your scanner will be enabled after
Visioneer Acuity is installed. Visioneer Acuity is automatically installed when you install the scanner driver from the
installation disc. If you downloaded the scanner driver from our website, make sure you also download and install
Visioneer Acuity.
1. Load the document(s) in the scanner.
2. Adjust the settings in the interface for the item you are scanning.
3. Click on the Scan button.
4. When scanning is complete, click Done to close the interface.
5. The scanned images are now in the scanning application.
Locked Scanning Interface
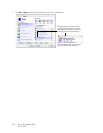
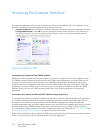
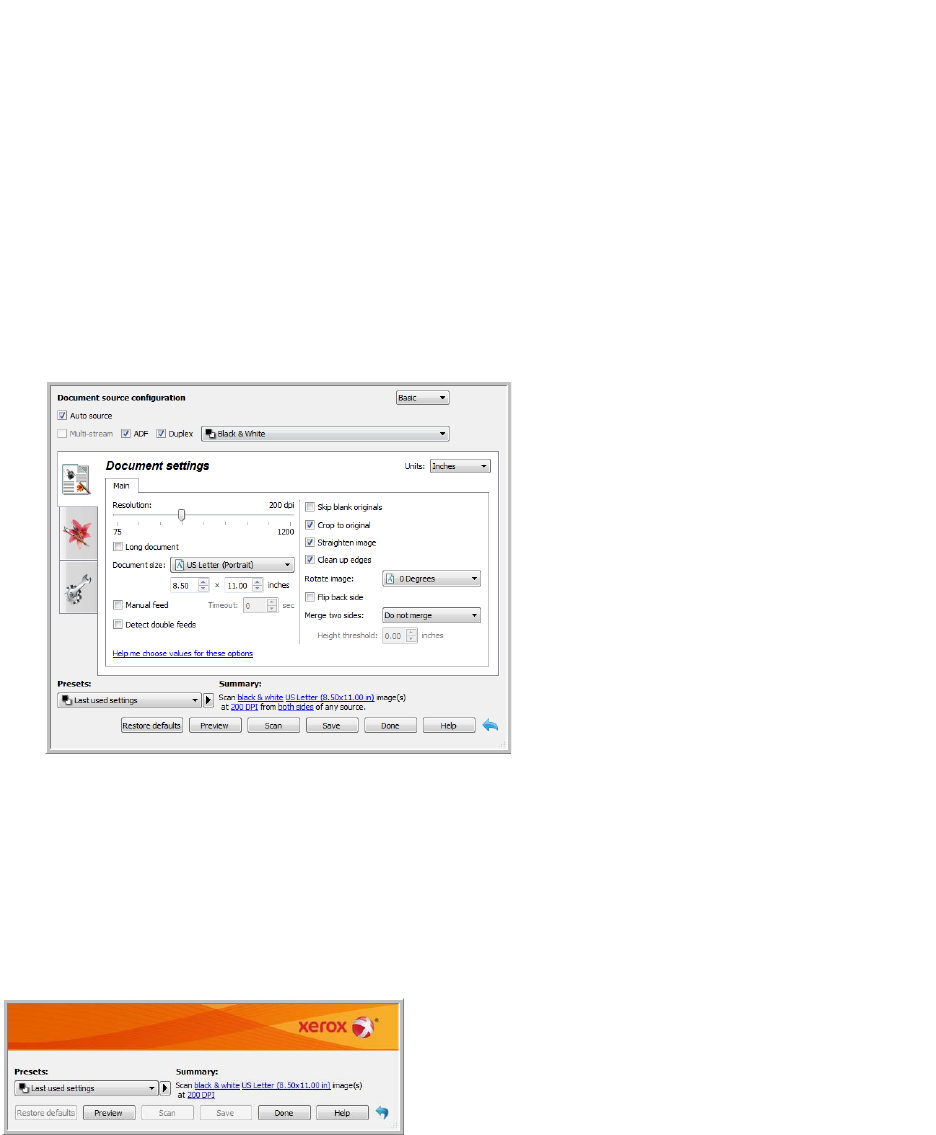
If you see this locked version of the scanner’s interface you will be able to select a predefined scanning profile from
the Presets list, and then click the Scan button to start scanning.
You can also click on the Preview button to open the preview dialogue for you to scan a preview image and set
custom scan regions.


