Xerox
®
DocuMate
®
4830
User’s Guide
172
Moiré Reduction
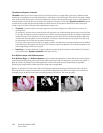
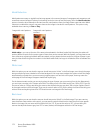
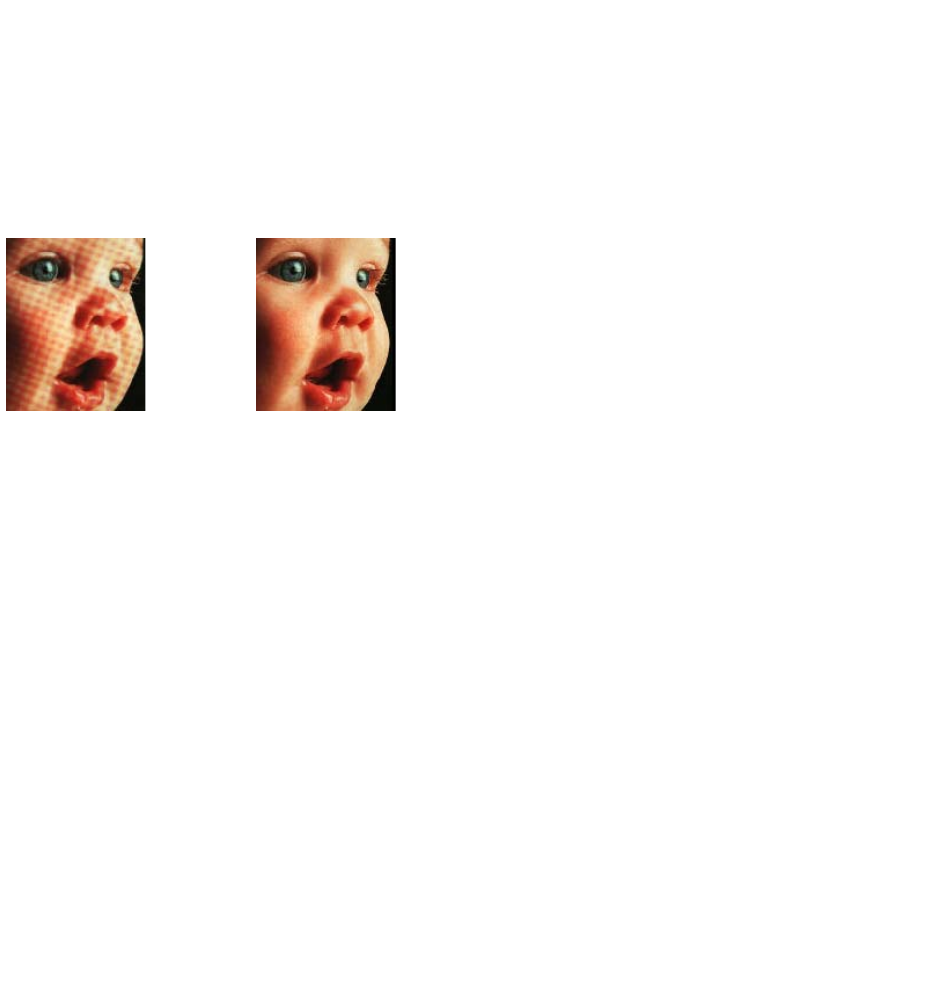
Moiré patterns are wavy or rippled lines that may appear in the scanned images of newspapers and magazines, and
sometimes scanned images of photos, line drawings, and color scans of textured paper. Select the Moiré reduction
option to have the driver attempt to find and remove moiré patterns from the image. Please note that when Moiré
reduction is enabled the scanner may scan slower as the image is checked for moiré patterns. This option is only
available when scanning in Color or Gray.
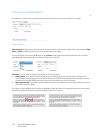
Moiré radius—you can set the size of the area to be evaluated in the Moiré radius field. Adjusting the radius will
produce different results for the various types of items that can be scanned. With this feature, you may have to test
scan a few times, adjusting the Moiré radius as needed, until you obtain the best results for the type of paper in your
scan job. Note that the higher the number is in the Moiré radius field, the longer it will take the driver to evaluate the
image.
White Level
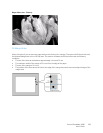
With this option you can set what the scanner should interpret as “white” in the final image, even though the page
being scanned may have a shaded or off-white background. You may want to adjust this option to have the image
automatically corrected when you are scanning irregular paper, such as thick or thin paper, that may cause the
white page in the final image to appear shaded with a pale grey.
For the best automatic results you can simply select the type of paper you are scanning from the list. Alternatively,
you can input a number in the Custom value field. The value you set in this field can be from 128 to 255. If you set
the custom value to 128 you are telling the scanner that all pixels that are grey level 128 or higher (lighter) should
be changed to white in the final image. If you set the custom value to 255, you are telling the scanner that only pure
white is white and anything lower than 255 should remain unchanged in the final image.
Black Level
With this option you can set what the scanner should interpret as “black” in the final image. If you are scanning
items that have notes written with a pencil, you may want to raise the black level to have the pencil notes appear
black in the image. You can set a value for black from 0 to 127. If you set this value to 127, you are telling the
scanner that all pixels that are grey level 127 or lower (darker) should appear as black in the final image.
Image with moiré patterns Image with moiré patterns
removed


