DocuMate 752 Scanner User’s Guide 69
Scanning
Canceling a Configure Before Scan
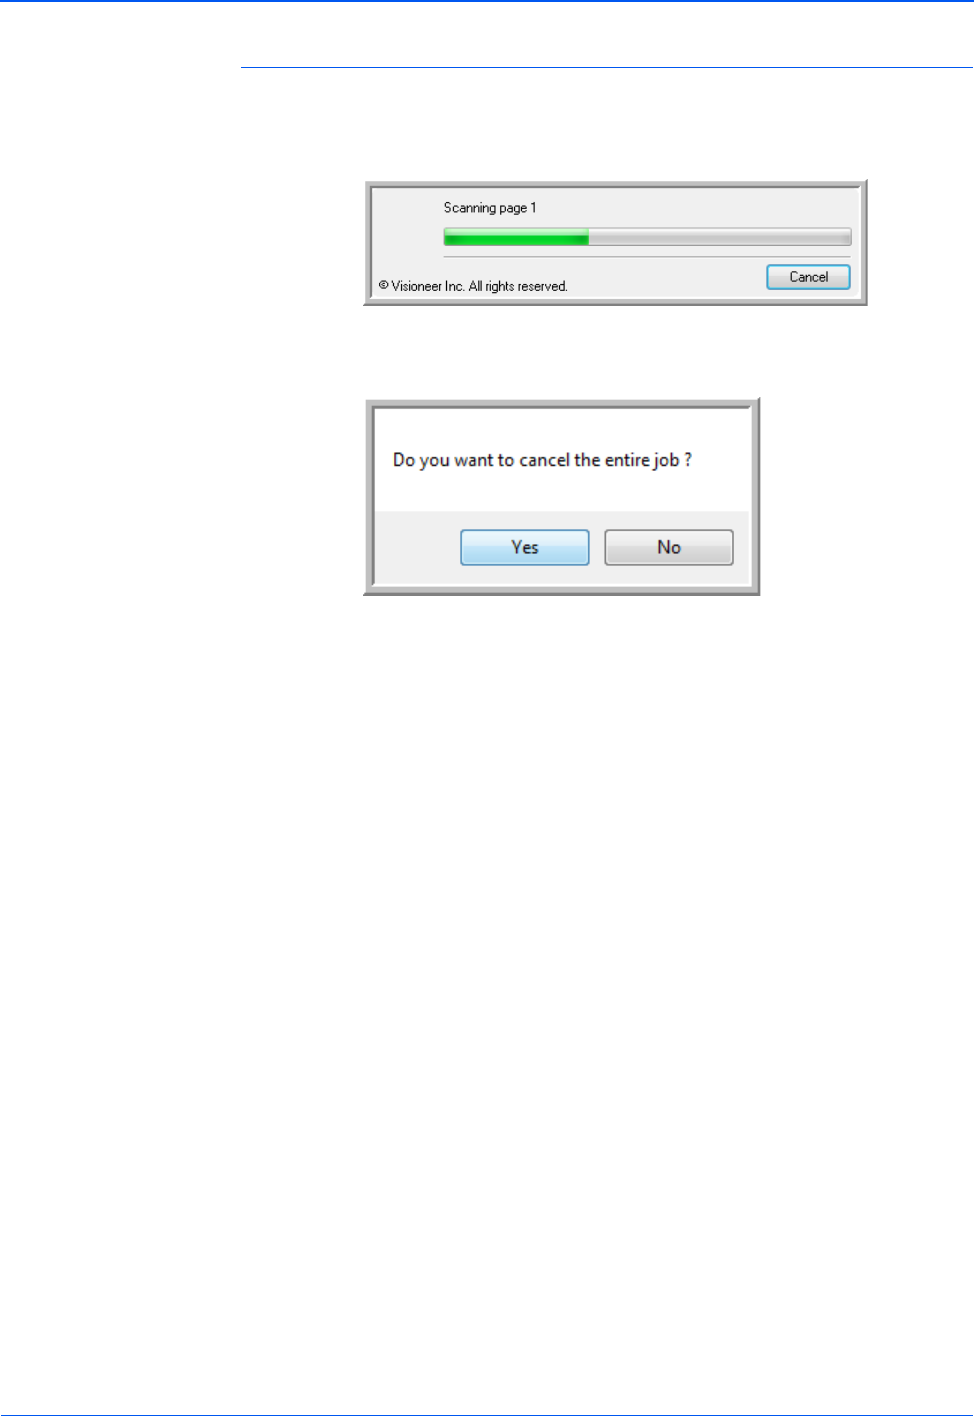
To cancel a scan after scanning has begun:
1. Click on the Cancel button in the scanning progress window.
2. The following window will open asking you if you want to cancel
the entire job.
• Yes—scanning stops and all pages scanned in this batch,
up to this point, will be deleted. The TWAIN interface will
close and you can restart your scan from the beginning.
Choose Yes if the TWAIN scan settings are incorrect for
your current scanning batch.
For instance, the Picture Type is Black & White but you
want to scan your documents in color, choose Yes to delete
any scanned pages, then select the correct Picture Type
and restart the scanning.
• No—scanning stops, but all pages scanned in this batch,
up to this point, are not deleted and the TWAIN interface
remains open. You can place a new page on the flatbed
glass or in the ADF, adjust the TWAIN settings for the new
page, then click on the Scan button in the TWAIN interface
to continue scanning. At the end of the scanning batch, all
pages from the first portion of the scan and second will be
sent to the Destination Application.
Choose this option if, for instance, you have been scanning
a black & white document but you want to insert a color
page into the document. Instead of having to re-scan the
entire stack, you can stop the current scan, change the
Picture Type from Black & White to Color, then restart the
scanning without losing the pages already scanned.
