


Print Quality Problems
Chapter 6: Troubleshooting
❖
6-9
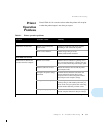
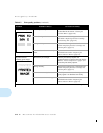
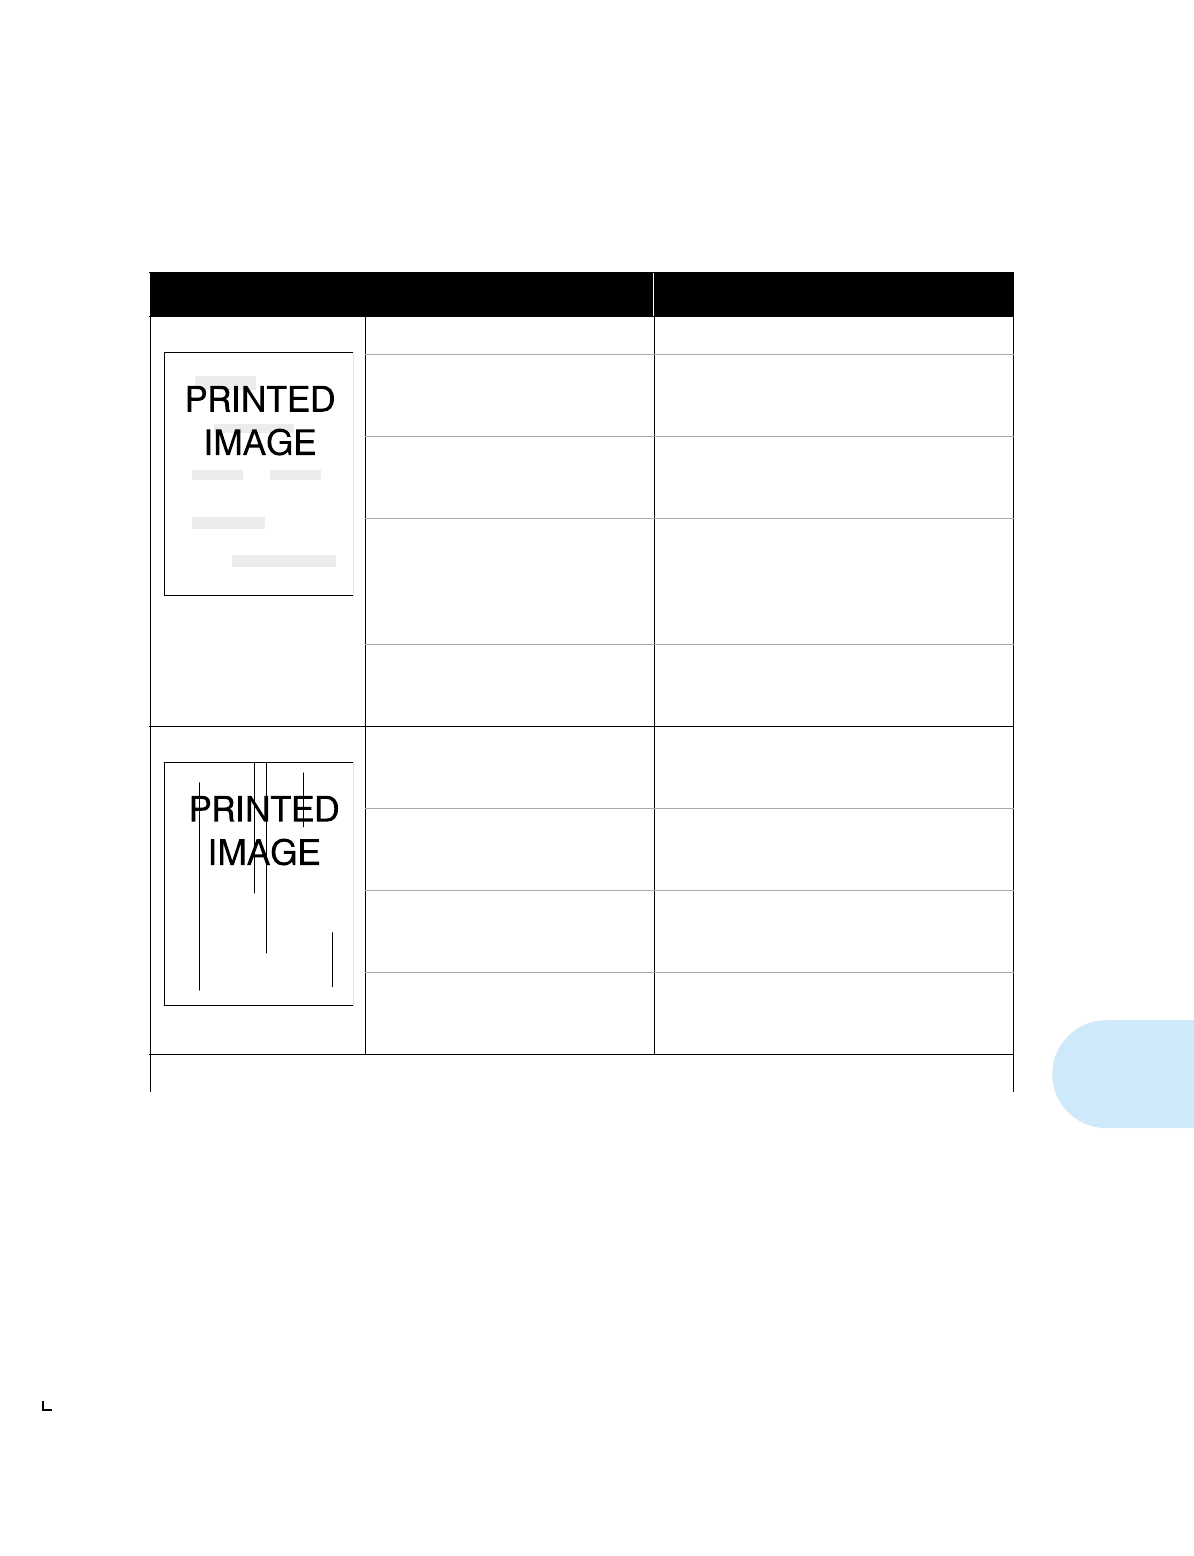
Staining. Paper quality problem. Replace paper stock.
Paper feed surfaces or guide dirty. Inspect and clean the paper path, as described
in the section
“Cleaning the Paper Path”
(page 7-9).
Fusing unit dirty. Replace the Cleaning Felt, as described in the
section
“Replacing the Toner Cartridge and
Cleaning Felt”
(page 7-2).
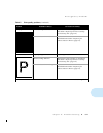
Photoconductor / Drum damaged. If marks repeat at regular 95mm intervals, the
Photoconductor / Drum is damaged. Replace
the Photoconductor / Drum, as described in the
section
“Replacing the Photoconductor /
Drum”
(page 7-6).
Used Toner Cartridge from a
different printer installed.
Install a new Toner Cartridge, as described in
the section
“Replacing the Toner Cartridge
and Cleaning Felt”
(page 7-2).
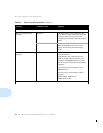
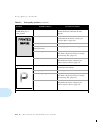
Vertical lines. Main corotron dirty. Clean the main corotron, as described in the
section
“Cleaning the Corotron Wires”
(page 7-10).
Paper feed surfaces or guide dirty. Inspect and clean the paper path, as described
in the section
“Cleaning the Paper Path”
(page 7-9).
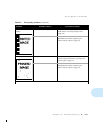
Fusing unit dirty. Replace the Cleaning Felt, as described in the
section
“Replacing the Toner Cartridge and
Cleaning Felt”
(page 7-2).
Photoconductor / Drum damaged. Replace the Photoconductor / Drum, as
described in the section
“Replacing the
Photoconductor / Drum”
(page 7-6).
Table 6.2 Print quality problems
(continued)
Problem
Possible Cause(s) Corrective Action(s)
Table 6.2 Page 2 of 7