


Memory SIMMs
Appendix B: Installing Options
❖
B-5
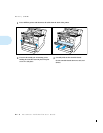
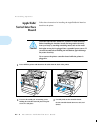
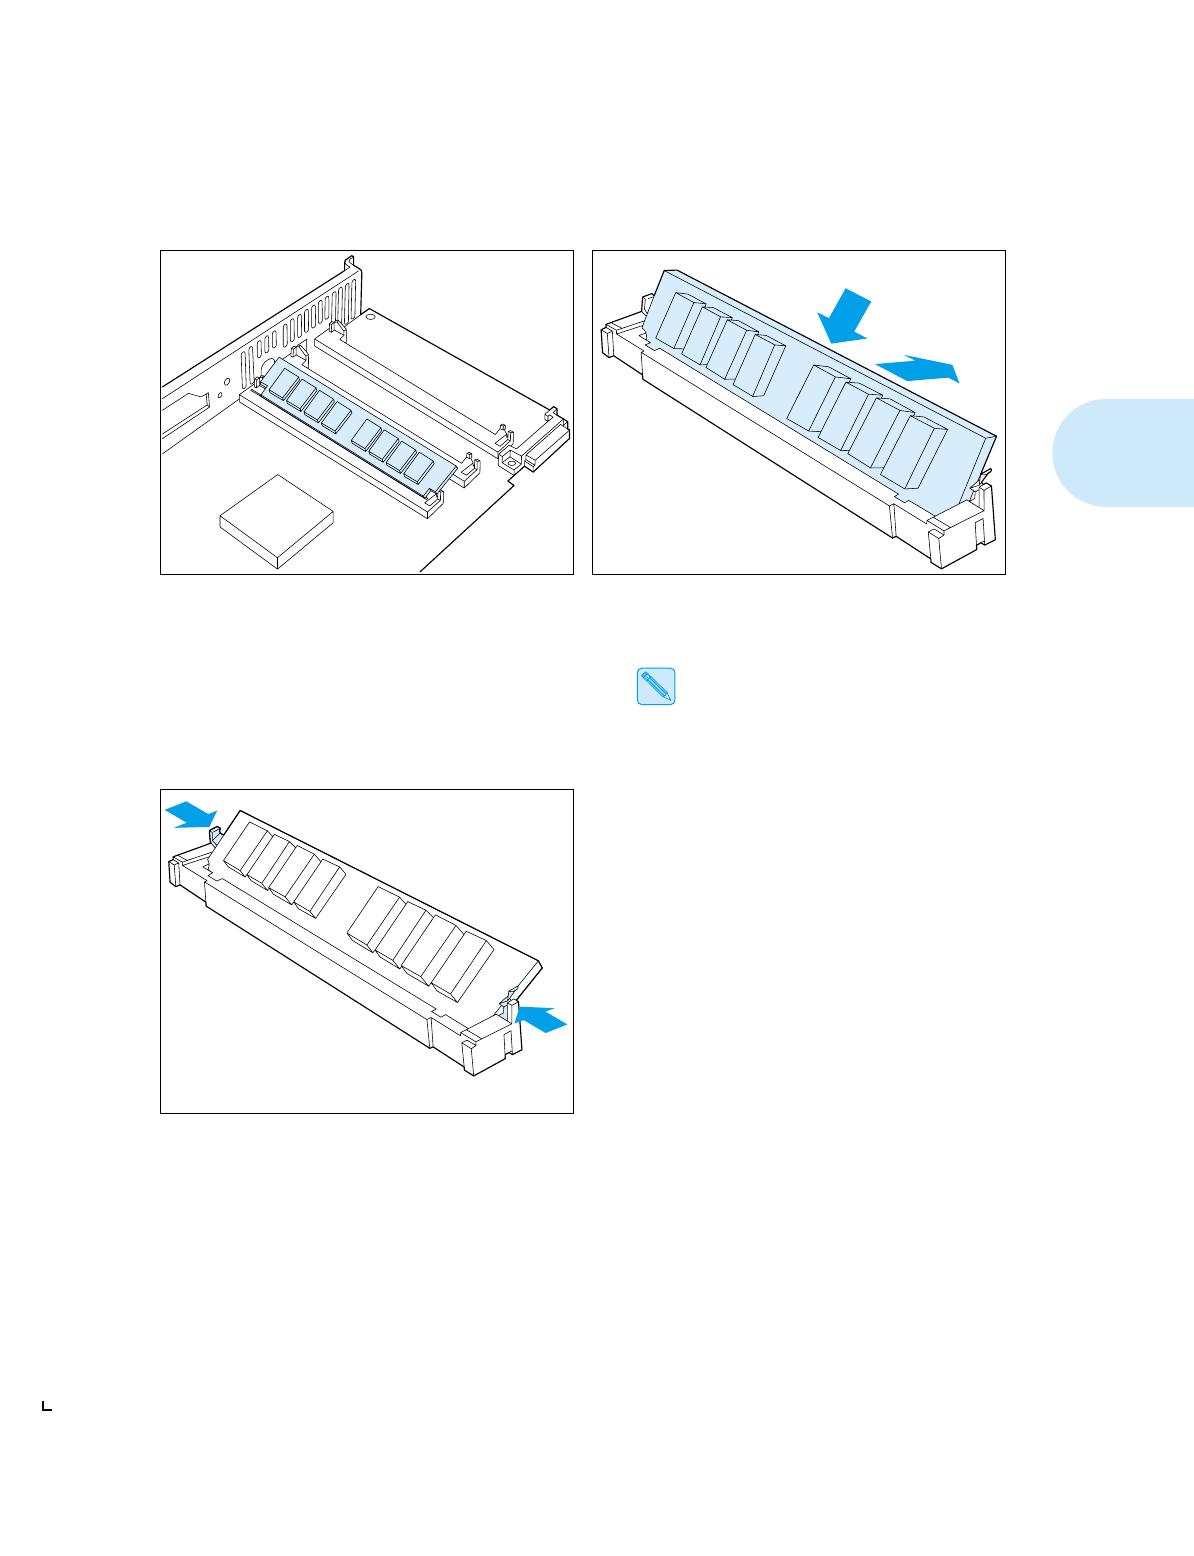
4
Select a slot for the SIMM and, holding the
SIMM at an angle, line it up with the slot.
5
Push the SIMM gently but firmly down into
the slot, then rotate it into position.
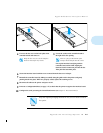
The SIMM should pop into place with two
retaining lugs fitting into holes on either
side of the SIMM and the spring clips
gripping it in position.
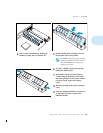
6
To remove a SIMM, release the spring clips
holding the SIMM in place.
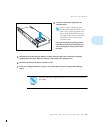
7
Reinstall the controller board by sliding it
carefully along the guide rails in the printer
and gently pushing it back into place. When it
is properly seated, replace the retaining
screws.
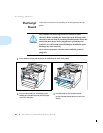
8
Reconnect all cables to the printer and power
it ON.
9
Print out a Configuration Sheet (see page 3-17)
to check that the printer recognizes the
additional memory.