


AT-8500 Series Layer 2+ Fast Ethernet Switches Installation Guide
63
debris picked up on the ferrules of the optical connectors. Use an
alcohol swab or wipe to clean the ferrules of the optical connector.
Note
Unnecessary removal and insertion of an SFP transceiver can lead
to premature failure.
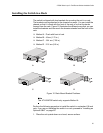
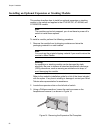
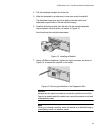
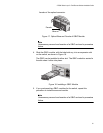
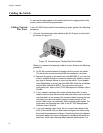
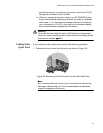
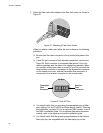
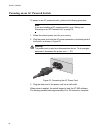
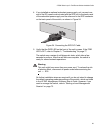
4. Remove the dust plug from the SFP slot.
5. Locate the label on the transceiver and turn it so that the label is on top
and the alignment groove is on the bottom.
6. Slide the SFP transceiver into an SFP slot on the switch.
The SFP module can be installed in either slot. The SFP module is
seated in the slot when it clicks into place.
Note
SFP transceivers are dust sensitive. When a fiber optic cable is not
installed, or when you store the SFP, always keep the plug in the
slot. When you do remove the plug, keep it for future use.
Note
Unnecessary removal and insertion of an SFP transceiver can lead
to premature failure.
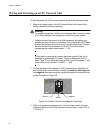
7. If you purchased two SFP transceivers for the switch, repeat this
procedure to install the second transceiver.
For information about cabling for the SFP transceiver, consult the
documentation that was shipped with the SFP.