


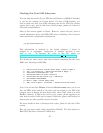
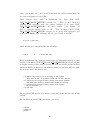
Note that the “ugen” driver is called out. If you see “uhid” instead, it
probably means you did not properly disable the uhid driver when you
compiled your kernel or perhaps you’re not running the new kernel.
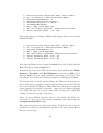
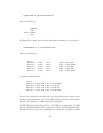
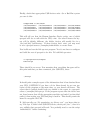
You can also check with ’usbdevs -d’ to get a list of USB devices recognized
by the system as well as the drivers they are associated with. For example:
# usbdevs -d
addr 1: UHCI root hub, VIA
uhub0
addr 2: Back-UPS RS 1500 FW:8.g6 .D USB FW:g6, American Power Conversion
ugen0
MAKING DEVICE NODES
Apcupsd communicates with the UPS through the USB generic device, ugen.
You may or may not need to manually make ugen device nodes in /dev,
depending on what OS you are using.
FreeBSD: No manual intervention needed. FreeBSD automatically creates
the ugen nodes on demand.
NetBSD: By default, NetBSD only creates nodes for the first ugen device,
ugen0. Check ’usbdevs -d’ to see which device your UPS was bound to
and then create the appropriate nodes by running ’cd /dev ; ./MAKEDEV
ugenN’, where ugenN is the ugen device name shown by usbdevs. It is
probably a good idea to create several sets of ugen nodes in case you add
more USB devices.
OpenBSD: Similar to NetBSD, OpenBSD creates nodes for ugen0 and ugen1.
Check ’usbdevs -d’ to see which device your UPS was bound to and then
create the appropriate nodes by running ’cd /dev ; ./MAKEDEV ugenN’,
where ugenN is the ugen device name shown by usbdevs. It is probably a
good idea to create several sets of ugen nodes in case you add more USB
devices.
APCUPSD CONFIGURATION
Apcupsd must be built with USB support, which is accomplished via the
—enable-usb switch to configure.
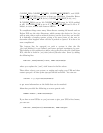
Your apcupsd.conf file needs the following hardware-related settings:
UPSCABLE usb
UPSTYPE usb
DEVICE
30