12. Display setup
During the AUTOIMAGE measuring process thedata sourcedisappearstemporarily(logo isdisplayed ifback-
ground is set to logo )
12.9 Blanking
What can be done ?
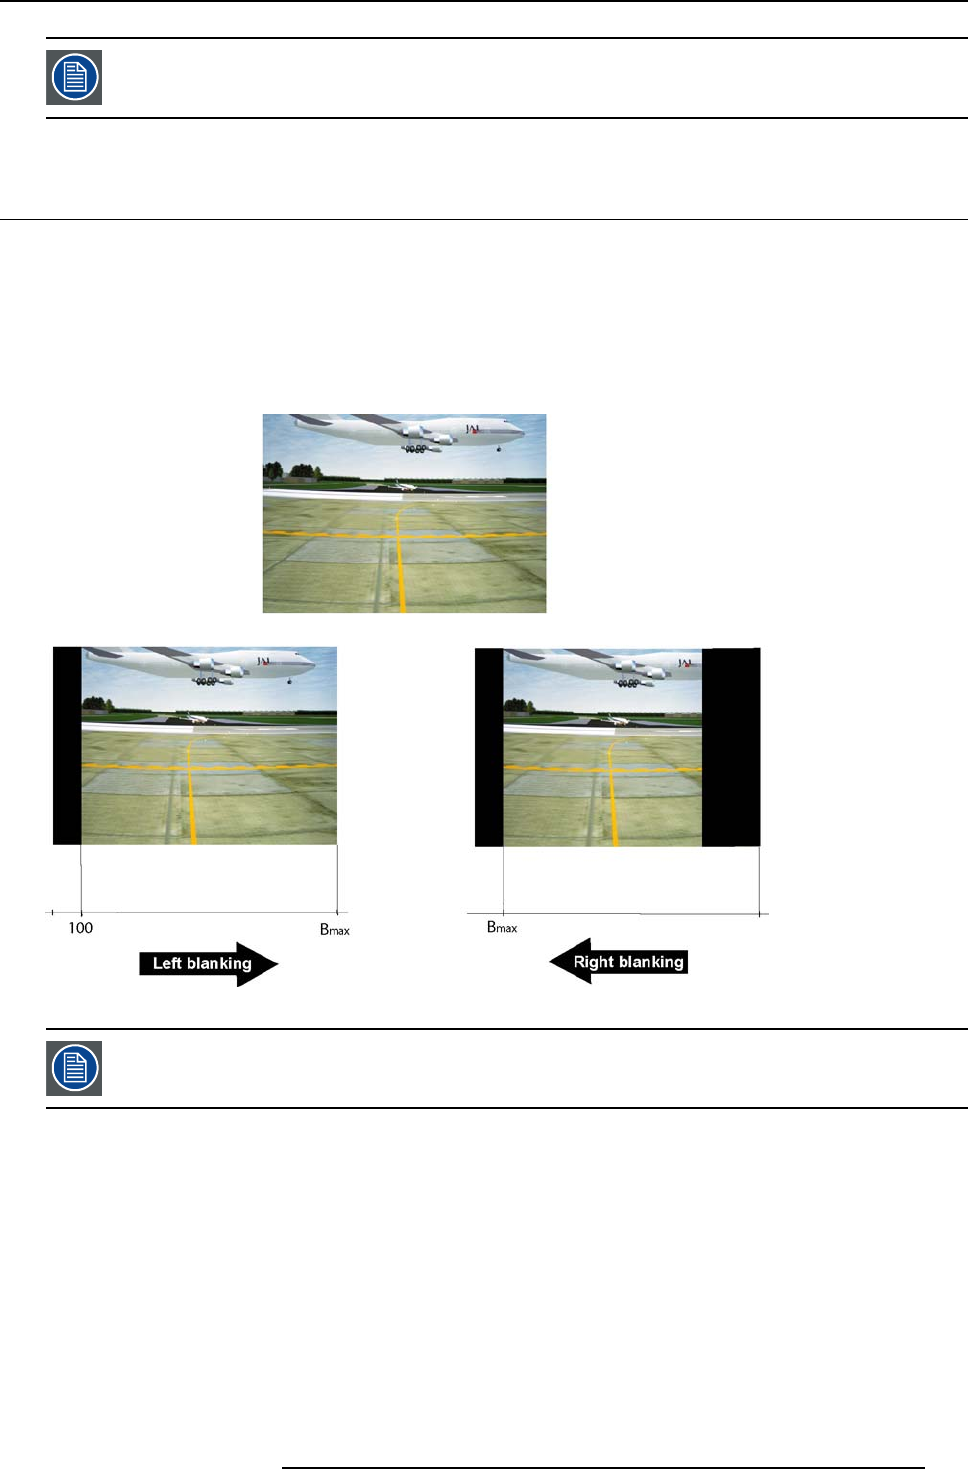
The image can be blanked in several ways :
• Top blanking
• Bottom blanking
• Left blanking
• Right blanking
Image 12-13
Note that here the blanking is only done on the display i.e. the setting is not saved in the image file. in other
words only one type of blanking (setting) can be done independently of the source.
How to blank the image ?
1. Press MENU to activate the Toolbar
2. Press → to select the Display setup it
em
3. Press ↓ to Pull down the menu
4. Use ↑ or ↓ to select Blanking (image 12-14)
5. Press ENTER
A slider box is displayed (image 12-15)
6. Use ←or →, the numeric keys on the remote, or the keypad to change the blanking.
R5976491 IQ PRO G500 01/02/2007
111


