


4. Getting started
Some projectors may operate in domestic environments where other equipments may listen to the common
address “0” , therefore the common address can also be set to “1”.
4.7.2 Displaying and Programming addresses into the RCU
Displaying the Projector Address on the Screen.
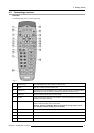
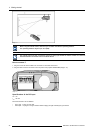
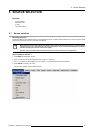
1. Press the Address key (recessed key on the RCU) with a pencil.
The projector’s address will be displayed in a ’Text box’
To continue using the RCU with that specific address, it is necessary to enter the same address with the
digit buttons (address between 0 and 9) within 5 seconds after pushing the address key. For example : if the
Address key displays projector address 003, then press "3" digit button on the RCU to set the RCU’s address
to match the projector’s address. Do not press 0–0–3 . This will address the remote control to ’0’ and control
all projectorsin theroom. If theaddress isnot enteredwithin 5seconds,theRCU returnsto itsdefault address
(zero address) and controls then all projectors in the room.
Address 0 (or 1) should always allow communication with the projector since it is a common addre
ss.
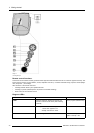
Displaying the Projector Address in Standby.
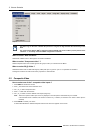
1. Press the Address key (recessed key on the RCU) with a pencil.
All the LED’s on the front of the projector go out.
Then LED1 starts blinking green the number of hundreds. After that LED2 starts blinking the number of tens. Finally LED3 starts
blinking green the number of units. If this is done, the original status of the leds is restored.
4.8 Controlling the projector
Input Selection
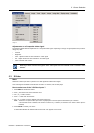
Key in the corresponding slot number with the digit keys on the RCU. The selected source will be displayed.
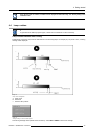
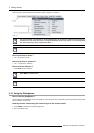
Picture Controls
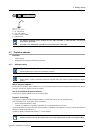
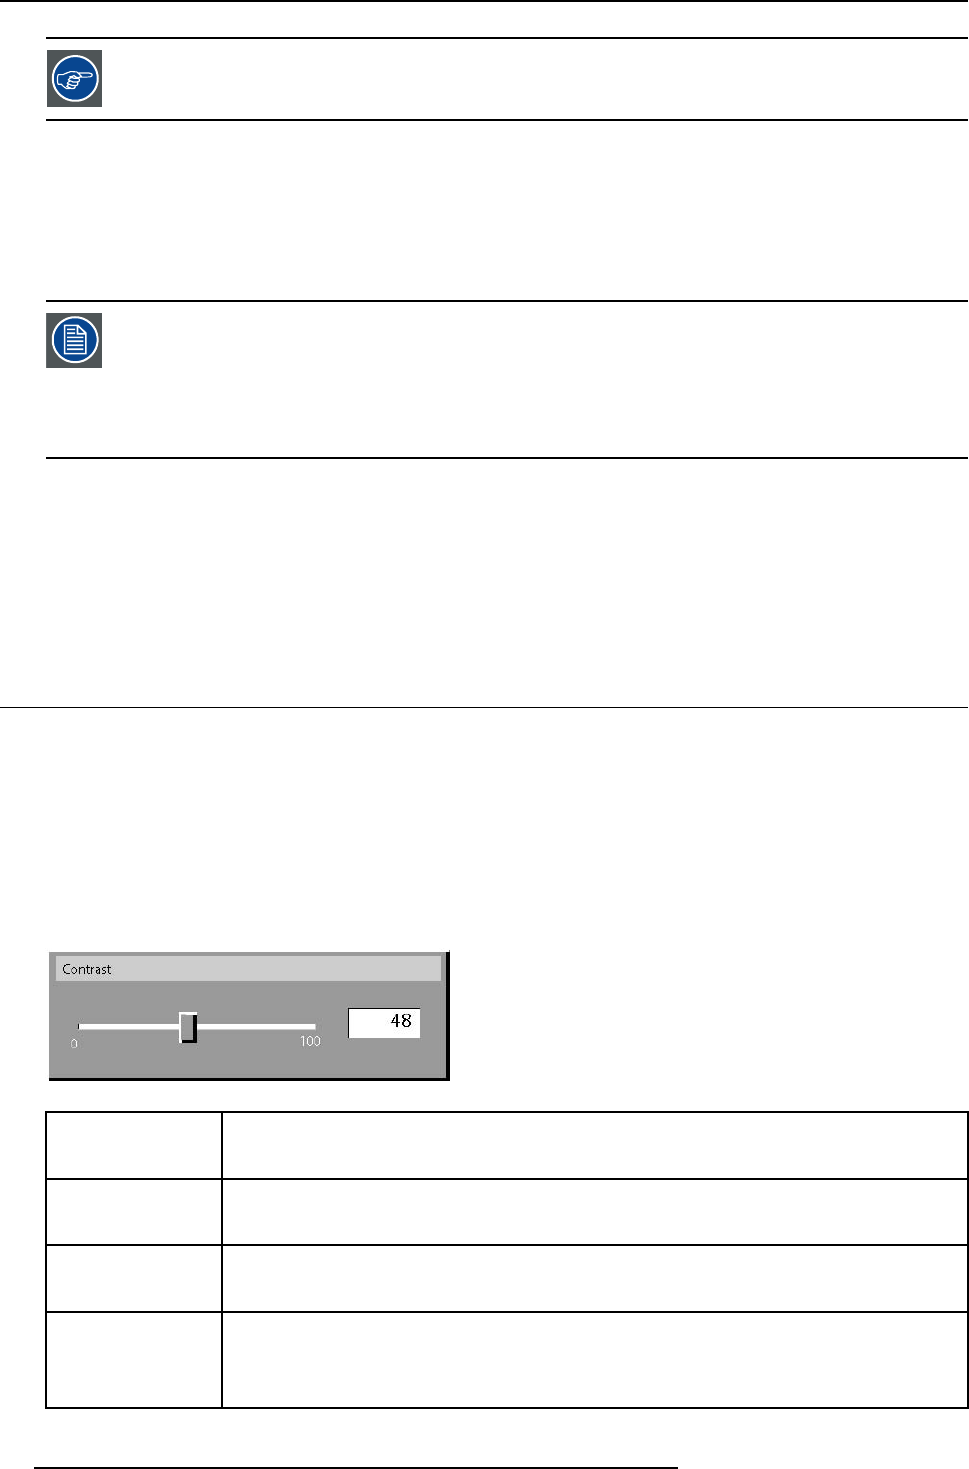
When an image control is pressed, a text box with a bar scale, icon and function name of the control, e.g. ’brightness...’ appears
on the screen (only if Textbox in the Installation menu is ON
). The length of the bar scale and the value of the numeric indication
indicate the current memorized setting for this source. The bar scale changes as the arrows on the RCU are pressed or the + or -
buttons on the local keypad.
The picture settings are saved in the image file.
Image 4-14
Brightness
Use the + button for a higher brightness.
Use the - button for a lower brightness.
Contrast Use the + button for a higher contrast.
Use the - button for lower contrast.
Color Use the + button for richer colors.
Use the - button for lighter colors.
Tint(Hue) Tint is only active for Video and S-Video when using the NTSC 4.43 or NTSC 3.58 system.
Use the + button
Use the - button.
38 R5976491 IQ PRO G500 01/02/2007