


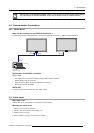

4. Connections
Only the signal on the selected input will be displayed.
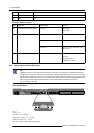
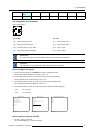
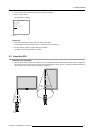
Solaris LC40
Select input
Image settings
Audio settings
PiP settings
Compact PC Control
Advanced settings
Standby
Back
Menu 4-16
Select input
1. Video
2. RGB
3. S-Video
4. HD-SDI
5. SDI
6. RGB
7. DVI
8. Compact PC
Configure input 2
Configure HD-SDI
Back
Menu 4-17
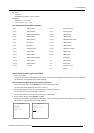
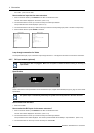
Configure HD-SDI
Automatic select [Yes]
Priority [input 1]
Back
Menu 4-18
Configure HD-SDI
Automatic select [No]
Select input [input 1]
Back
Menu 4-19
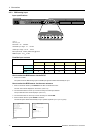
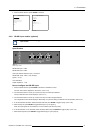
Configure HD-SDI
Automatic select [Yes]
Priority [input 1]
Back
Menu 4-20
Configure HD-SDI
Automatic select [No]
Select input [input 1]
Back
Menu 4-21
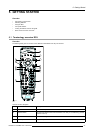
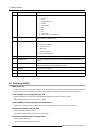
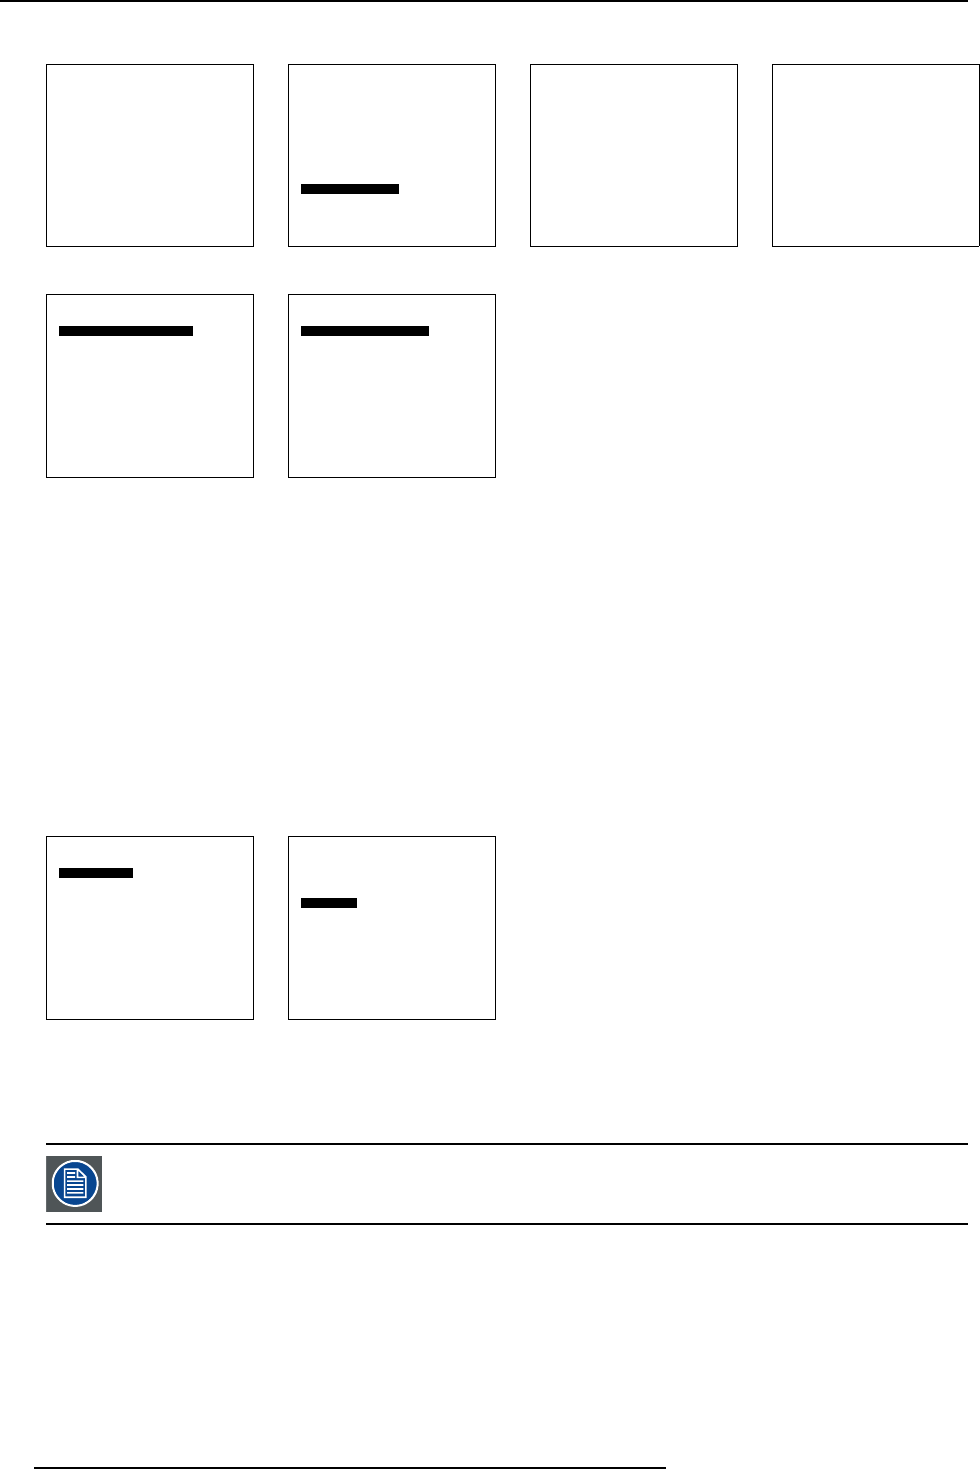
How to select with the RCU.
1. Press 4 on the RCU
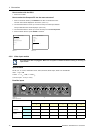
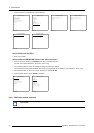
How to select the SDI/HD-SDI input via the menu structure?
1. Press on the thumb wheel or press ENTER on the RCU to activate the menus.
The main menu will be displayed on the screen. (menu 4-22)
2. Turn the thumb wheel or use the up or down arrow keys to select Input selection.
The input selection menu will be displayed. The correct input will be filled out immediately in input selection 4. (menu 4-23)
3. Turn the thumb wheel or use the up or down arrow keys to select 4 HD-SDI.
4. Press the thumb wheel or press ENTER on the RCU.
Solaris LC40
Select input
Image settings
Audio settings
PiP settings
Compact PC Control
Advanced settings
Standby
Back
Menu 4-22
Select input
1. Video
2. RGB
3. S-Video
4. HD-SDI
5. SDI
6. RGB
7. DVI
8. Compact PC
Configure input 2
Configure HD-SDI
Back
Menu 4-23
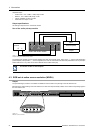
4.2.9 RGB input module (optional)
This input slot is NOT hot-pluggable. Make sure the system is switched off before inserting or removing an
input module!
22 R5976672 SOLARIS LC40 13/01/2005