


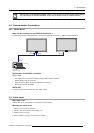

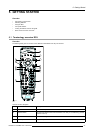

5. Getting Started
Ref.
Function Description
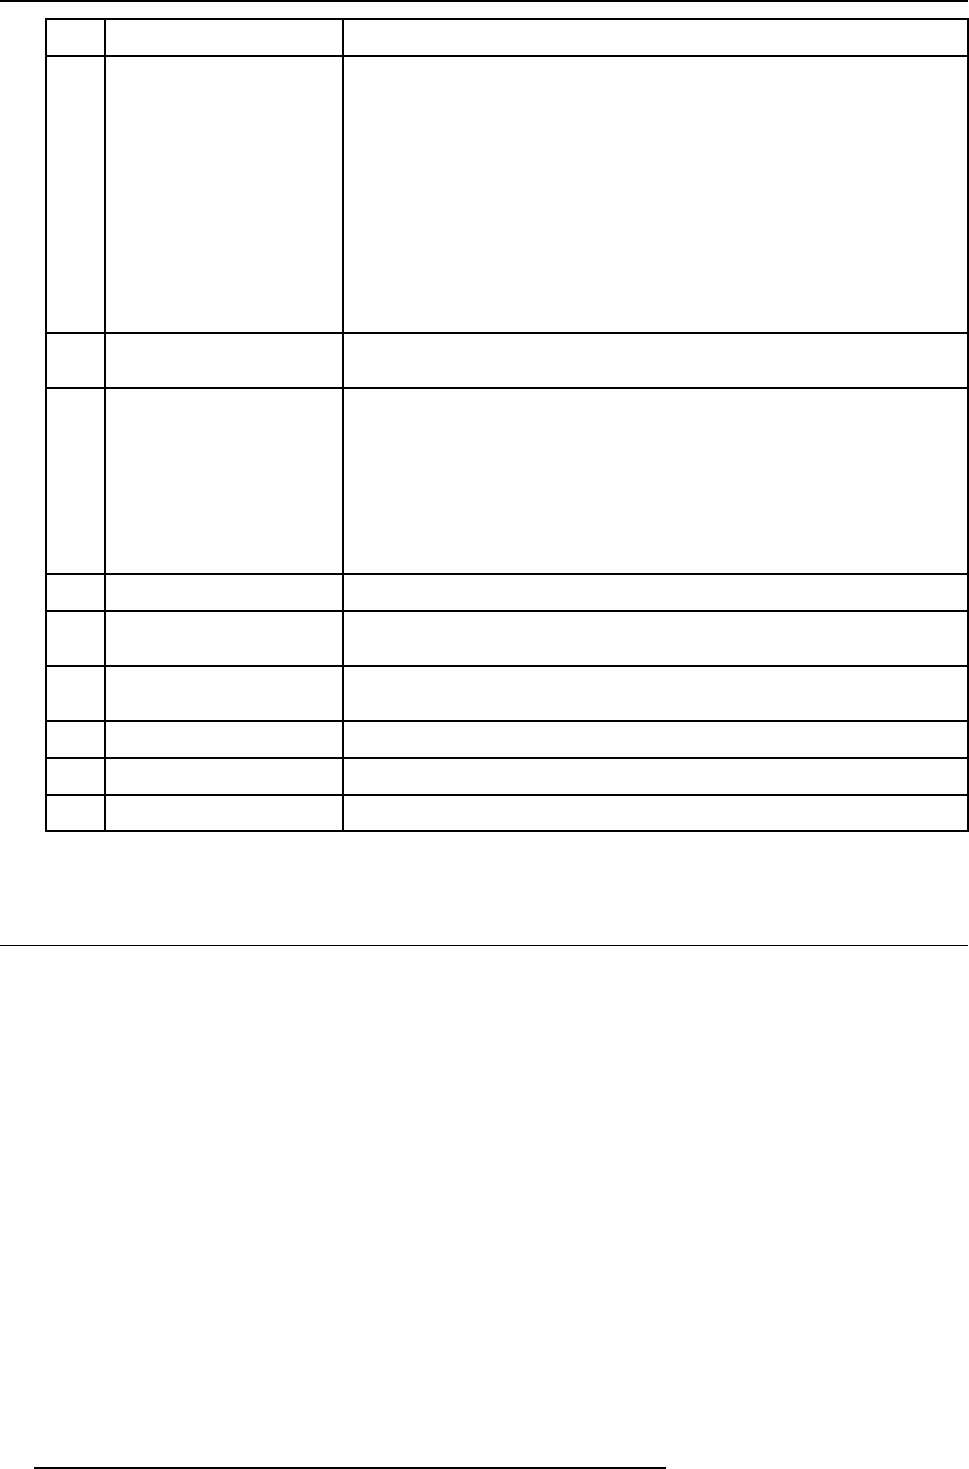
5
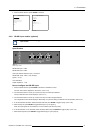
Digit buttons Allows to directly select sources.
• 0. No source
1. Video
• 2. configurable input 2
•3.S-Video
• 4. Optional input
•5.SDI
•6.RGB
•7.DVI
• 8. Compact PC
9. Prefix for PiP source selection
6
RC operation indication Lights up when a button on the remote control is pressed (Visual indication of remote
control operation – Battery check).
7
Function keys
The function keys are reserved for picture in picture (PIP) functionality.
F1 : PiP left corner bottom
F2 : PiP left corner top
F3 : Split screen
F4 : PiP right corner top
F5 : PiP right corner bottom
8 EXIT button To go up one step in the menu structure.
9 ENTER button
To enter the adjustment menus or to confirm an adjustment with the adjustment
menus.
10 TEXT
When text is on, press TEXT to switch off OSD display. Press TEXT again, OSD
appears as defined in the OSD configuration window.
11 FREEZE
Press to freeze the image
12
* Button Aspect ratio toggle button for the actual image
13 Picture controls Allow to optimize the picture reproduction
Table 5-1
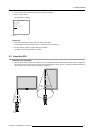
5.2 Switching ON/OFF
Main power up
1. When the Solaris LC40 was switched off when it was in standby, it will start up in standby. Continue with the standby procedure.
2. When the Solaris LC40 was displaying an image
when switched off, it will start on the same source as it was playing on.
From standby to a real image with the RCU
1. Press the standby key, the same source will be displayed as before the Solaris LC40 went in standby
Or,
press the digit number of the source you want to display.
From standby to a real image with the thumb wheel
1. Press once on the thumb wheel, the same sou
rce will be displayed as before the Solaris LC40 went in standby.
Switching to Standby with the RCU
1. Press the standby button on the RCU.
Thelastusedsourcewillbestoredtostartuponthatsource.
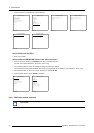
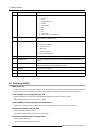
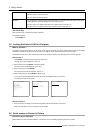
Switching to Standby with the thumb wheel
1. Press the thumb wheel once.
The main menu will be displayed. (menu 5-1)
28
R5976672 SOLARIS LC40 13/01/2005