


12. Advanced Settings
4. Press ENTER to activate.
The Installation menu will be displayed. (menu 12-39)
5. Press ENTER to activate.
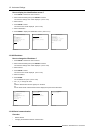
The Tile setup menu will be displayed. (menu 12-40)
6. Select Tiled setup [yes] or [no].
7. Press ENTER to toggle between [yes] or [no].
[yes]
The display is configured for a tiled setup.
[no]
The display is configured as a stand alone display.
When [yes] is selected, the complete set up can be finished.
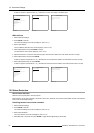
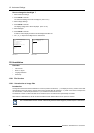
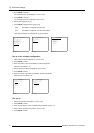
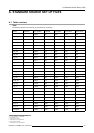
Advanced Settings
Gamma
Color Temperature
Input Balance
Noise Reduction
Film mode detection [ON]
Video AGC
Display Settings
Installation
Service
Back
Menu 12-38
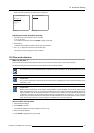
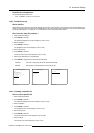
Installation
File Service
When no signal
Language
Tile setup
Back
Menu 12-39
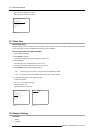
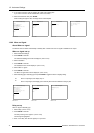
Tiled setup
Tiled setup : [yes]
Complete setup has:
Rows: 3
Columns: 3
This panel is:
Row: 1
Colomn: 1
Back
Menu 12-40
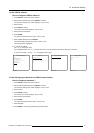
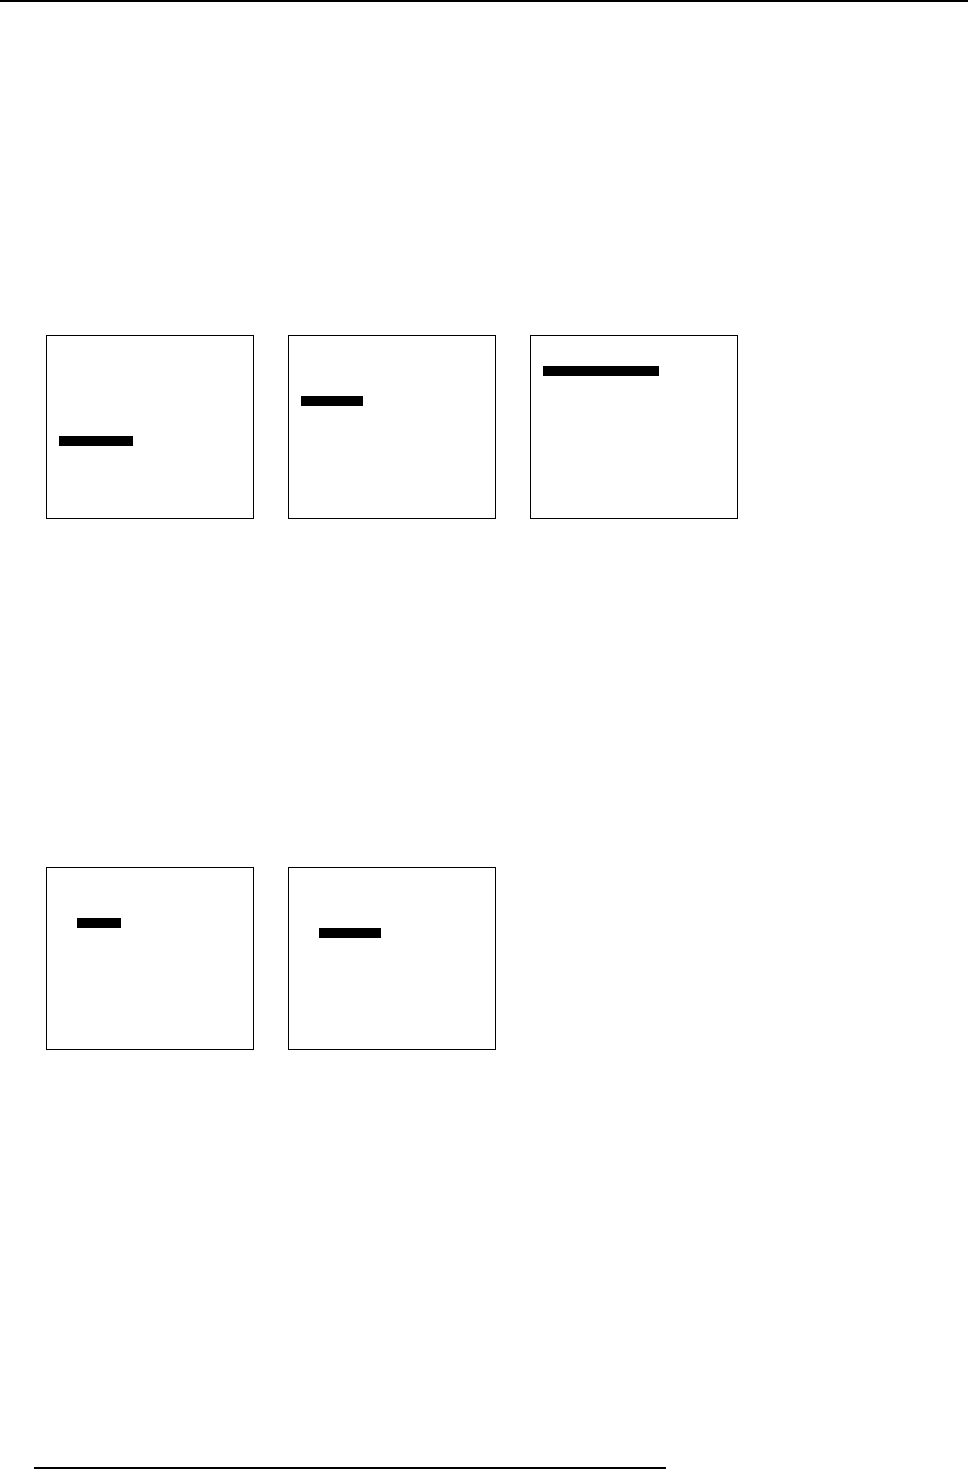
Set up of the complete configuration
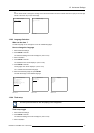
1. Select Rows just below Complete set. (menu 12-41)
2. Press ENTER to select.
3. Enter the number of the rows available in the tiled configuration.
Maximum rows allowed : 99
4. Select Columns just below Complete set. (menu 12-42)
5. Press ENTER to select.
6. Enter the number of the columns available in the tiled configuration.
Maximum columns allowed : 99
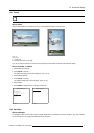
Tiled setup
Tiled setup : [yes]
Complete setup has:
Rows: 3
Columns: 3
This panel is:
Row: 1
Colomn: 1
Back
Menu 12-41
Tiled setup
Tiled setup : [yes]
Complete setup has:
Rows: 3
Columns: 3
This panel is:
Row: 1
Colomn: 1
Back
Menu 12-42
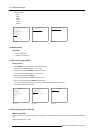
Tile set up
1. Select Ro w just below T his panel is. (menu 12-43)
2. Press ENTER to select.
3. Enter the row number in which the display (tile) is situated. (image 12-7)
4. Select Column just below This panel is. (menu 12-44)
5. Press ENTER to select.
76
R5976672 SOLARIS LC40 13/01/2005