


66
The
Auto format
function makes creating labels quick and easy. After simply selecting one of
the various pre-formatted layouts and typing text into each of its fields, the overall style of the
label can easily be changed by selecting one of the 7 available style formats, and then the
label is ready to be printed. The many layouts available allow you to create labels for a variety
of needs—from addressing envelopes to identifying floppy disks or audio and video cassettes.
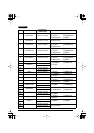
Refer to
Reference
at
the end of this section for a list and samples of the available layouts.
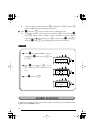
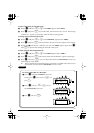
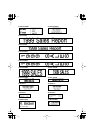
To select a pre-formatted layout:
1
Rotate
+
until
13/21 A.FORMAT
is displayed, and then press
+
(OR hold down
c
and press
Y
). The
A/F
indicator comes on.
2
Rotate
+
(OR press
h
or
e
) to select the desired layout.
☞
The default setting (
VCR VHS-1
) can be selected by pressing
_
.
The number of the layout that was last used appears underlined. Selecting this lay-
out displays the text that was entered in it at that time.
3
Press
+
(OR press
r
). The first field for the selected layout is displayed.
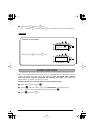
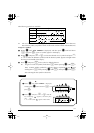
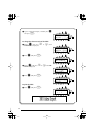
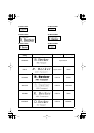
To enter text in the layout:
4
For each field, type in the text, and then press
+
(OR press
r
). When
+
(OR
r
)
is pressed after typing in the text for the last field, the
MENU
appears in the display.
☞
Accented characters (page 63), symbols (page 64), and bar codes (page 89) can be
entered in the fields.
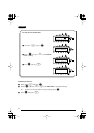
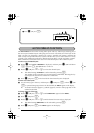
To change the style of the text:
5
Rotate
+
(OR press
h
or
e
) until
CHNGE STL?
appears below
MENU
.
6
Press
+
(OR press
r
).
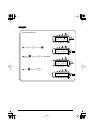
7
Rotate
+
(OR press
h
or
e
) until the desired character style is displayed.
☞
The default setting (
ORIGINAL
) can be selected by pressing
_
.
8 Press + (OR press r). The MENU appears in the display.
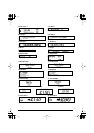
3 Press + (OR press r).
1:
DANGER _
Caps
Alt
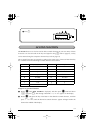
AUTO FORMAT FUNCTION