77
With the
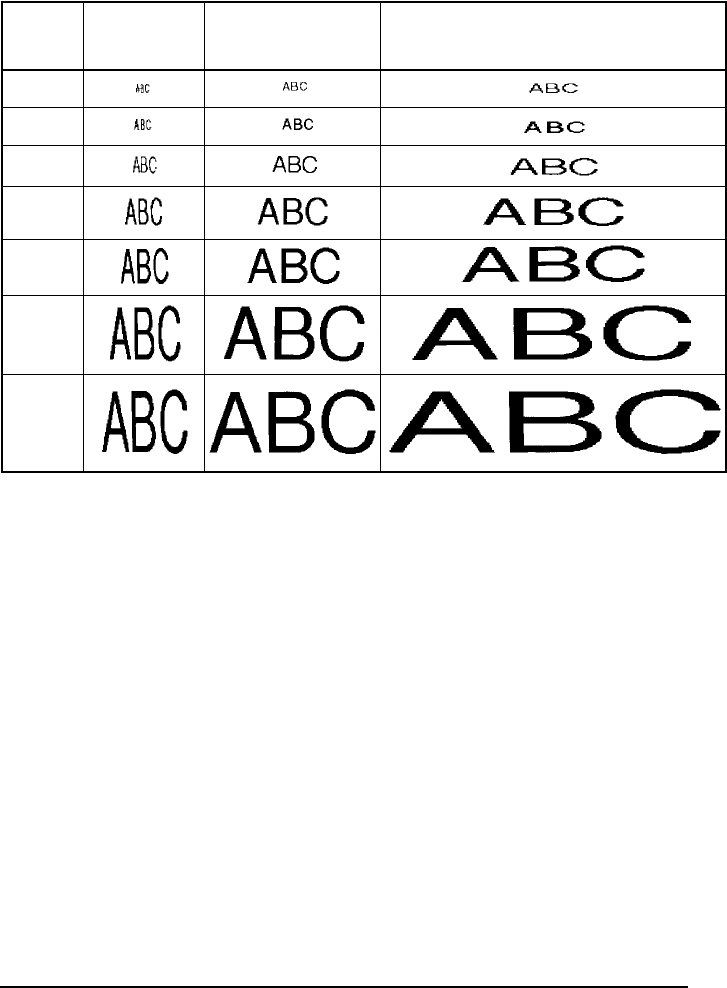
AUTO
size setting, the machine compares your text with the width of the installed
tape and automatically adjusts the characters to the largest possible size. However, seven other
point sizes are also available, and each can be printed with any of the three width settings.
To change the size setting:
1
Rotate
+
until
02/21 SIZE
(or
02/06 SIZE
for local formatting) is displayed, and then
press
+
to display the current size setting.
2
Rotate
+
until the desired size setting is displayed, and then press
+
to apply it to the text.
OR
1
While holding down
c
, press
2
once, and keep
c
held down to display the
current size setting.
2
While still holding down
c
, continue pressing
2
until the desired size setting is
displayed.
3
Release
c
to apply the selected size setting to the text.
☞
The current size setting is shown by the size indicators at the top of the display.
If the selected character size is too large for the installed tape cassette, the message
“CHR SIZE AUTO?” appears when
p
is pressed. Pressing
p
(or
r
) changes the
character size to the maximum possible for the installed tape and continues printing. To
stop the character size from being changed and stop printing, press
*
.
Size
setting
(in points)
Width set-
ting
NARROW
Width setting
MEDIUM
Width setting WIDE
6
9
12
18
24
36
48


