


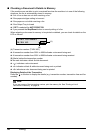

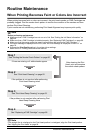


64 Routine Maintenance
Aligning the Print Head
If ruled lines are printed misaligned or print results are otherwise unsatisfactory, adjust the print head
position.
1 Make sure that the machine is turned on, then load two sheets of A4 or Letter-sized
plain paper in the Rear Tray.
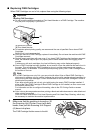
2 Open the Paper Output Tray, then set the Paper Thickness Lever.
(1) Put your finger in the rounded indent beside the Paper Output Tray and open it gently.
(2) Open up and set the Output Tray Extension completely by pressing down the hollow on
its front side.
(3) Set the Paper Thickness Lever to the left. For details on the Paper Thickness Lever, refer
to “Inside” in “Main Components” of the User’s Guide on-screen manual.
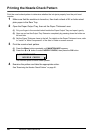
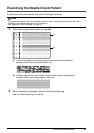
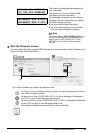
3 Print the print head alignment pattern.
(1) Press the Menu button repeatedly until MAINTENANCE appears.
(2) Press the [ or ] button to select ALIGN PRINT HEAD, then press the OK button.
The print head alignment pattern is printed.
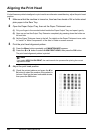
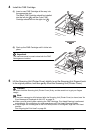
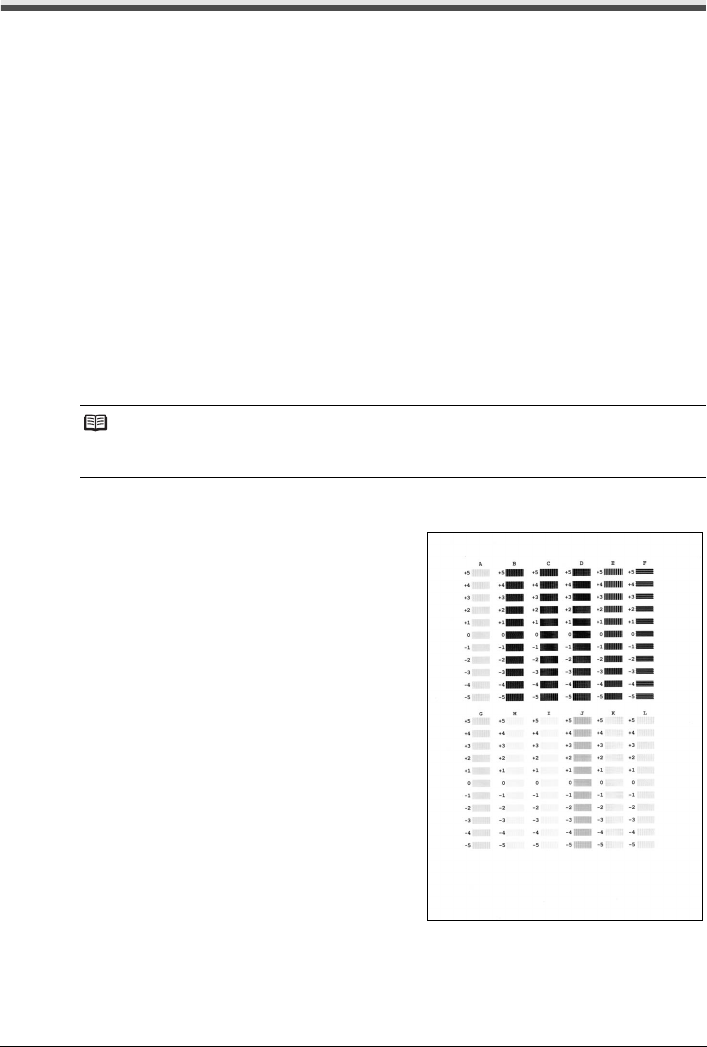
4 Adjust the print head position.
(1) Check the printed patterns and press the [ or
] button to select the number of the pattern in
column A that has the least noticeable streaks,
then press the OK button.
Note
If you select HEAD ALIGN PRINT, the machine exits the process after printing the current
adjustment values.