24
EN
Important!
Numbered label printing continues for the specifi ed number of copies. To avoid
running out of tape during a print operation, check before hand to ensure that
the tape cartridge being used has suffi cient tape remaining.
1.
On the main menu, select NEW and then press SET.
2.
Select NUMBERING and then press SET.
3.
Select a print format and then press SET.
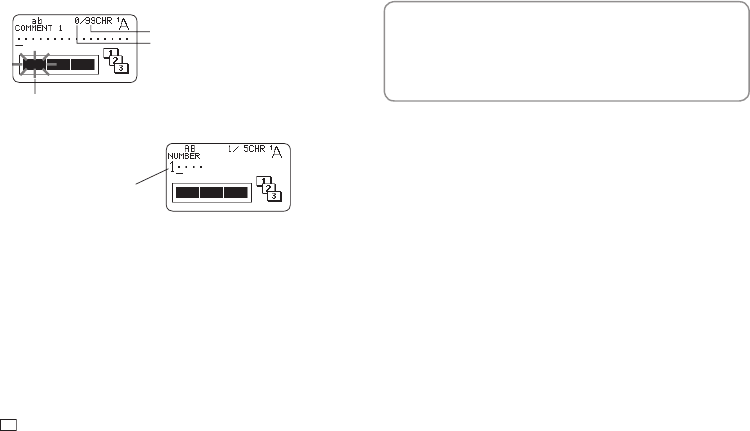
Allowable number of input characters
Flashes (Indicates area where input is enabled.)
Current number of input characters
4.
Input COMMENT1 text and then press SET.
The start number is
displayed.
5.
Change the start number if you want, and then press SET.
•
To change the start number, delete the current number and then
re-input. You can input up to fi ve digits.
6.
Input COMMENT2 text and then press SET.
7.
Select the numbering style and then press SET.
8.
Select PRINT and then press SET.
9.
Specify the number of copies to be printed with consecutive numbers,
confi rm that the start and end numbers are what you want, and then
press SET.
•
You can input a number of copies value from 1 to 100.
•
Direct input of values is also supported.
10.
Specify a cut mode (page 21) and then press SET.
•
The number following 99999 is 00000.
Important!
•
Avoid allowing tape cuttings to pile up around the printer tape outlet.
Tape cuttings around the tape outlet create the risk of tape jamming and
malfunction.
Confi guring Print Format Settings
You can confi gure the print format settings below as you input text.
•
Tape length (3.0 to 30.0 cm (
1
/
8
to 1
3
/
16
"))
•
Vertical or horizontal text direction
•
Mirror printing enable/disable
While inputting text, press FORM to display the print format setting screen
and then confi gure the settings you want.
