34
EN
Important!
Note that the block alignment specifi cation is valid only when FIX is selected
for the TAPE LENGTH setting.
1.
Input text and divide it into blocks (page 28).
2.
Press FORM.
•
If there is only one block in the label, advance to step 4.
3.
Select ALL FORM and then press SET.
4.
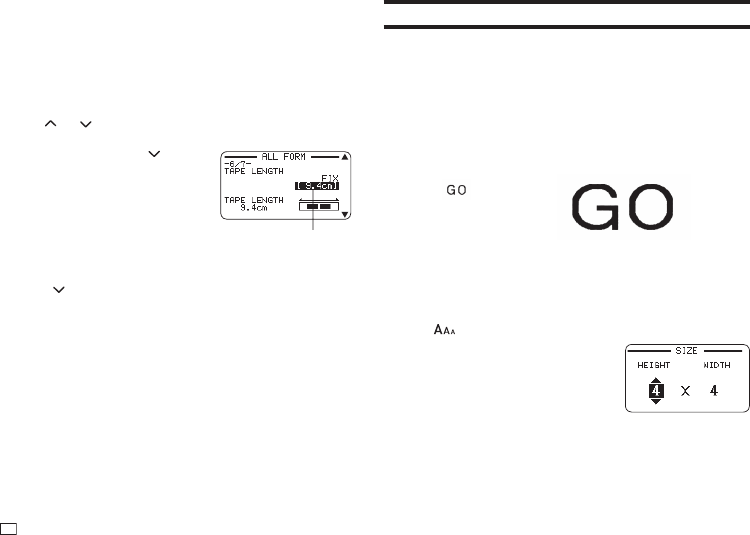
Use the and arrow keys to display the TAPE LENGTH setting
screen.
5.
Select FIX and then press the
arrow key.
6.
Specify a value that is greater than the original label length value.
•
Direct input of values is also supported.
7.
Press the arrow key to display the BLOCK-ALIGN setting screen.
8.
Select the desired alignment and then press SET.
The value is highlighted.
Specifying Character Size
You can use the procedures in this section to manually specify character size.
•
If you don't specify character size manually, the size is adjusted
automatically (Just Fit Print).
Specifying the Size of Specifi c Characters
You can specify the size of specifi c characters within the range of 1x1 to 5x8.
The maximum character size (vertical) that can be printed depends on the
tape width. For more information, see "Tape Width, Number of Lines, Size
Factor List" (page 57).
1×1
5×6
•
Printing results may differ depending on whether text is vertical or
horizontal. For example, when 1×2 is specifi ed, horizontal text is elongated
horizontally while vertical text is elongated vertically.
1.
Input text.
2.
Press .
3.
Select CHARACTER and then press
SET.
4.
Specify the HEIGHT and WIDTH factors and then press SET.
•
Direct input of values is also supported.


