


30
EN
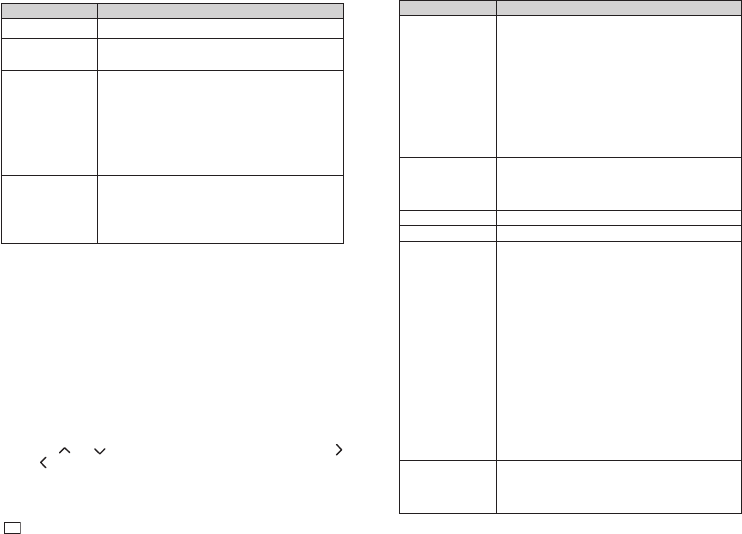
Setting Item Description
DIRECTION Specifi es either vertical or horizontal text.
ALIGN
Specifi es alignment (LEFT, EQUAL, CENTER,
RIGHT) of the text within a block.
→
page 33
PITCH
Specifi es the space between characters in the
range of 0 to 31.9mm (0 to 1
1
/
4
").
•
The tape length is also adjusted in accordance
with the character pitch setting.
•
Specifi cation of character spacing is not
supported when EQUAL is specifi ed for PITCH
or when FIX is specifi ed for BLOCK-LENGTH.
BLOCK-LENGTH
•
AUTO: Automatically adjusts the block length in
accordance with the number of characters in the
block.
•
If you want to specify the block length manually,
select FIX for this setting.
→
page 31
7.
After all of the settings are the way you want, press SET.
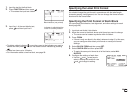
Specifying the Print Format of All Text
Settings you confi gure with the procedure in this section is applied to all of the
text in a label, even if there are multiple blocks.
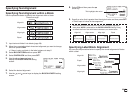
1.
Input text.
2.
Press FORM.
•
If there is only one block in the label, advance to step 4. In this case,
you can confi gure either block print format or overall print format
settings.
3.
Select ALL FORM and then press SET.
4.
Confi gure the settings of each item.
•
Use the
and arrow keys to select a setting item and then use
and
to change its setting.
Setting Item Description
MIRROR
Enables/disables mirror image printing. Select
NORMAL to print normal (not mirror image) text.
•
Select mirror image text when printing with an
iron-on transfer cartridge (sold separately) for
transfer to a handkerchief, T-shirt, etc.
•
MIRROR setting is not required when printing to
iron-on fabric tape (sold separately).
•
Mirror image text can also be printed with a
transparent tape cartridges (sold separately)
and affi xed to the back of glass or some other
transparent surface.
PROPORTIONAL
ON: Adjusts the character pitch in accordance
with differences in the width of each alphanumeric
character.
OFF: Character pitch disabled
SMOOTHING Enables/disables character line smoothing.
BLOCK-SPACE Specifi es the spacing between blocks.
MARGINS
Specifi es the size of leading and trailing margins.
•
You can select one of the margin settings below,
or NONE (page 20).
NARROW: Approximately 3mm (
1
/
8
") wide leading
and trailing label margins
MEDIUM: Approximately 10mm (
3
/
8
") wide leading
and trailing label margins
WIDE: Approximately 19mm (
3
/
4
") wide leading
and trailing label margins
Important!
Margin cut may not be performed when the tape
is short as defi ned by the following: approximately
28mm (1
1
/
8
") or less with NARROW margins;
approximately 35mm (1
3
/
8
") or less with MEDIUM
margins; approximately 44mm (1
3
/
4
") or less with
WIDE margins. After printing, use scissors or
some other implement to trim the margins.
TAPE LENGTH
•
AUTO: Automatically adjusts the label length in
accordance with the number of characters.
•
If you want to specify the label length manually,
select FIX for this setting.
→
page 32