40
EN
Part 7 - Using a Built-in Logo
Inserting a Built-in Logo into a Label
The printer has a number of built-in labels that include logos and text for retail
and offi ce use that you can print.
Sample Print
•
For information about the printer's built-in logos, see the Built-in Logo List
(page 57).
•
A built-in logo can be printed on a label only when 12mm (
1
/
2
"), 18mm (
3
/
4
"),
or 24mm (1") wide tape is being used.
Printing a Label with a Built-in Logo
1.
On the main menu, select LOGO and then press SET.
•
Instead of the above operation, you could also simply press the LOGO
key.
2.
Select a built-in logo category and then press SET.
3.
Select the logo you want to use and then press SET.
•
You can also select a logo by looking up its number on the built-in logo
list (page 57) and then inputting the number with the number keys.
•
Pressing
will cause a preview image of what the selected design
looks like when printed to scroll across the display. To pause preview
image scrolling, press SET.
•
To exit the preview image, press ESC.
4.
Select the language you want to use in the logo then press SET.
Part 6 - Storing and Recalling
Label Data
Storing Label Data
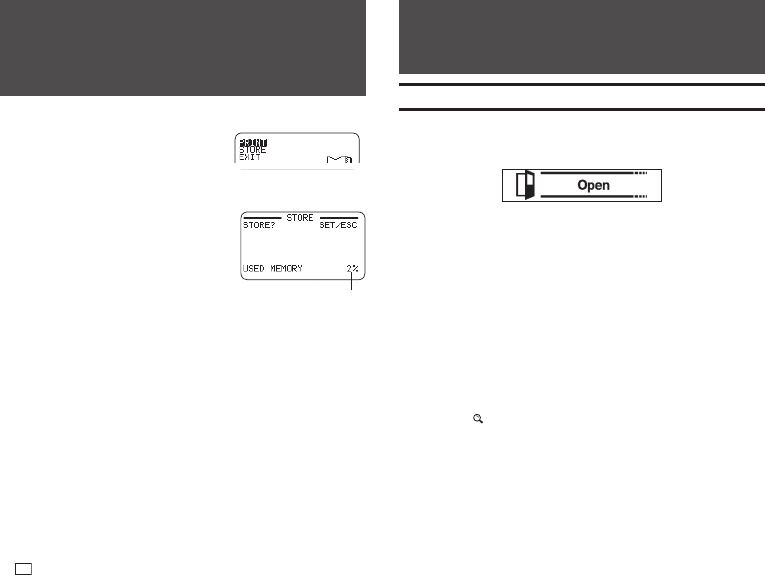
You can use the screen that appears after text
input is complete to assign a name to the data
and save it in printer memory.
1.
After you fi nish inputting text, select STORE and then press SET.
2.
Input a label data name and then press SET.
•
You can input up to seven characters for
the label data name.
3.
Press SET.
•
The message COMPLETE will appear and then the main menu will appear.
Recalling Stored Data
You can recall stored data from the main menu screen (page 15).
1.
Select STORED DATA and then press SET.
2.
Select RECALL and then press SET.
3.
Select the name of the data you want to recall and then press SET.
Deleting Stored Data
You can delete stored data from the main menu screen (page 15).
1.
Select STORED DATA and then press SET.
2.
Select DELETE and then press SET.
3.
Select the name of the data you want to delete and then press SET.
4.
Press SET.
•
To cancel the data delete operation, press ESC.
Memory capacity
