25-25
Cisco ASA Series Firewall ASDM Configuration Guide
Chapter 25 Configuring the ASA for Cisco Cloud Web Security
Configuring Cisco Cloud Web Security
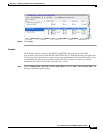
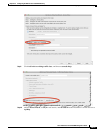
Step 11 Click OK to add the class map.
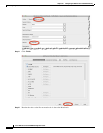
Step 12 Click Apply.
Step 13 Use the whitelist in the Cloud Web Security policy according to the “Configuring a Service Policy to
Send Traffic to Cloud Web Security” section on page 25-10.
(Optional) Configuring the User Identity Monitor
When you use IDFW, the ASA only downloads user identity information from the AD server for users
and groups included in active ACLs; the ACL must be used in a feature such as an access rule, AAA rule,
service policy rule, or other feature to be considered active. Because Cloud Web Security can base its
policy on user identity, you may need to download groups that are not part of an active ACL to get full
IDFW coverage for all your users. For example, although you can configure your Cloud Web Security
service policy rule to use an ACL with users and groups, thus activating any relevant groups, it is not
required; you could use an ACL based entirely on IP addresses.The user identity monitor feature lets you
download group information directly from the AD agent.
Restrictions
The ASA can only monitor a maximum of 512 groups, including those configured for the user identity
monitor and those monitored through active ACLs.
Detailed Steps
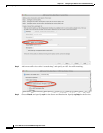
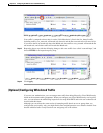
Step 1 Choose Configuration > Firewall > Identity Options, and scroll to the Cloud Web Security
Configuration section.
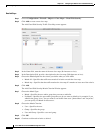
Step 2 Click Add.
The Add Monitor User dialog box appears.
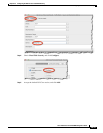
Step 3 To add a domain, click Manage, and then click Add. You can only monitor groups for domains you have
pre-defined on the ASA.
The Configure Identity Domains dialog box appears. For detailed information about adding domains, see
the “Configuring Identity Options” section on page 38-13 in the general operations configuration guide.
Step 4 When you are finished adding domains, click OK.
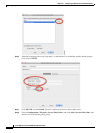
Step 5 You can either type in a group name, or you can search for groups on the AD agent per domain.
• To type in a group name directly, enter the name in the bottom field in the following format, and
click OK:
domain-name\\group
• To search for a group on the AD agent:
a. Choose the domain from the Domain drop-down list.
b. In the Find field, enter a text string to match group names, and click Find.
The ASA downloads names from the AD agent for the specified domain.
c. Double-click the name you want to monitor; it is added to the bottom field.
d. Click OK.


