


5/26/05 Adding Floor Plans to a Campus Building
OL-7426-03
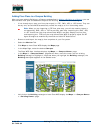
Adding Floor Plans to a Campus BuildingAdding Floor Plans to a Campus Building
After you have added a Building to a Campus as described in Adding a Building to a Campus, you can
add individual floor plan and basement maps to the Building. Proceed with the following:
• If not already done, save your floor plan map(s) in .FPE, .PNG, .JPG, or .GIF format. They can
be any size, as Cisco WCS automatically resizes the map(s) to fit in its working areas.
• Browse to and import the map(s) from anywhere in your file system.
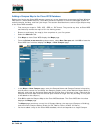
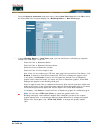
• Select the Monitor Tab.
• Click Maps to have Cisco WCS display the Maps page.
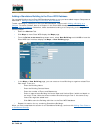
• In the Maps Page, select the desired Campus.
The Cisco WCS User Interface displays the Maps > <Campus Name> page.
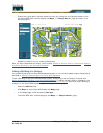
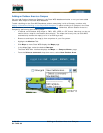
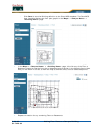
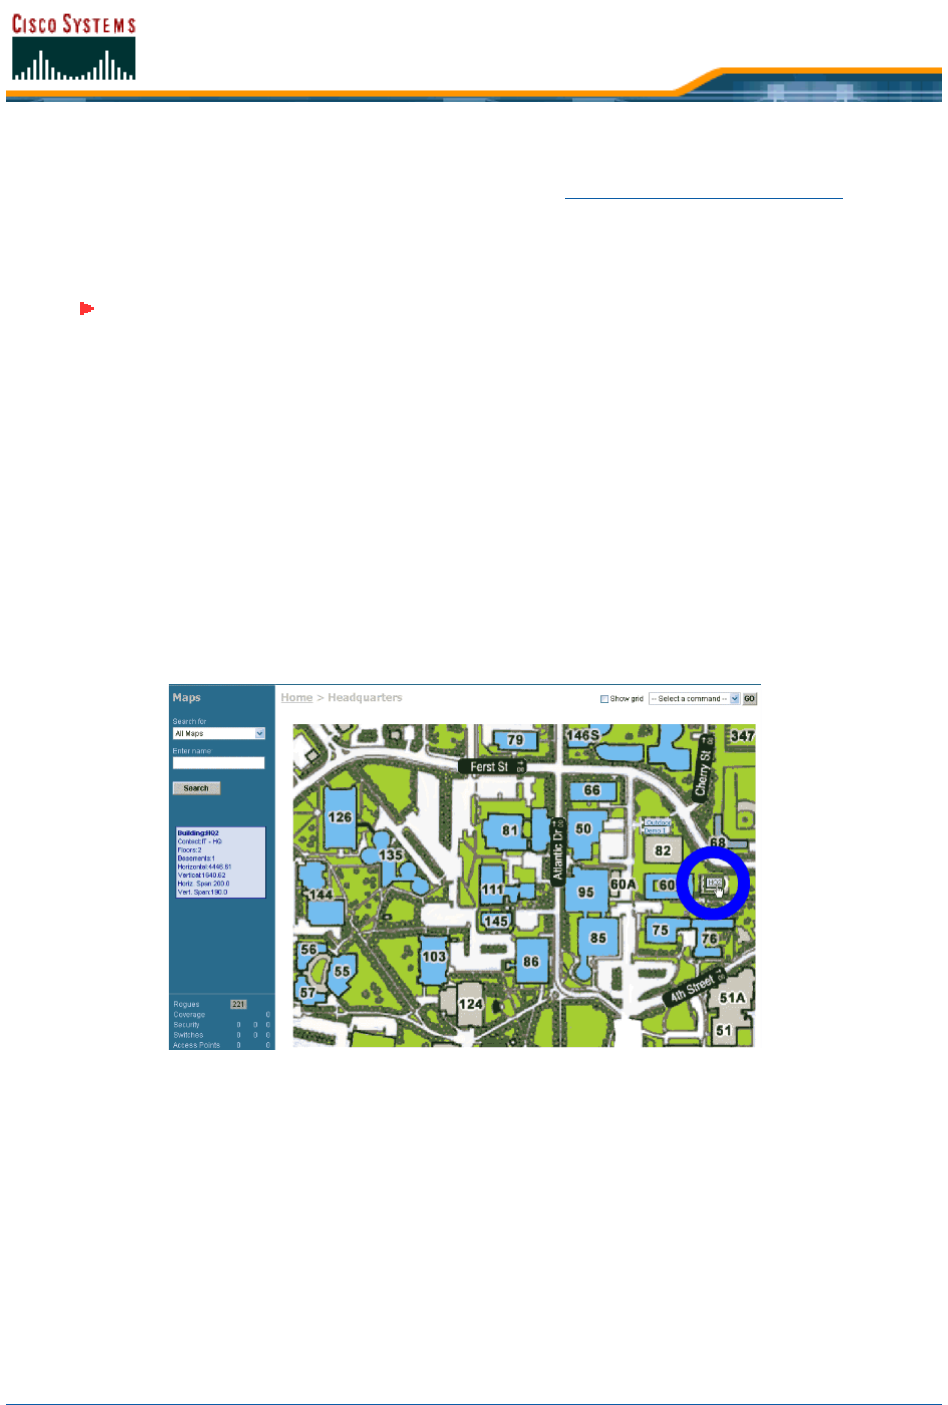
• In the Maps > <Campus Name> page Button Area, move the cursor over an existing
Building rectangle to highlight it. Note that when you highlight the Building rectangle, the
Building description appears in the Sidebar area.
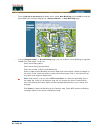
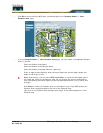
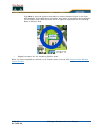
• Left-click on the Building rectangle to have Cisco WCS display the Maps > <Campus Name>
> <Building Name> page.
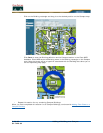
Note: When you are importing a .FPE floor plan map, you will also need to import a
corresponding .PNG, .JPG, or .GIF format floor plan map. Importing the .PNG, .JPG,
or .GIF format floor plan map allows Cisco WCS to correctly display the floor plan,
and importing the .FPE floor plan map allows Cisco WCS to properly adjust the RF
signal strengths as modified by the walls and other RF obstructions.