


Removing and Installing Parts 139
7
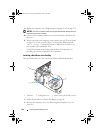
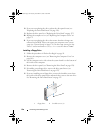
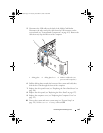
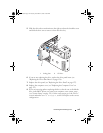
Slide the floppy drive into the floppy drive bay until the sliding plate clicks
into place and the drive snaps into position.
8
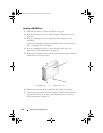
Attach the power and floppy-drive cables to the floppy drive.
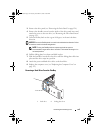
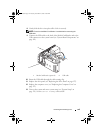
9
Check all cable connections, and fold cables out of the way to provide
airflow for the fan and cooling vents.
10
Replace the computer cover (see "Replacing the Computer Cover" on
page 172).
NOTICE: To connect a network cable, first plug the cable in to the network wall
jack and then plug it in to the computer.
11
Connect your computer and devices to their electrical outlets, and then
turn them on.
12
When you restart your computer, enter system setup (see "System Setup"
on page 178). On the setup screen go to the "Drives" section and under
Diskette Drive
set the value to "
Internal only
".
See the documentation that came with the floppy drive for instructions on
installing any software required for the operation of the drive.
13
Verify that your computer works correctly by running the Dell Diagnostics
(see "Dell Diagnostics" on page 86).
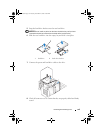
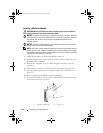
NOTICE: Ensure the FlexBay knob is turned in the anticlockwise direction. Failure
to heed can result in the knob being broken.
NOTE: If you have already installed an additional hard drive in the FlexBay
and you want to replace it with a floppy drive, ensure that the FlexBay knob is
rotated, anti clockwise, back to its default vertical position, see the illustration
for "Installing a Hard Drive in the FlexBay" on page 134.
book.book Page 139 Tuesday, November 27, 2007 10:29 AM