


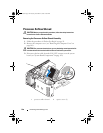

152 Removing and Installing Parts
Installing the Processor Fan
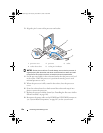
1
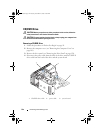
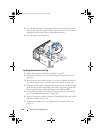
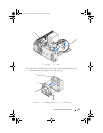
With the fan power cable oriented downward, align the rubber grommets
in the fan with the holes in each corner of the processor airflow shroud,
then pull the grommets through until they snap into place.
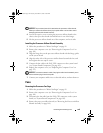
NOTE: Airflow direction and orientation are shown on the side of the fan.
2
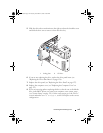
Replace the processor fan cage into the cage housing (see "Installing the
Processor Fan Cage" on page 150).
3
Replace the processor airflow shroud (see "Installing the Processor Airflow
Shroud Assembly" on page 149).
4
Connect the fan cable to the FAN_CPU connector on the system board
(see "System Board Components" on page 103).
5
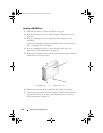
Replace the computer cover (see "Replacing the Computer Cover" on
page 172).
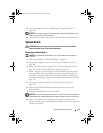
NOTICE: To connect a network cable, first plug the cable into the network port or
device and then plug it into your computer.
6
Connect your computer and devices to electrical outlets, and then turn
them on.
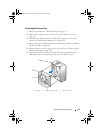
Removing the Card Fan
1
Follow the procedures in "Before You Begin" on page 99.
2
Remove the computer cover (see "Removing the Computer Cover" on
page 101).
3
Remove any full-length expansion cards (see "Removing a PCI Express
Card" on page 121 and "Removing a PCI Card" on page 114).
4
Disconnect the fan cable from the FAN_CARD_CAGE connector on the
system board (see "System Board Components" on page 103).
5
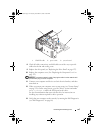
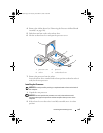
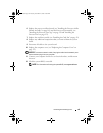
Lift and hold the tab present at the bottom of the fan cage. Pressing the
top of the cage slide it towards the back of the system, then gently ease the
cage out of the groove.
book.book Page 152 Tuesday, November 27, 2007 10:29 AM